Submit an Informative Article to DIY Times
Research, write, and submit an informative DIY article to DIY Times about a simple hands-on project, including clear steps, safety tips, and photos.

Step-by-step guide to submit an informative article to DIY Times
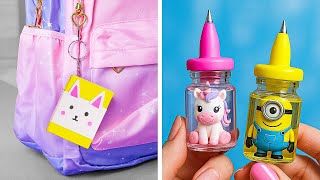
36 DIY EASY SCHOOL SUPPLIES - BACK TO SCHOOL HACKS AND CRAFTS
Step 1
Pick one simple hands-on project to write about like a paper kite a bird feeder or a handmade card.
Step 2
Look up and read two kid-friendly how-to sources about your project so you know the steps and safety tips.
Step 3
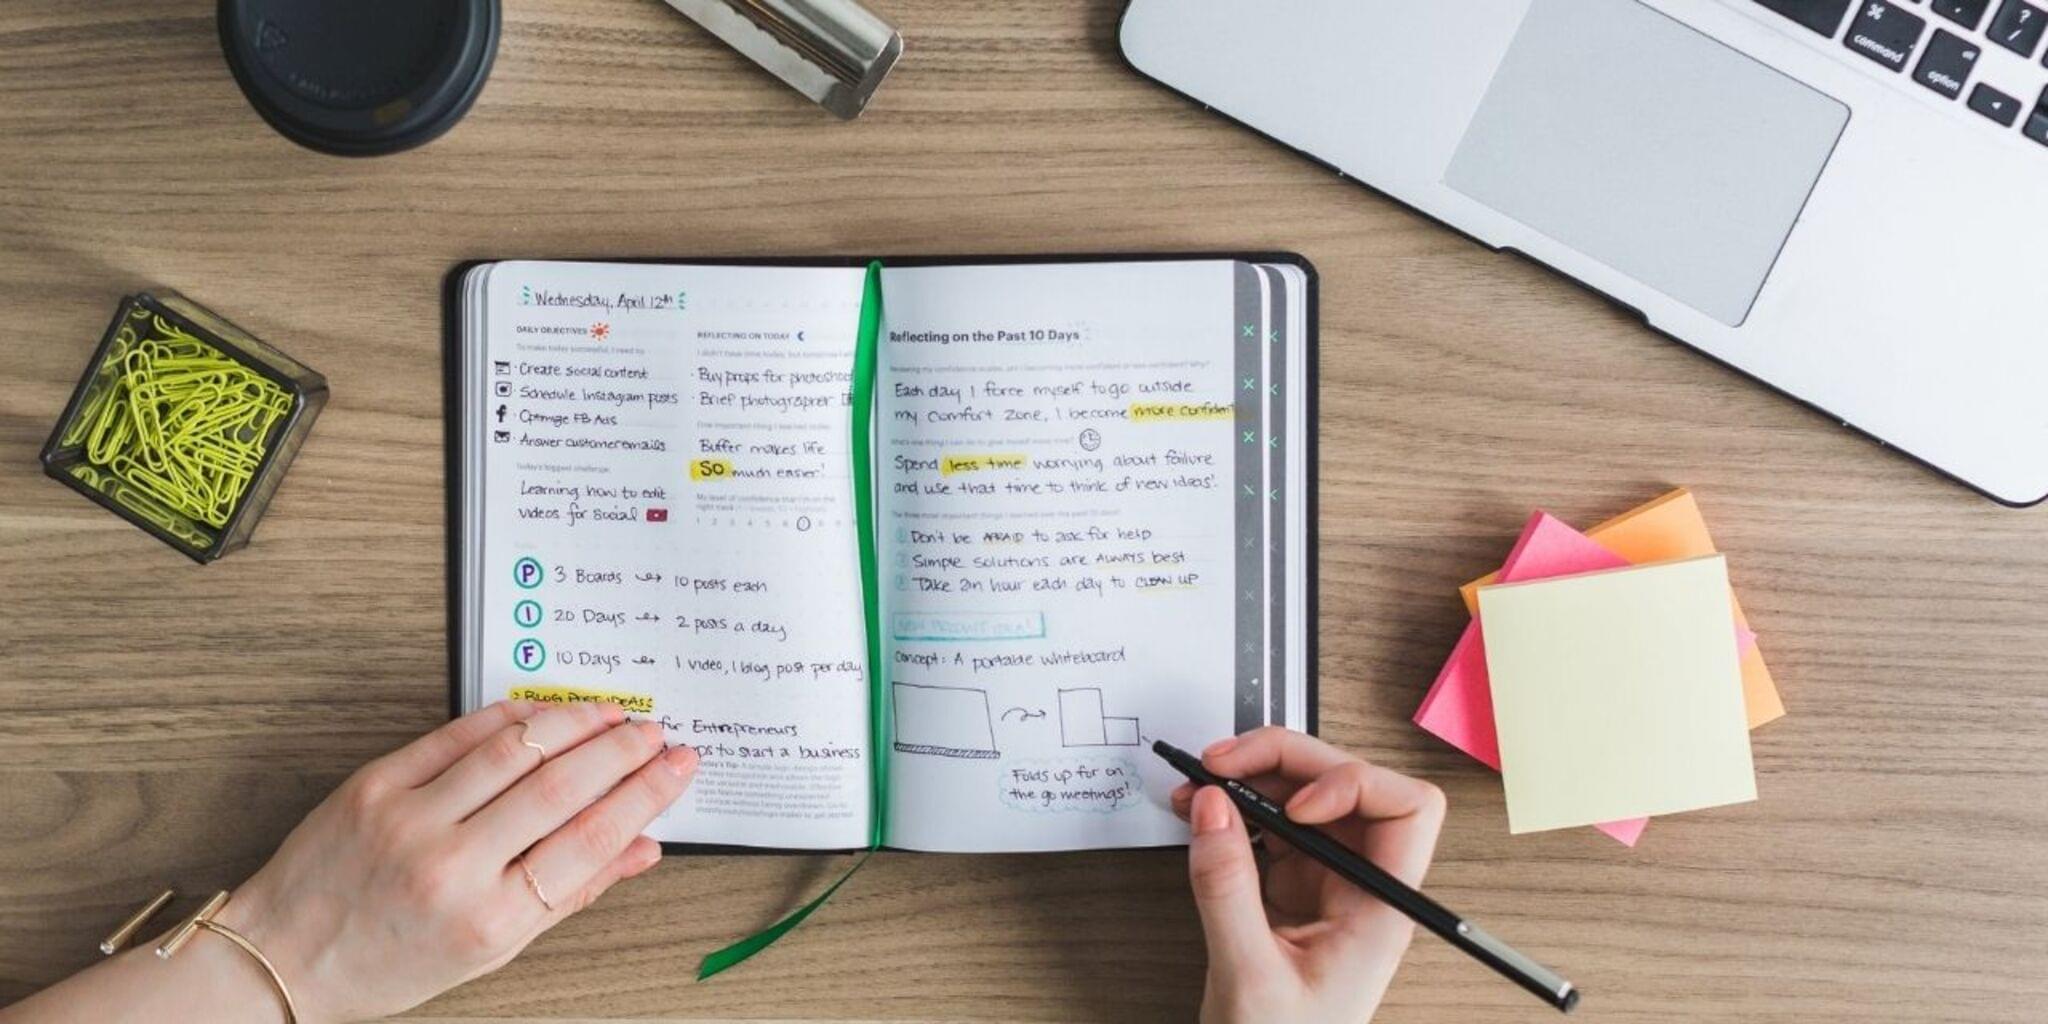
Write a clear materials list on a sheet of paper that someone else could follow.
Step 4
Write a short safety checklist that names any hazards and where an adult should help.
Step 5
Build the project once by following the instructions you found so you understand each step.
Step 6
Take clear photos that show the starting materials one important step and the finished project.
Step 7
Pick the best photos that clearly show how the project was made.
Step 8
Edit the chosen photos if needed by cropping or straightening them so they look neat.
Step 9
Write a catchy title and a one-sentence introduction that tells what your project makes and why it is fun.
Step 10
Write simple numbered step-by-step instructions for how to make the project including an estimated time and difficulty level.
Step 11
Assemble your article by putting the title introduction instructions materials list safety checklist and photos into one document.
Step 12
Read your article out loud and fix any spelling mistakes unclear sentences or missing details.
Step 13
Submit your article and photos to DIY Times using their submission form or upload option.
Step 14
Share your finished creation on DIY.org.
Help!?
If I choose a paper kite but can't find bamboo dowels or kite string, what can I substitute?
Use straight wooden skewers or chopsticks as dowel substitutes and sturdy yarn, twine, or thin fishing line instead of kite string, and list these substitutions in your materials list so someone else can follow.
My finished kite keeps tipping or my bird feeder leaks after I 'build the project once'—what common mistakes should I check?
Check that frame pieces are straight and tightly taped or glued, add or adjust a paper tail to balance a kite or reinforce seams with extra glue/tape for a feeder, and follow your safety checklist so an adult helps with testing and adjustments.
How can I adapt the whole article project for different ages when the instructions ask to read two sources, write lists, build, take photos, and assemble the article?
For preschoolers have an adult read two kid-friendly sources and handle the materials list and photo-taking while the child helps build with supervision, for elementary kids let them read with help, write the materials list, take simple step photos and build with adult oversight, and for teens expect independent research, precise measurements, edited photos, and a full assembled document ready to submit.
What are simple ways to enhance or personalize the article before I 'submit your article and photos to DIY Times' and 'share on DIY.org'?
Include an extra photo that shows a tricky step, add a printable template or variation ideas (different colors, seeds, or tail lengths), record a short how-to clip, and note these extras in the assembled document before submitting and sharing on DIY.org.
Watch videos on how to submit an informative article to DIY Times
13 EASY CRAFT IDEAS | Fun DIY Crafts for School & Gifts
4 Videos
13 EASY CRAFT IDEAS | Fun DIY Crafts for School & Gifts
Easy Rainbow Cardboard Crafts for School 🎨📚 | DIY Fun & Simple Ideas!
🖍️ CRAFT YOUR OWN CUTE SUPPLIES FOR SCHOOL! Colorful DIYs Inside 🌈📚

6 Easy Craft Ideas for Kids | DIY Crafts | Paper Crafts | School Craft Projects
Facts about writing and publishing DIY projects for kids
🧰 Do-it-yourself projects surged in popularity during wartime and economic shortages when people needed to repair and repurpose items.
📝 Clear numbered steps and short sentences make how-to instructions much easier for readers (and for young DIYers!).
📸 Articles that include photos or step-by-step images are far more likely to be understood and shared because pictures explain actions quickly.
📰 Many informative articles use the 'inverted pyramid' style—put the most important info first—great for busy readers who skim.
🛡️ Including safety tips like 'wear goggles' and 'ask an adult for help' dramatically reduces accidents during hands-on projects.
How do I help my child research, write, and submit a DIY Times article?
What materials are needed to research, write, photograph, and submit a DIY Times article?
What ages is this DIY Times writing and submission activity suitable for?
What are the benefits and safety tips for kids writing and submitting a DIY article?
