String Pull Painting Technique
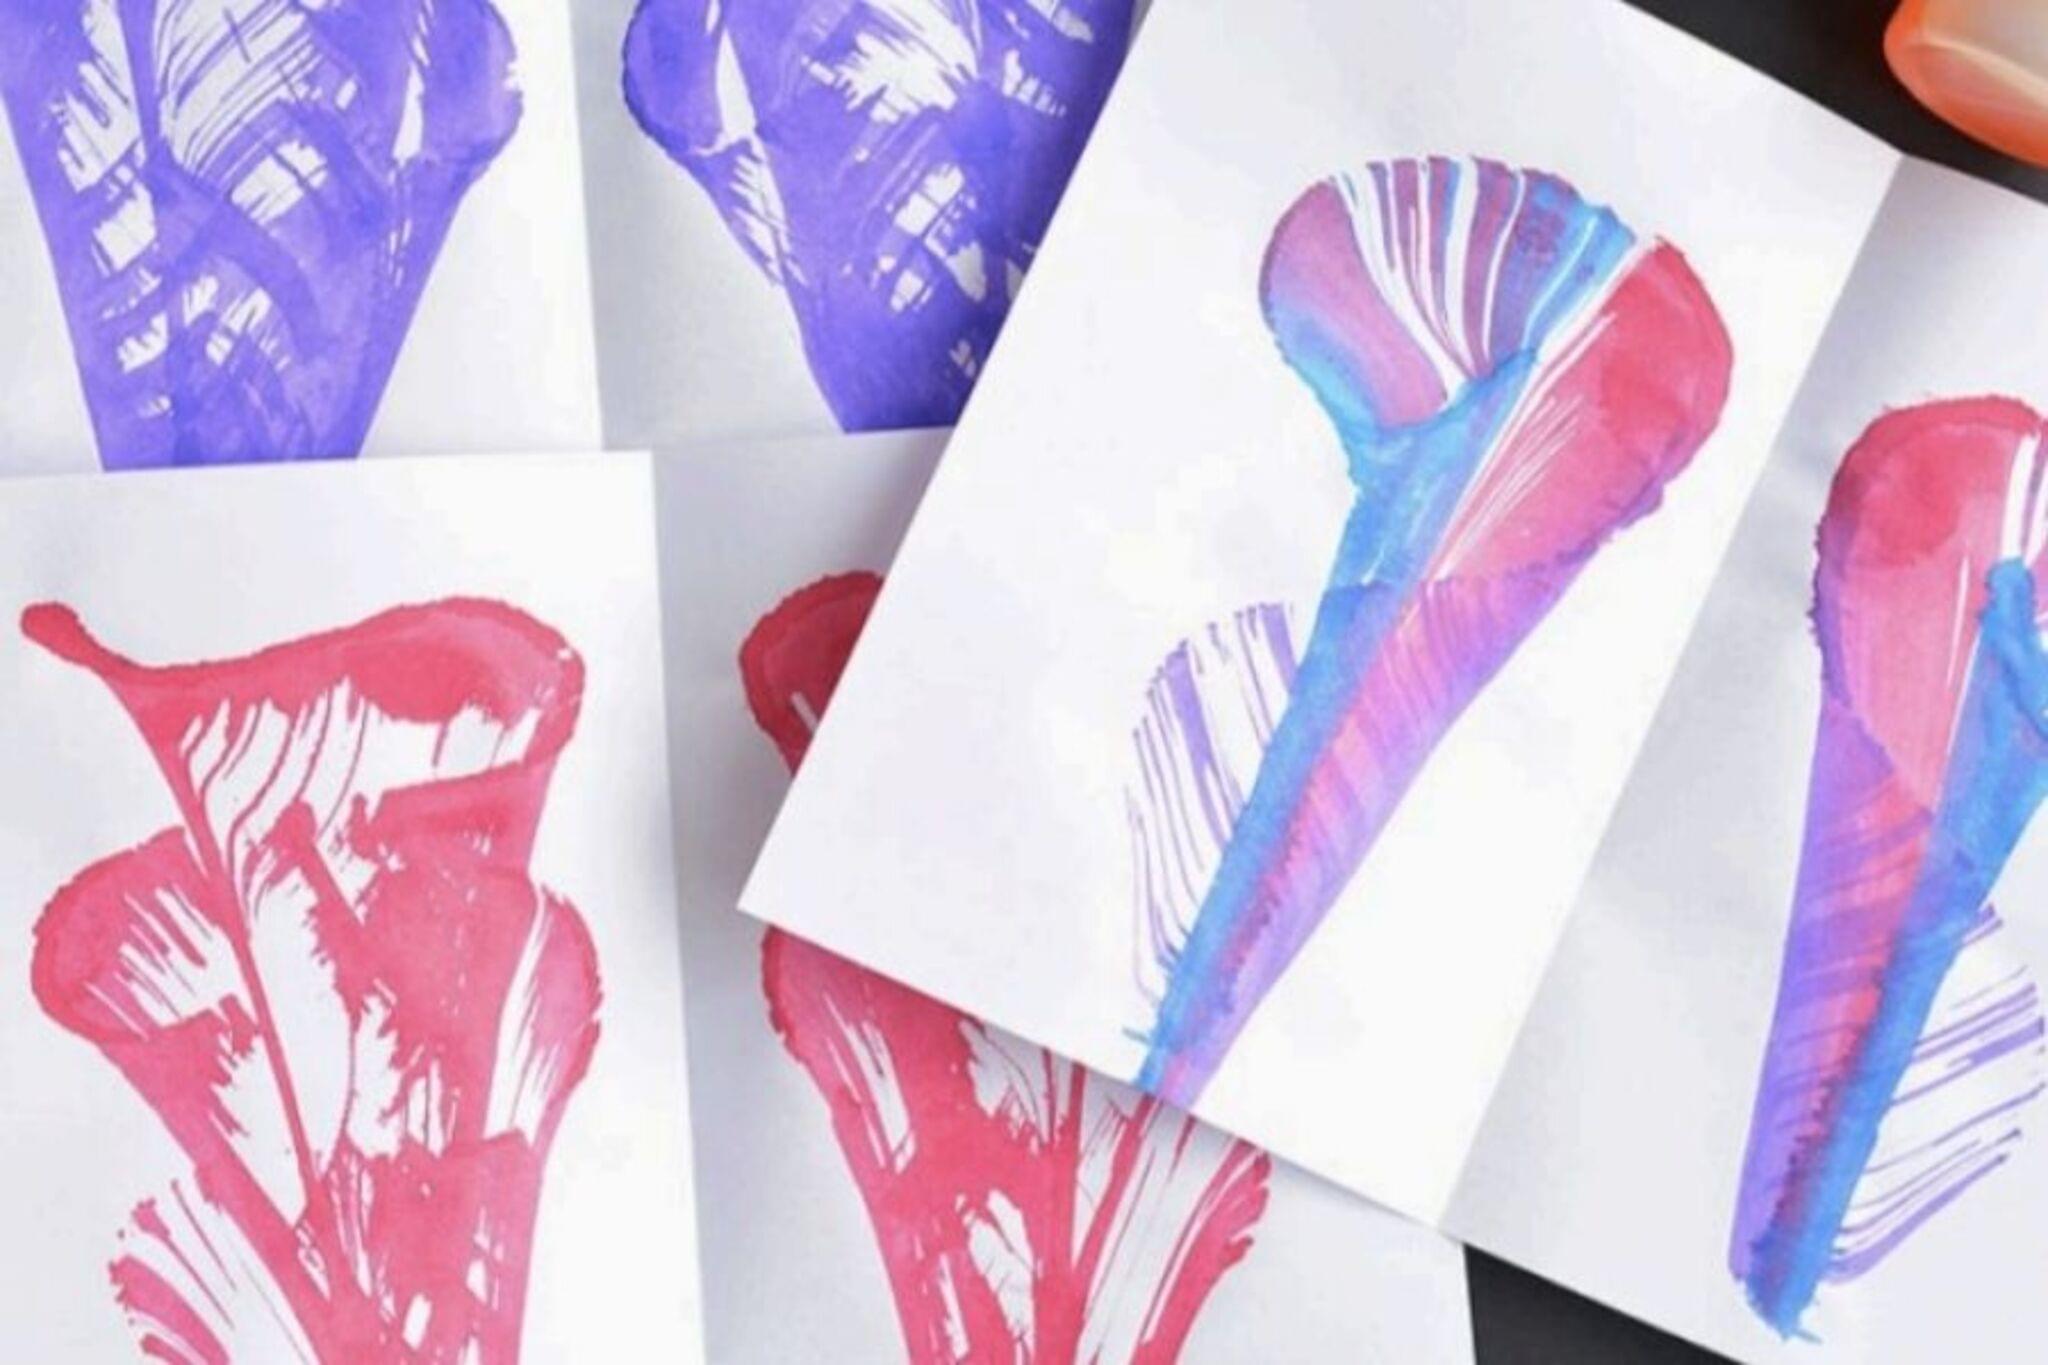
Create colorful string-pull paintings by dipping string into paint, pulling it across paper, and exploring patterns, symmetry, and color mixing through repeated experiments.


Step-by-step guide to string-pull painting technique
String Pulling Art For Beginners - Colorful String Pull With My Favorite Colors
Step 1
Cover your table with the protective towel or newspaper so paint doesn’t make a mess.
Step 2
Put small blobs of the colors you want to use onto the disposable plate.
Step 3
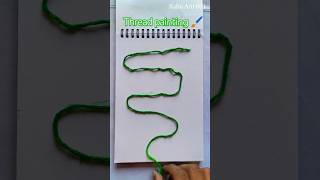
Cut a piece of string or yarn about as long as your arm from fingertip to shoulder.
Step 4
Fold the paper in half and press to make a clear crease.
Step 5
Open the paper and lay it flat with one half for painting.
Step 6
Press the string into the paint blobs so it picks up colors along its length.
Step 7
Lay the painted string onto one half of the paper in loops or zigzags where you want the design.
Step 8
Fold the other half of the paper over the painted string to sandwich it between the pages.
Step 9
Press gently on the folded paper to spread the paint through the paper.
Step 10
Hold one end of the string and pull it slowly and steadily out from between the papers.
Step 11
Carefully open the paper to reveal your string-pull painting design.
Step 12
Try another pull using different colors or a different length or placement of string to explore new patterns and color mixing.
Step 13
Lay your painting(s) flat on a clean surface and let them dry completely.
Step 14
Share your finished string-pull paintings on DIY.org.
Final steps
You're almost there! Complete all the steps, bring your creation to life, post it, and conquer the challenge!


Help!?
I don't have a disposable plate or newspaper—what can I substitute for those materials?
Use a clean paper plate or an aluminum pie tin for the paint blobs and replace the newspaper protecting the table with a washable plastic tablecloth or an old towel, following the first instruction to cover the work surface.
My print came out faint or patchy—what step might I be doing wrong and how do I fix it?
If prints are faint, make sure you press the string firmly into the paint blobs so it picks up color along its length and add a little more paint on the disposable plate before laying the string on the paper, then press gently after folding to spread the paint.
How can I adapt this string-pull painting activity for younger kids or older kids?
For younger children, use pre-cut yarn about half an arm's length, larger blobs of washable paint, and help with folding and pulling, while older kids can use full arm-length string, thinner string for finer lines, multiple pulls, and different paper sizes for more complex designs.
How can we extend or personalize the paintings once we've mastered the basic pull?
Try layering multiple pulls with different colored strings and lengths, sprinkle a little glitter or salt onto the wet paint before pressing, or use metallic paints on the disposable plate to create special effects you can frame or share on DIY.org.
Watch videos on how to create string-pull paintings
Easy And Beautiful Thread Painting🤯 || String Pull Technique || How To Paint Using Thread🥰
3 Videos
Easy And Beautiful Thread Painting🤯 || String Pull Technique || How To Paint Using Thread🥰
How to Create a String Pull Painting with Chain

EASY STRING PULL TECHNIQUE || Experimenting with acrylic paint & yarn, fun mark making
Facts about painting techniques for kids
🎨 String-pull prints are a kind of monotype — every print is one-of-a-kind because the paint moves unpredictably when you pull the string.
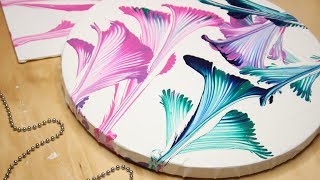
🧵 Different kinds of string (smooth, fluffy, twisted) make very different textures and line widths in your prints.
🔁 Folding the paper or printing from both sides can create instant mirror-symmetry patterns.
🌈 Loading a string with two primary colors often produces surprising secondary colors where the paints mix.
✨ One length of string can make dozens of unique designs by changing paint amount, pull angle, or speed.
How do you do the string pull painting technique?
What materials do I need for string pull painting?
What ages is string pull painting suitable for?
What are the benefits of string pull painting for children?


