Start a wave
Build a simple ripple tank using a shallow tray, water, and small objects. Create and observe waves, reflections, and interference safely.


Step-by-step guide to build a simple ripple tank and observe waves, reflections, and interference
Rhythmic GYMNASTICS for BEGINNERS🤸 (WAVES Tutorial for Children)
Step 1
Find a flat table and spread the white paper on it.
Step 2
Put the clear shallow tray on top of the paper so the paper lies beneath the tray.
Step 3
Ask an adult to carefully fill the tray with about 1 centimeter of water.
Step 4
Place a few small objects into the water to make obstacles for the waves.
Step 5
Position the flashlight a little above the water pointing straight down so the light shines through the water onto the paper.
Step 6
Gently tap the water with one fingertip at the edge to make a single circular ripple.
Step 7
Tap regularly with your finger or use the straw to make steady waves and watch the light pattern on the paper.
Step 8
Slide the cardboard into the water to make a straight barrier and tap again to see the waves reflect off the barrier.
Step 9
Tap two places at the same time with two fingers to make two wave sources and watch where the waves meet to see interference patterns.
Step 10
Share your finished ripple tank experiment and what you observed on DIY.org
Help!?
What can I use if I don't have a clear shallow tray or a flashlight?
Use a clear glass or Pyrex baking dish as the tray and the flashlight from a phone held directly above the water to replace a standalone flashlight.
Why can't I see clear ripple light patterns on the paper?
Make sure the tray only has about 1 centimeter of water, the flashlight is pointing straight down over the tray, and you tap gently with a fingertip or straw so ripples form without splashing.
How can I adapt the activity for different ages?
For preschoolers, let them place large toys as obstacles and tap once with a parent nearby while older kids can use the straw for steady waves, slide different cardboard barriers, and record interference patterns.
How can we extend or personalize the ripple tank experiment?
Try colored cellophane over the flashlight, add varied-shaped obstacles or multiple barriers, photograph the changing patterns with a phone, and share observations on DIY.org.
Watch videos on how to build a simple ripple tank and create waves, reflections, and interference
HANDS formation waves /waves dance#formation
3 Videos
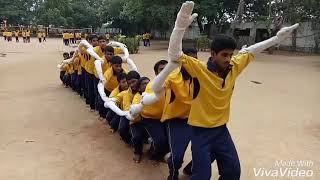
HANDS formation waves /waves dance#formation
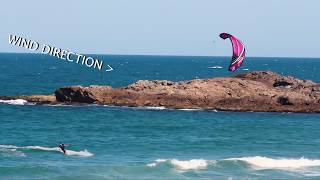
How to Ride Waves for the First Time Kitesurfing
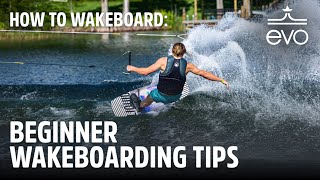
How to Wakeboard - Beginner Wakeboarding Tips
Facts about wave physics for kids
🌊 Ripple tanks turn invisible wave energy into visible patterns you can watch on a tray of water.
🔁 Water waves reflect off barriers following the rule 'angle in = angle out'—just like light!
✨ When two ripples meet they can add up or cancel out—this is called interference and makes cool patterns.
🔬 Teachers and scientists use ripple tanks to demonstrate diffraction, refraction, and superposition in real time.
⏱️ Poke the water faster to make short, frequent ripples (short wavelength); poke slower for long, wide waves.
How do I build a ripple tank to observe waves?
What materials do I need to build a simple ripple tank?
What ages is a ripple tank activity suitable for?
What safety tips should I follow when making a ripple tank with kids?
