Solve a problem with design
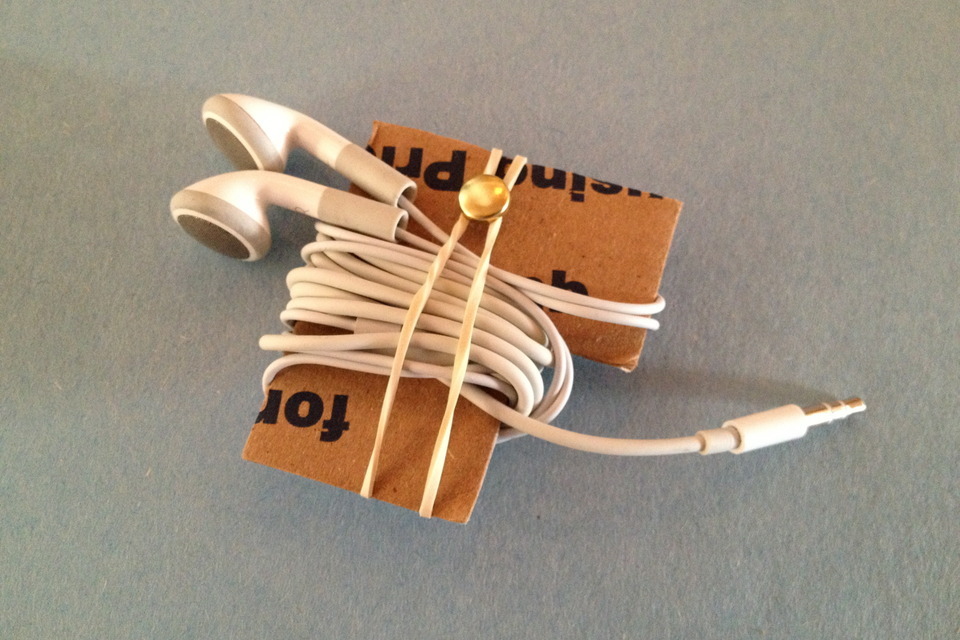
Design and build a simple solution to a daily problem using cardboard, tape, and household items; prototype, test, and improve your idea.


Step-by-step guide to design and build a simple solution to a daily problem
How To Create Kids Animation Learning Videos Using CANVA For Beginners (FULL TUTORIAL)
Step 1
Pick one daily problem at home you want to fix like a messy desk a loose toothbrush holder or a toy that keeps falling over
Step 2
Write one sentence describing who will use your solution and what the solution must do
Step 3
Draw three quick idea sketches on scrap paper showing different ways to solve the problem
Step 4
Choose the single sketch you like best for your first build
Step 5
Make a short list of the cardboard shapes and small items you will need for your prototype
Step 6
Cut the cardboard pieces you listed using scissors and a ruler with adult help if needed
Step 7
Build your prototype by taping or gluing the cardboard pieces and adding the small items
Step 8
Test your prototype in the real situation for one minute and watch how it performs
Step 9
Write down one thing that worked well during the test
Step 10
Write down one specific thing that did not work and one change you will make to fix it
Step 11
Make that one improvement to your prototype and test it again to see if it works better
Step 12
Take pictures or a short description and share your finished creation on DIY.org
Help!?
What can we use if we don't have cardboard, scissors, or glue from the materials list?
Use cereal boxes or poster board instead of cardboard, a butter knife or tearing by hand with adult help instead of scissors, and clear tape, a stapler, or a glue stick rather than liquid glue when you cut and assemble the prototype.
My prototype keeps falling over during the one-minute test—what can I try to fix it?
If the prototype tips during the one-minute test, make a wider cardboard base, lower the center of gravity by placing small items closer to the base, and reinforce the joints from step 6 with extra tape or hot glue for more stability.
How should I change the activity for younger kids or older kids?
For younger children simplify by picking an easy problem, using pre-cut cardboard shapes and tape for steps 5–6, while older kids can add precise measurements, stronger adhesives, and keep a redesign log recording tests from steps 8–11.
How can we extend or personalize the project after improving the prototype?
Decorate and personalize the improved prototype from step 11 with paint or stickers, add moving parts like hinges or rubber-band mechanisms, take before/after photos, and share the short description and pictures on DIY.org.
Watch videos on how to design and build a simple solution to a daily problem
Geometric Circle Design Step by Step | Simple Geometric Design For Kids | Easy Circular Drawing
4 Videos

Geometric Circle Design Step by Step | Simple Geometric Design For Kids | Easy Circular Drawing
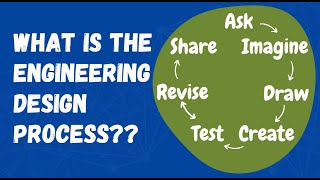
Engineering Design Process Explained (Step By Step)
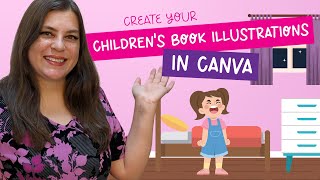
Create Your Children's Book Illustrations Using Canva
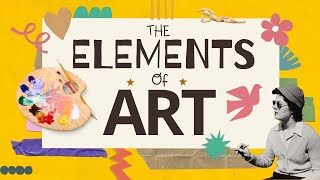
The 7 Elements of Art Explained: A Fun and Easy Guide for Kids! 🎨
Facts about design thinking and prototyping for kids
🧠 Design thinking asks you to empathize, imagine, prototype, and test — a fun step-by-step way to solve everyday problems.
📦 Corrugated cardboard is lightweight, strong, and recyclable, which is why builders and artists love using it for prototypes.
✂️ Duct tape was developed during World War II to seal ammunition boxes and quickly became a go-to household fixer.
⚙️ A quick prototype can reveal big problems in minutes — the first model often teaches you the most about what to improve.
🧪 Testing your idea with real users (like family or friends) is the fastest way to get helpful, creative improvements.
How do we design and build a simple cardboard prototype to solve a daily problem?
What materials do I need to design and build a cardboard solution at home?
What ages is this build-and-prototype activity suitable for?
What are the benefits of this cardboard prototyping activity for kids?
