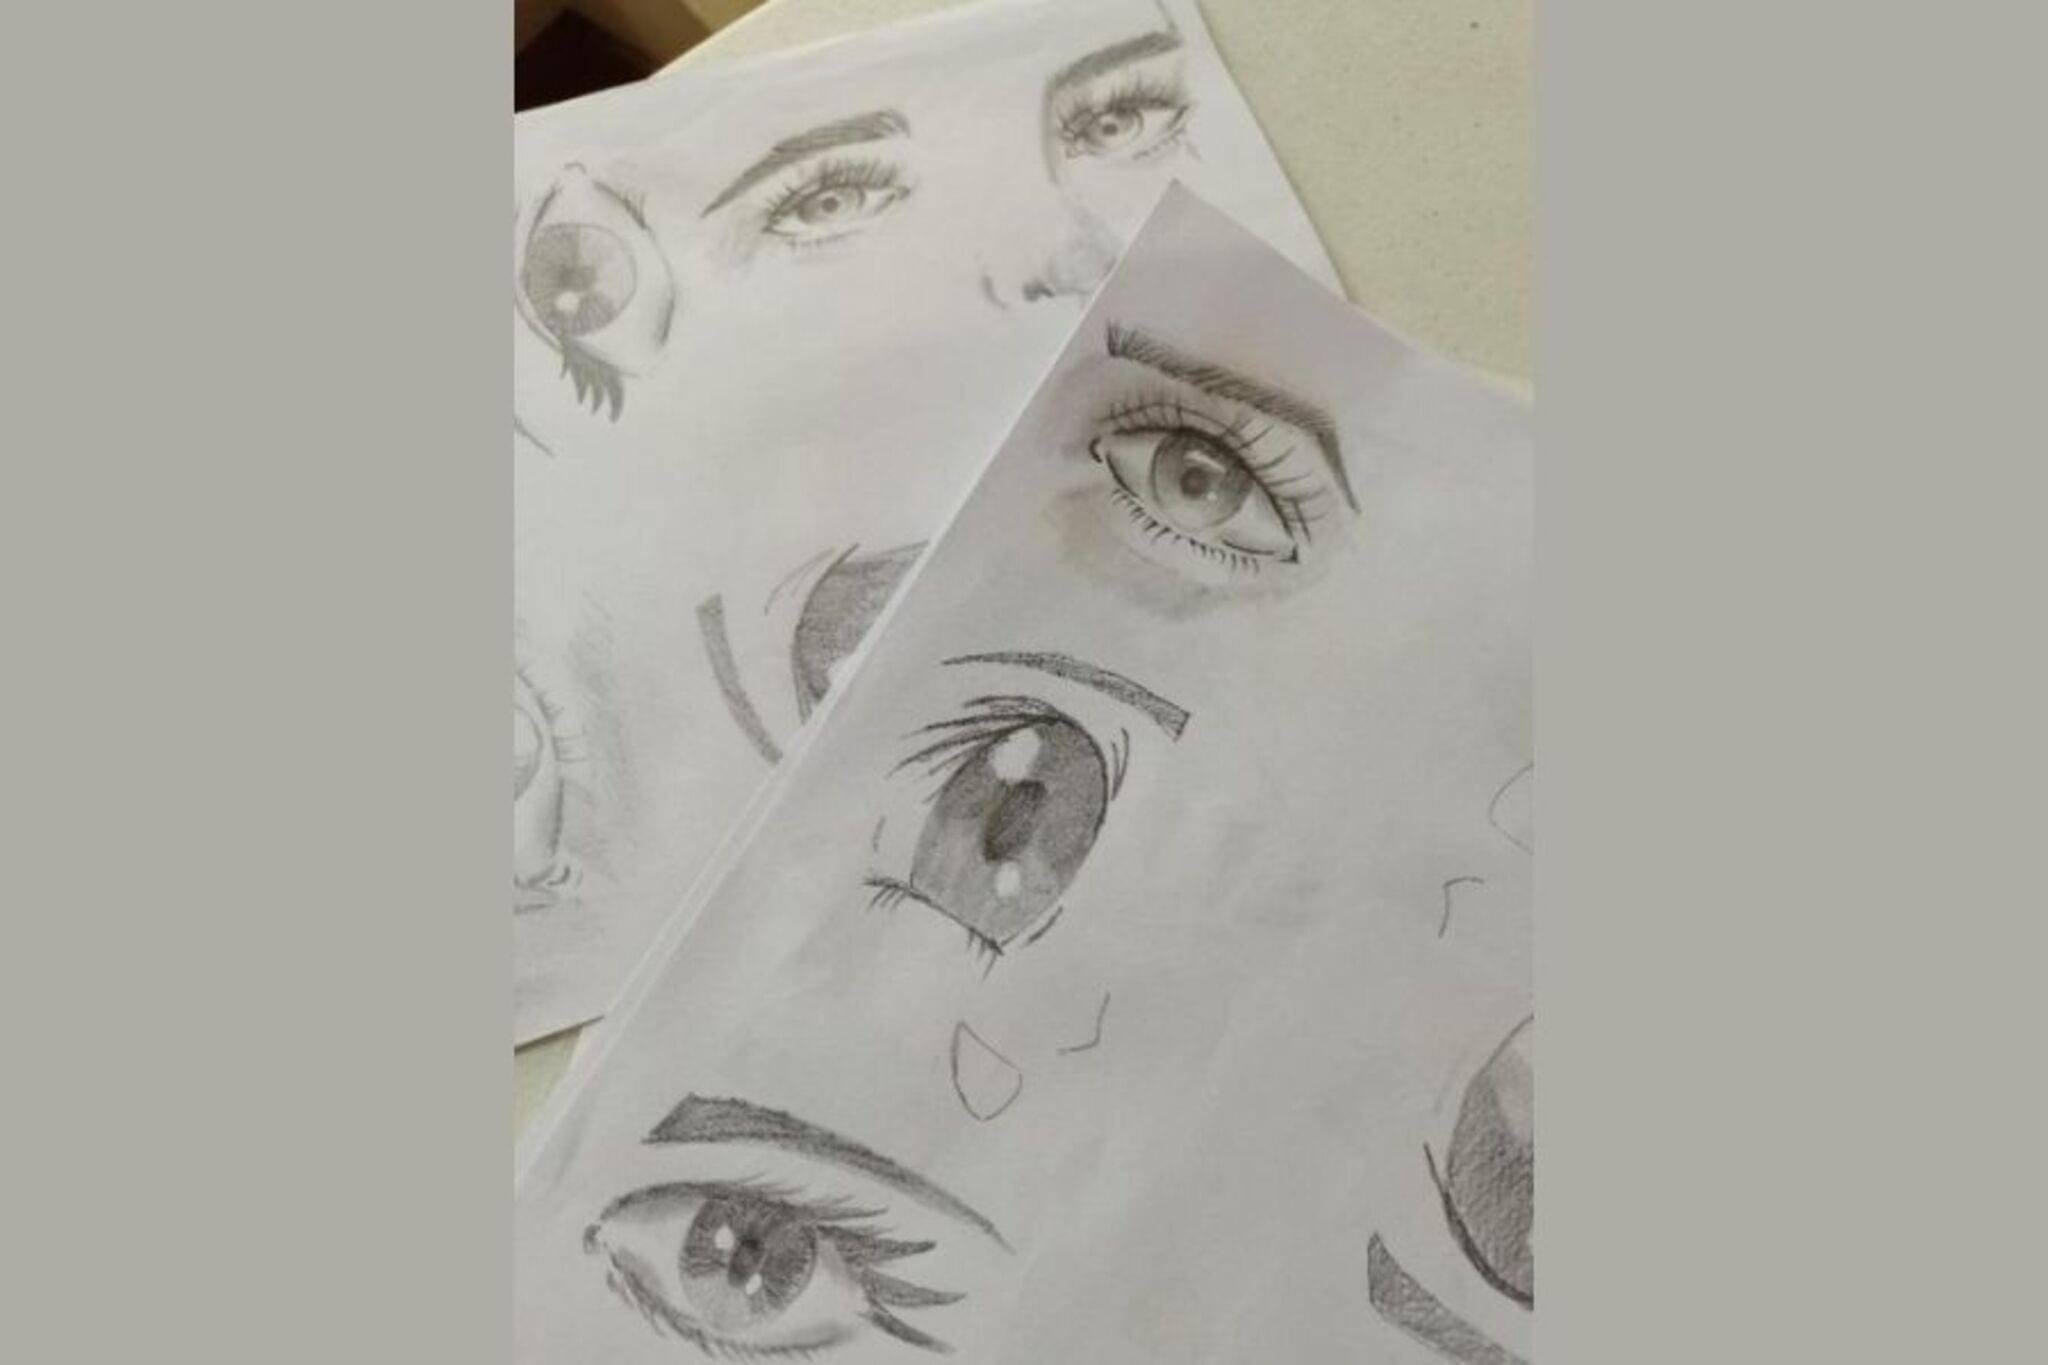
Sketch Realistic Looking Eyes
Sketch realistic looking eyes using pencil, eraser, and blending tools while practicing observation of shapes, shading, eyelashes, and reflections to create lifelike detail.

Drawing Apps
Step-by-step guide to sketch realistic-looking eyes
✨ How to Draw a Realistic Eye: Easy Step-by-Step Tutorial for Beginners! ✏️
Step 1
Choose a reference photo or sit in front of a mirror to study the eye you want to draw.
Step 2
Place your paper and sharpened HB pencil on a flat surface ready to draw.
Step 3
Lightly sketch the outer almond shape of the eye with the HB pencil.
Step 4
Draw a light circle for the iris and a smaller circle for the pupil inside it.
Step 5
Add a curved line above the eye to show the upper eyelid crease.
Step 6
Shade the pupil darkly using the 4B pencil.
Step 7
Add radial strokes in the iris with the 2B pencil to show texture and darker bands.
Step 8
Use the blending tool to softly blend the iris and the white of the eye for smooth tones.
Step 9
Draw eyelashes with quick curved strokes from the eyelid using varied lengths and angles.
Step 10
Gently erase tiny spots to make eye reflections and darken shadows under the upper eyelid to add depth.
Step 11
Share your finished realistic eye drawing on DIY.org
Help!?
What can we use if we don't have a 4B, 2B, or a blending tool?
Substitute a softer regular graphite like 6B or build up darker tones with layered HB strokes for the pupil instead of a 4B, use a slightly firmer pencil (HB or 3B) for the iris texture instead of a 2B, and use a clean cotton swab or tissue in place of the blending tool to softly blend the iris and white of the eye.
My iris looks flat or my eyelashes look stiff—what should I try to fix them?
Add more radial strokes with the 2B pencil and blend very lightly with the blending tool to keep texture in the iris, darken the pupil with the 4B for stronger contrast, and draw eyelashes with quick varied curved strokes from the eyelid at different lengths and angles to avoid stiffness.
How can I adapt this sketching activity for younger or older kids?
For younger kids simplify by having them lightly sketch the outer almond shape with an HB pencil and color a solid pupil with marker, while older kids can focus on detailed 2B radial strokes, subtle blending of the iris and sclera, and deepening shadows under the upper eyelid with the 4B for more realism.
What are some ways to personalize or make the eye drawing more advanced?
Personalize the eye by adding colored pencils over your 2B iris texture, shading skin and the upper eyelid crease with the blending tool, practicing symmetry by drawing both eyes, and then share your finished realistic eye drawing on DIY.org.
Watch videos on how to sketch realistic-looking eyes
How to draw realistic eyes step by step for beginners
4 Videos
How to draw realistic eyes step by step for beginners
How to draw realistic eyes step by step for beginners

How to draw Eyes from ANY perspective | Tutorial | Drawlikeasir
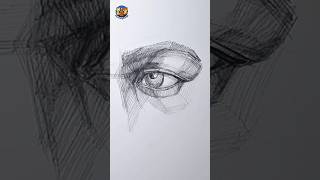
👁️ How to Draw Realistic Eyes | Step-by-Step Eye Structure Drawing Tutorial
Facts about pencil drawing and shading for kids
👁️ The shiny white spot artists add to eye drawings is called a specular highlight and it makes eyes look alive.
✏️ Graphite pencils are graded from 9H (very hard, light) to 9B (very soft, dark) — choose softer pencils for rich shading.
🖌️ Blending tools like stumps or tissues smooth pencil strokes and were popularized by classical draftsmanship.
🌈 The iris has complex patterns like a tiny fingerprint — no two irises are exactly the same.
👀 Eyelashes help keep dust out of the eye and quick, subtle highlights or lines can make them look natural in a sketch.
How do you sketch realistic-looking eyes step by step?
What materials do I need to sketch realistic eyes?
What ages is this eye-drawing activity suitable for?
What are the benefits, safety tips, and variations for sketching realistic eyes?
