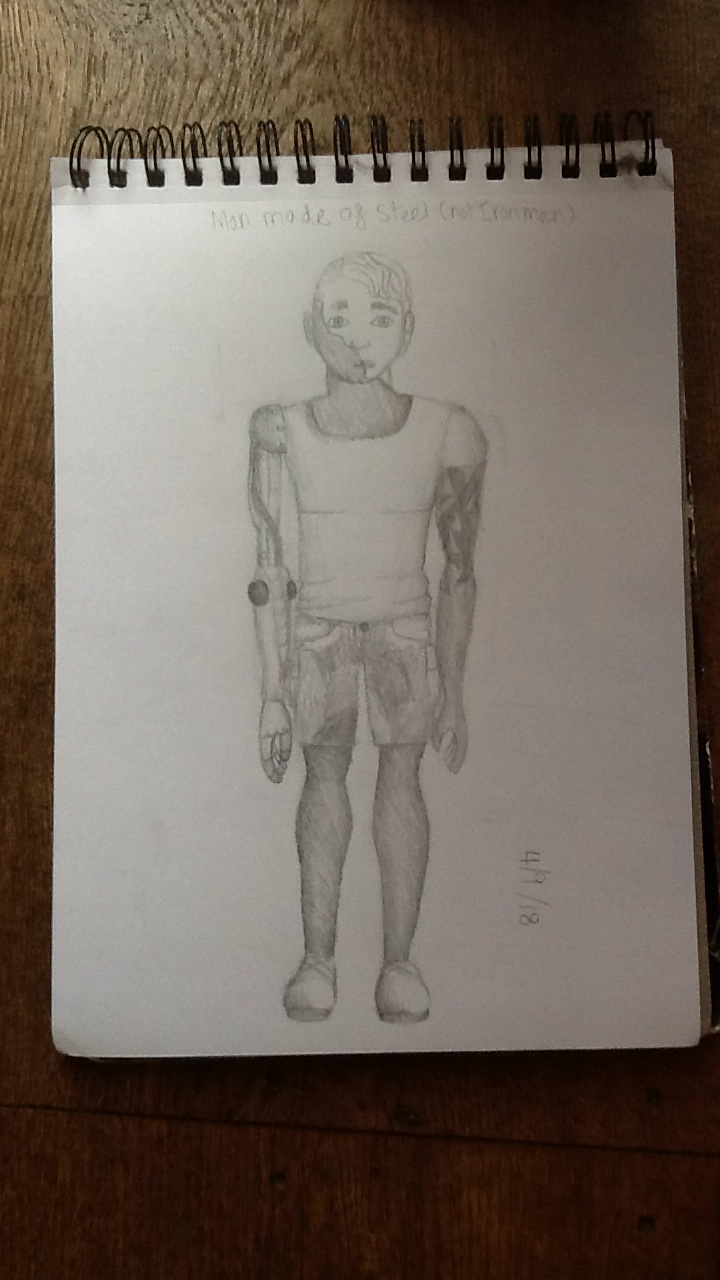
Sketch a person from head to toe
Sketch a person from head to toe using pencil and paper, practicing proportions, clothing details, and shading to create a complete full body drawing.

Drawing Apps
Step-by-step guide to sketch a person from head to toe
Step 1
Find a clean flat workspace and set out your materials so everything is easy to reach.
Step 2
Lightly draw a vertical center line down the page with your pencil using the ruler as a guide.
Step 3
Draw a light oval at the top of the center line for the head.
Step 4
Use the height of the head to mark equal head-length units down the center line to plan the body's total height.
Step 5
Sketch a simple oval for the ribcage and a smaller oval or box for the pelvis on the head-length marks.
Step 6
Add light straight lines from the shoulders and hips to mark the arms and legs and put small circles where the joints are.
Step 7
Block in simple shapes for the hands and feet at the ends of the limb lines.
Step 8
Refine the outline by drawing the body's curves and contours over your shapes and guidelines.
Step 9
Draw the clothing over the figure following the body's shape and add folds where fabric bends.
Step 10
Sketch facial features and hair on the head using light strokes to place the eyes nose mouth and hair correctly.
Step 11
Erase extra construction lines gently and tidy any smudges so the figure looks clean.
Step 12
Add shading for light and shadow from a single light source using pencil pressure for darks and a tissue to blend smooth shadows and then add final details and your signature.
Step 13
Share your finished creation on DIY.org.
Help!?
What can we use if we don't have a ruler, tissue, or blending stump?
If you don't have a ruler use a book edge or a straight cardboard strip to draw the vertical center line, replace tissue for blending with a clean cotton swab or fingertip, and substitute a blending stump with a tightly folded piece of paper to smooth pencil shading.
Why does my figure look out of proportion or smudged, and how can I fix it?
If proportions are off remeasure using the head-length units along your center line and adjust the ribcage and pelvis ovals and joint circles, and prevent smudges by working with light strokes, resting a scrap paper under your hand, and erasing extra construction lines gently as the instructions say.
How can I adapt this head-to-toe sketch activity for different ages?
For younger children simplify to a center line, a large head and stick limbs with block hands, elementary-age kids can follow the head-length measurements, ribcage/pelvis ovals and joint circles, and older kids or teens can focus on refining contours, clothing folds, blended shading and adding a signature before sharing on DIY.org.
How can we extend or personalize the sketch after finishing the basic figure?
To enhance the drawing, design unique clothing and hairstyles over the body shapes, add a background or props, ink and color the outlines after shading, and photograph or record a time-lapse to upload to DIY.org with your signature.
Watch videos on how to sketch a person from head to toe
How to design a Cartoon Character with body | Character design tutorial
4 Videos
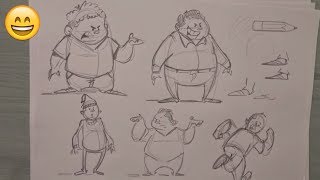
How to design a Cartoon Character with body | Character design tutorial
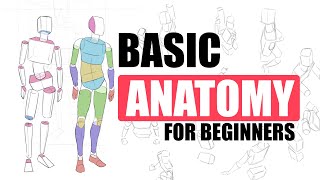
The First, EASY Step To Draw Bodies (For Beginners)
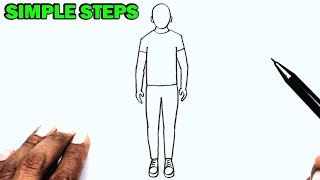
How To Draw A Person Full Body Easy | Body Drawing | Dad Drawing | Father Drawing Easy
🌸 How I Draw Bodies 🌸 || easy & step by step
Facts about figure drawing for kids
🖼️ Leonardo da Vinci's Vitruvian Man is a famous study of ideal human proportions that mixes art and anatomy.
✋ A common rule in figure drawing says an adult's body is about eight heads tall — a handy guide for proportions.
⏱️ Gesture drawing sessions often use 30-second to 2-minute poses to quickly capture movement and posture.
🎨 Shading techniques like hatching, cross-hatching, and blending turn flat sketches into lifelike forms.
👗 Studying how clothing folds and hangs helps show the body's shape underneath and makes drawings more believable.
How do I sketch a person from head to toe?
What materials do I need to sketch a full body drawing?
What ages is full body sketching suitable for?
What are the benefits and variations of sketching people head to toe?
