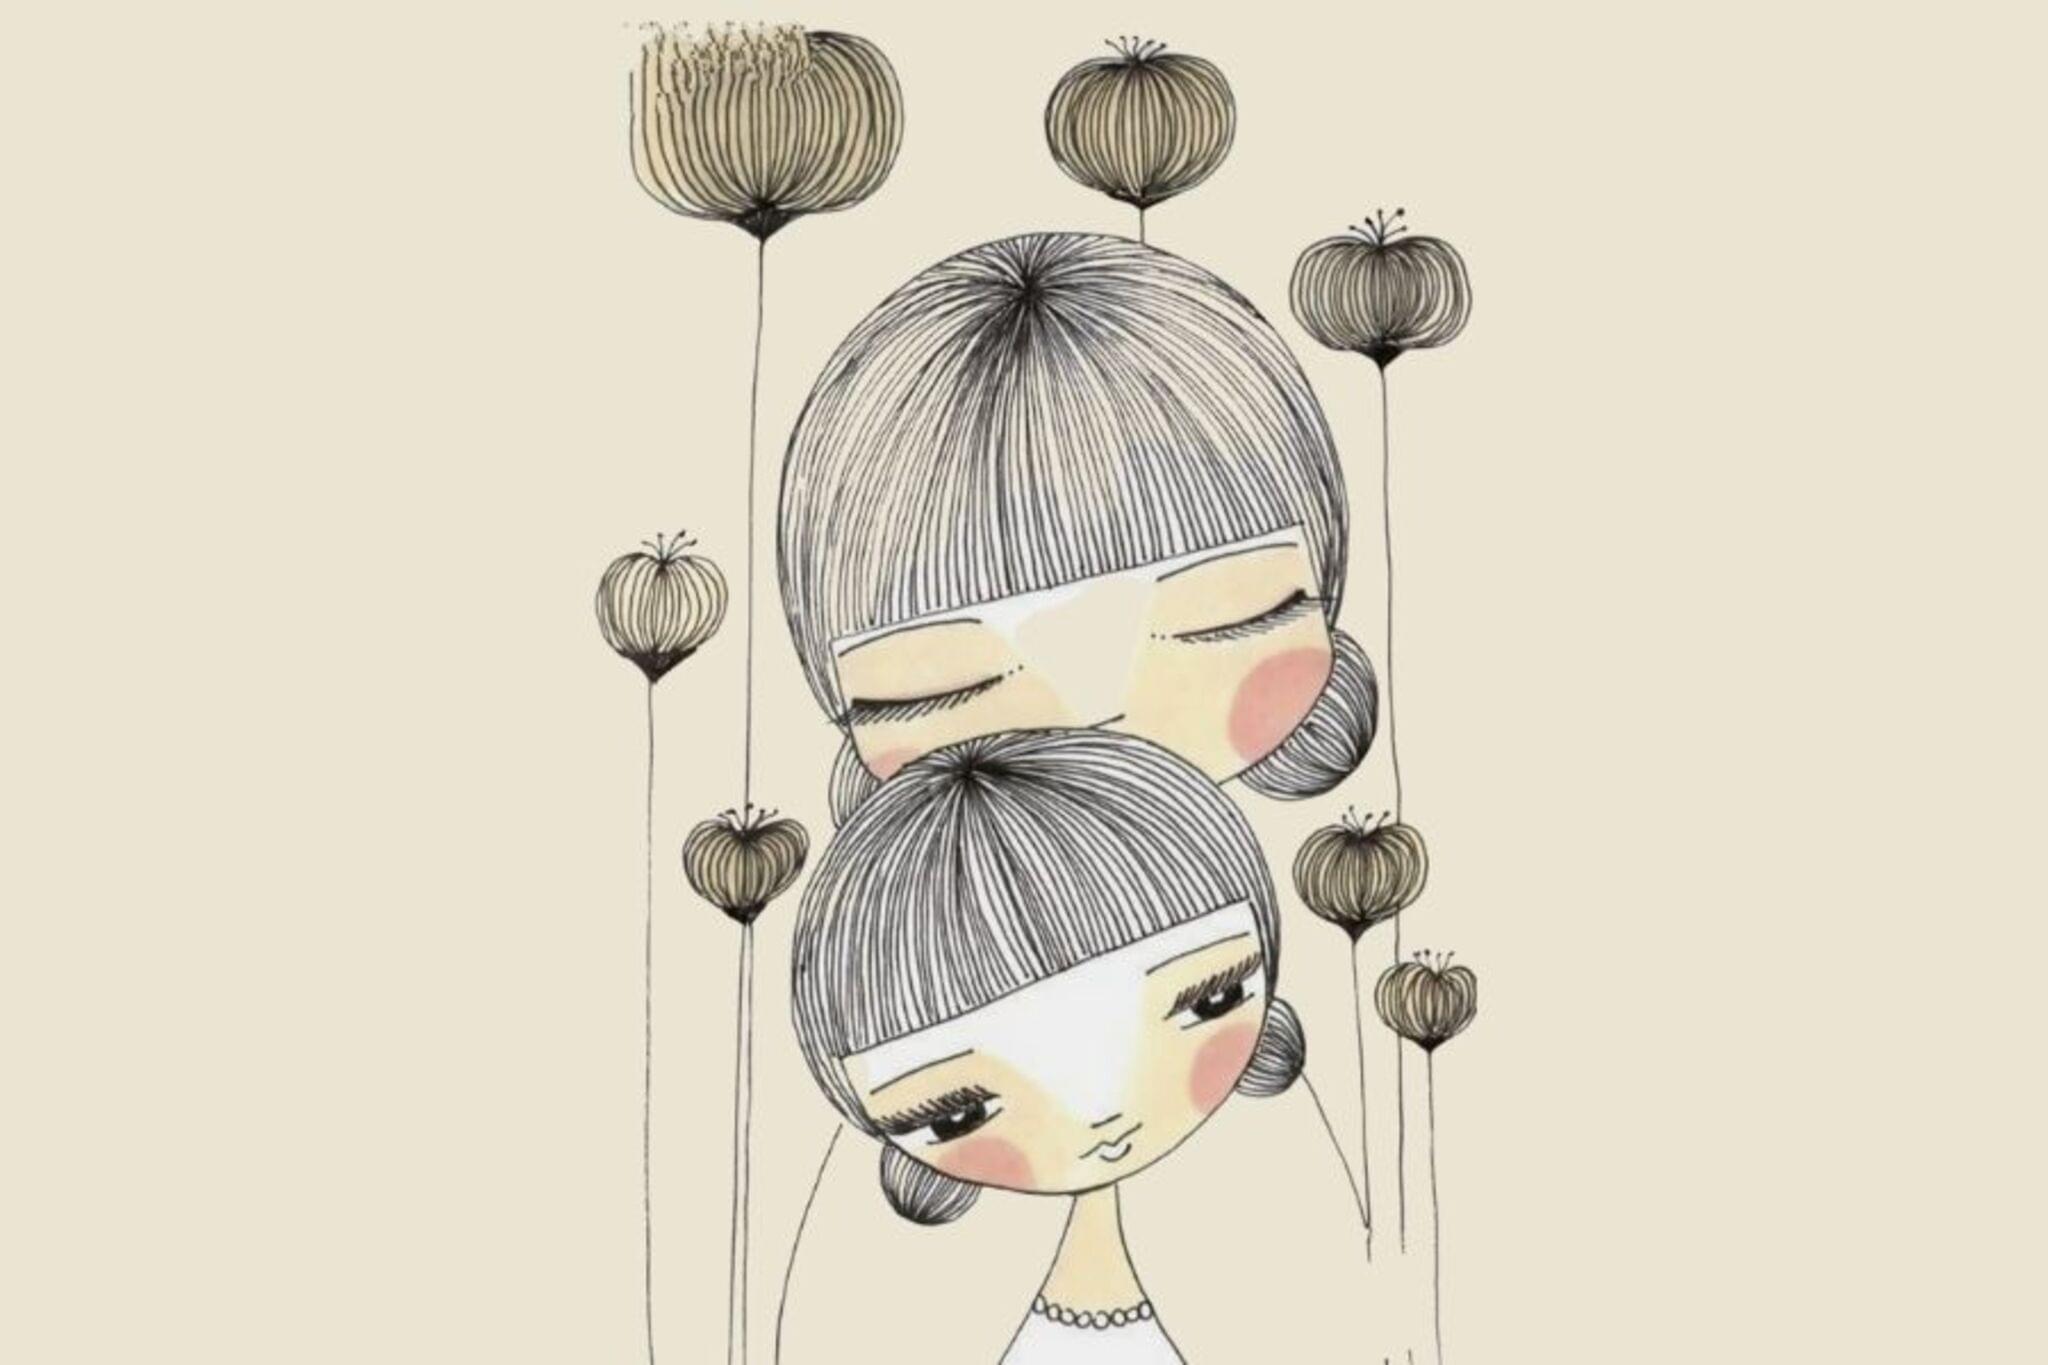
Sketch a-Mom & a-Me with Pen & Ink
Sketch a simple portrait of you and your mom using pen and ink, practicing observation, outlines, shading with hatching, and adding personal details.

Drawing Apps
Step-by-step guide to sketch a Mom and Me portrait with pen and ink
Parents Turned Their Kids' Drawing Into Masterpieces
Step 1
Gather all your materials and put them on a clean flat table so everything is ready.
Step 2
Sit facing your mom about an arm's length apart so you can see each other easily.
Step 3
Lightly draw two ovals with your pencil to mark the head shapes for you and your mom.
Step 4
Draw a vertical center line and a horizontal eye line on each oval to help place the features.
Step 5
Lightly sketch the eyes nose mouth and ears on each face using short simple shapes guided by the lines.
Step 6
Add hairlines eyebrows and a simple neck and shoulders to make each portrait look like a person.
Step 7
Draw personal details like glasses freckles a favorite necklace or a hat to make the portraits special.
Step 8
Carefully trace the main outlines and details with your fine-liner pen using steady slow strokes.
Step 9
Let the ink dry completely before you touch the paper so it does not smudge.
Step 10
Add shading with hatching and cross-hatching lines in shadow areas like under chins inside hair and under the nose.
Step 11
Gently erase the pencil guidelines once the ink is dry to clean up your drawing.
Step 12
Sign and date your portrait in a small corner to show your artist name.
Step 13
Share your finished Mom & Me pen and ink portrait on DIY.org
Help!?
What can we use if we don't have a fine-liner pen or special ink?
If you don't have a fine-liner pen, use a dark ballpoint, gel pen, or felt-tip marker to carefully trace the main outlines, but first test on scrap paper and allow the ink to dry completely before erasing the pencil guidelines to avoid smudges.
My ink keeps smudging or the faces don't look right — what should I do?
Keep your pencil guidelines very light, use slow steady strokes when tracing with the pen (resting your wrist on the table), and wait until the ink is fully dry before gently erasing so lines stay clean and proportions are easier to adjust.
How can I adapt the steps for different ages and skill levels?
For younger children simplify to big ovals and washable markers and skip hatching, for elementary kids follow the step-by-step pencil guidelines and bold pen outlines, and for older kids add finer details, hatching/cross-hatching shading, and sign and date the portrait.
How can we extend or personalize the finished Mom & Me portraits?
After tracing and erasing, personalize the drawings by adding glasses, freckles, a favorite necklace or a patterned background, try colored ink washes behind the pen lines or mount both portraits on cardstock as a gift, then sign, date, and share on DIY.org.
Watch videos on how to sketch a Mom and Me portrait with pen and ink
How to Draw a Mother and Daughter ❤️ Mother's Day Love
4 Videos
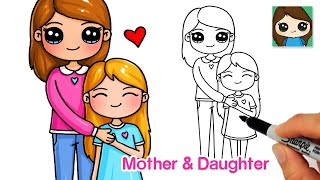
How to Draw a Mother and Daughter ❤️ Mother's Day Love
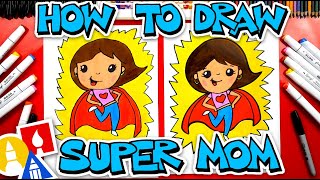
How To Draw Super Mom - Mother's Day
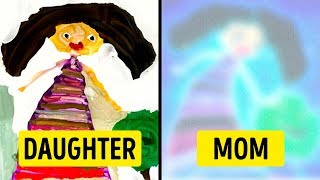
Parents Turned Their Kids' Drawing Into Artworks
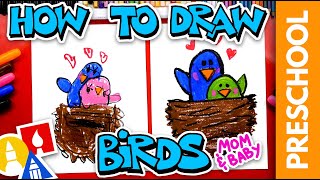
How To Draw A Mom And Baby Bird - Preschool
Facts about portrait drawing and pen-and-ink techniques
🎨 Pen-and-ink art has been used for centuries — from medieval manuscripts to modern comics and illustrations.
🖋️ Cross-hatching builds darker tones by layering lines in different directions, so ink can create smooth-looking shadows without blending.
👀 Great portraits begin with careful observation: artists often look at the person far more than at the paper.
⏱️ Quick gesture sketches (30–60 seconds) help capture a person's lively expression and posture before details get in the way.
💖 Adding one small personal detail (a favorite necklace, a freckle, or a hairstyle) makes a portrait feel like a real story.
How do I sketch a simple portrait of me and my mom with pen and ink?
What materials do I need to sketch 'Mom & Me' portraits with pen and ink?
What ages is this pen-and-ink 'Mom & Me' sketch activity suitable for?
What are the benefits of sketching 'Mom & Me' portraits with pen and ink?
