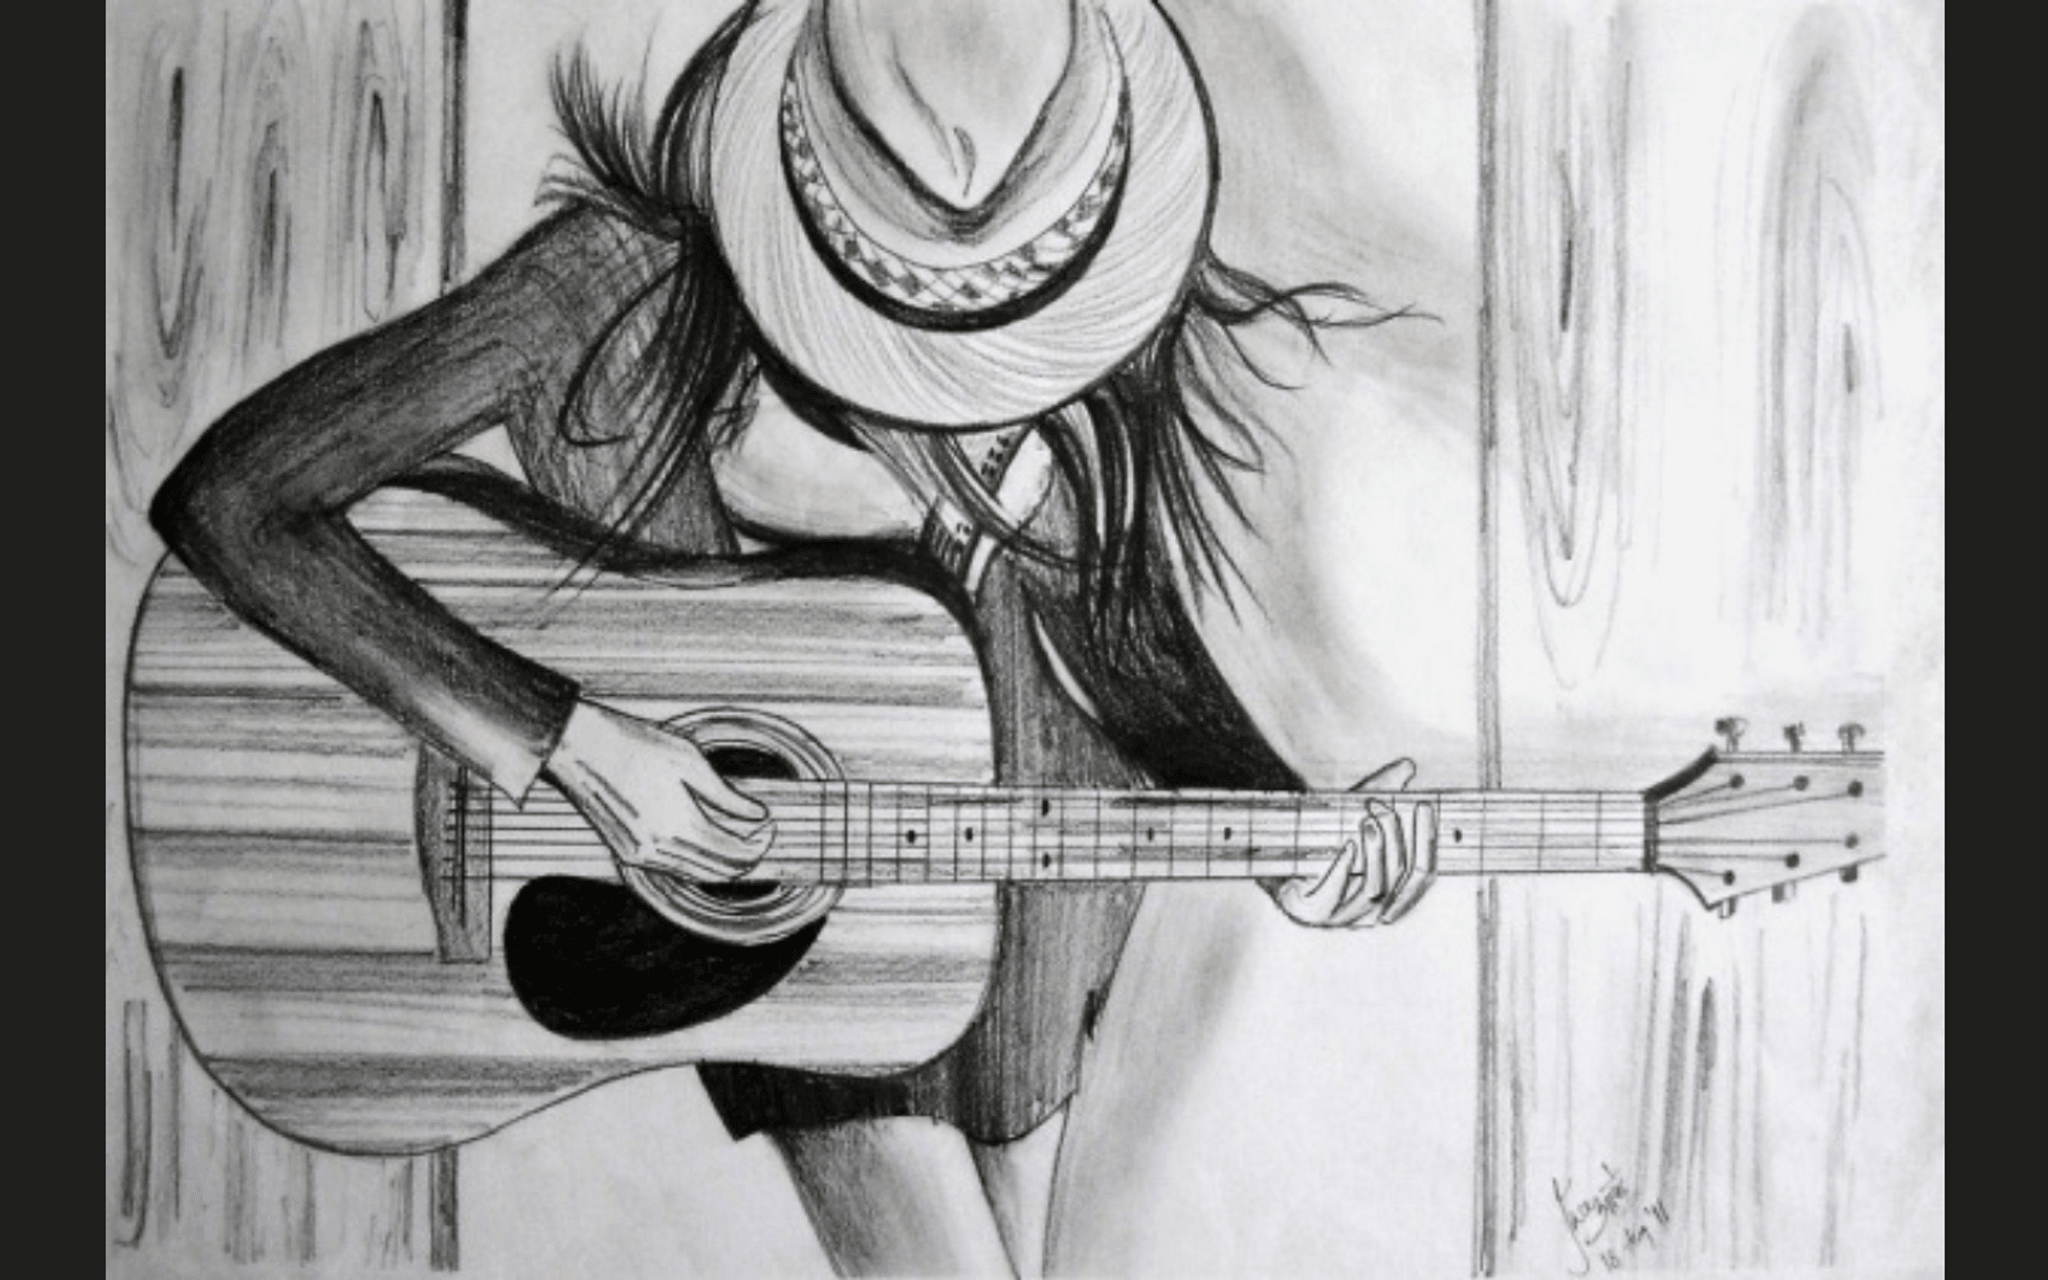
Sketch a Cool Guitarist
Draw a cool guitarist step-by-step: choose a pose, sketch the body and guitar, add details, patterns, and shading to bring it to life.

Drawing Apps
Step-by-step guide to sketch a cool guitarist
10 Easy Iconic Guitar Riffs for Beginners
Step 1
Pick a cool pose for your guitarist like standing strumming sitting rocking or jumping.
Step 2
Lightly draw a stick figure to map the head torso hips and limb positions for that pose.
Step 3
Add simple shapes over the stick figure for the head chest hips and hands to build body volume.
Step 4
Sketch the guitar placement with a big oval for the body and a long rectangle for the neck where the hands will meet it.
Step 5
Refine the arms and hands so they wrap naturally around the guitar neck and body.
Step 6
Build up the torso legs and feet by turning the simple shapes into smoother body outlines.
Step 7
Draw the face and hairstyle to give your guitarist personality.
Step 8
Add clothing details like a jacket hat ripped jeans or boots to show style.
Step 9
Draw guitar details such as the sound hole bridge strings and tuning pegs.
Step 10
Decorate the guitar and outfit with patterns stickers band logos or funky designs.
Step 11
Add shading and texture with your pencil to show where light hits and where shadows fall.
Step 12
Trace the final important lines with your black fine-tip marker and let it dry.
Step 13
Erase stray pencil lines gently and then color your drawing with your coloring materials.
Step 14
Share your finished cool guitarist on DIY.org
Help!?
What can we use if we don't have a black fine-tip marker or some coloring materials?
Use a ballpoint or felt-tip pen to trace final lines instead of the black fine-tip marker and substitute crayons, colored pencils, or washable markers for the coloring materials while keeping your pencil sketch light for erasing.
My guitarist's hands look awkward around the neck—how can I fix that?
Return to the 'lightly draw a stick figure' and 'sketch the guitar placement' steps, adjust arm angles so they meet the long rectangle neck, and refine the hands so they wrap naturally before tracing.
How can I adapt this activity for younger or older kids?
For younger kids keep it to a stick figure, big oval guitar body, and one color, while older kids can add clothing details, guitar strings, shading and texture, and trace with the black fine-tip marker.
What are simple ways to make the drawing more unique or advanced?
Personalize by decorating the guitar and outfit with stickers or band logos, create a stage background, add shading to show where light hits and shadows fall, then trace with the black fine-tip marker and color with your materials.
Watch videos on how to sketch a cool guitarist
7 Easy Guitar Riffs with One Finger (Perfect for Beginners!)
4 Videos

7 Easy Guitar Riffs with One Finger (Perfect for Beginners!)

8 EASY Beginner Guitar Riffs (With Tab)

5 Easy Led Zeppelin Riffs (Perfect for Beginners)

5 easy D Chord riffs to show you can play guitar... a guitar lesson with a guitar teacher
Facts about drawing and sketching for kids
🎸 The modern guitar evolved from older instruments like the lute and took its familiar shape in 19th-century Spain.
🎨 Shading with a clear single light source is a quick trick to make a flat sketch look three-dimensional.
🤘 Jimi Hendrix was left-handed and famously played right-handed guitars flipped over, shaping his signature style.
🎶 Most guitars have six strings, but 12-string, 7-string, and 8-string guitars add richer or heavier sounds.
🧍 When drawing people, artists often use the head as a unit — a typical adult figure is about 7–8 heads tall.
How do I draw a cool guitarist step-by-step?
What materials do I need to sketch a guitarist?
What ages is this drawing activity suitable for?
What are the benefits and fun variations of sketching a guitarist?
