Showcase your mic maintenance
Learn safe microphone maintenance: inspect, clean, and protect a mic using soft cloths, gentle brushes, and simple storage methods to preserve sound quality.


Step-by-step guide to perform safe microphone maintenance
Step 1
Gather all your materials and choose a clean well-lit table to work on.
Step 2
Turn off and unplug the microphone and remove any batteries.
Step 3
Look closely at the microphone body cable grille and connector for dents frayed wires or loose parts.
Step 4
Remove the foam windscreen or slide off the sock and place it on the towel.
Step 5
Use the soft-bristled brush to gently brush dust and loose dirt from the grille and around the microphone body.
Step 6
Dip a cotton swab in the bowl of warm soapy water and squeeze it so it is only slightly damp.
Step 7
Gently clean around the grille seams and connector with the slightly damp cotton swab without pushing liquid into openings.
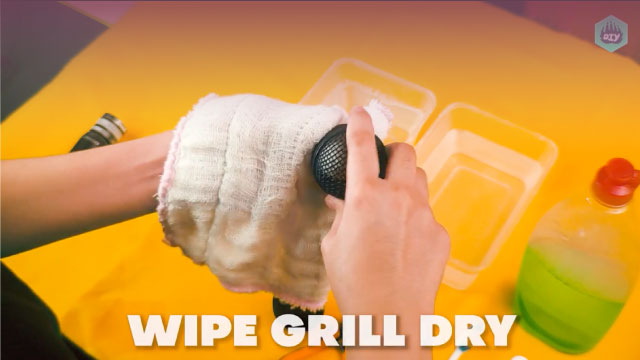
Step 8
Wipe the microphone body and cable with the microfiber cloth to remove fingerprints and grime.
Step 9
Dry the microphone and cable with a dry part of the microfiber cloth and let them sit to air-dry for a few minutes.
Step 10
Gently wash the foam windscreen in the bowl with a little mild dish soap by squeezing it to work the soap through.
Step 11
Rinse the foam windscreen under cool running water and gently squeeze out extra water then set it on the towel to air-dry completely.
Step 12
Once everything is completely dry put the foam windscreen or sock back on the microphone coil the cable loosely and place the mic and cable into the box or zip-top bag for storage.
Step 13
Share a photo and short note about your cleaned and protected microphone on DIY.org
Final steps
You're almost there! Complete all the steps, bring your creation to life, post it, and conquer the challenge!

Help!?
What can we use if we don't have a microfiber cloth, soft-bristled brush, or cotton swabs?
If you don't have a microfiber cloth, soft-bristled brush, or cotton swabs, substitute a clean lint-free cotton T-shirt for wiping, an unused soft toothbrush to gently brush dust from the grille and microphone body, and a slightly damp corner of the cloth or a folded paper towel for cleaning seams while keeping moisture out of openings.
What should we do if liquid gets into the grille or connector while cleaning?
If liquid gets into the grille or connector after using the slightly damp cotton swab, immediately pat the area dry with the microfiber cloth and let the microphone sit unplugged to air-dry fully for several hours before reassembling and storing it in the box or zip-top bag.
How can we adapt this activity for younger children or older kids?
For younger children, have an adult handle turning off/unplugging, battery removal, and all wet cleaning while the child gently brushes the grille and wipes the body with the microfiber cloth, and for older kids let them complete the full inspection for dents and frayed wires, wash and rinse the foam windscreen, coil the cable, and post the cleaned mic photo on DIY.org.
How can we extend or personalize the mic maintenance activity?
Extend the activity by adding a silica gel packet to the storage box before placing the cleaned microphone and coiled cable inside, decorating or labeling the zip-top bag or foam windscreen sock, and including a short before-and-after note with the photo when you share on DIY.org.
Watch videos on how to perform safe microphone maintenance
Help your child talk with an echo microphone! Speech and language therapy toys I use (teletherapy)
3 Videos

Help your child talk with an echo microphone! Speech and language therapy toys I use (teletherapy)

Health and Safety for ICT
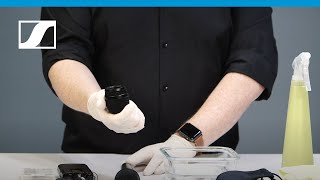
Microphone Hygiene | Sennheiser
Facts about audio equipment care
⚡ Condenser microphones need phantom power and are more delicate than dynamic mics, so they benefit from careful handling.
🧽 A worn or torn windscreen/pop filter can change how your voice sounds on recordings — swap it when it's squashed or dirty.
🧼 Gentle cleaning with soft cloths and brushes helps prevent dust and saliva buildup that can muff le a mic's sound.
📦 Keeping a microphone in a dry case or pouch protects it from moisture and dust that cause corrosion and damage.
🎤 Microphones are super sensitive — some can detect air pressure changes smaller than the width of a human hair!
How do I teach my child to safely maintain a microphone?
What materials do I need for a child-friendly mic maintenance activity?
What ages is this mic maintenance activity suitable for?
What are the benefits of teaching mic maintenance and important safety tips?


One subscription, many ways to play and learn.
Only $6.99 after trial. No credit card required