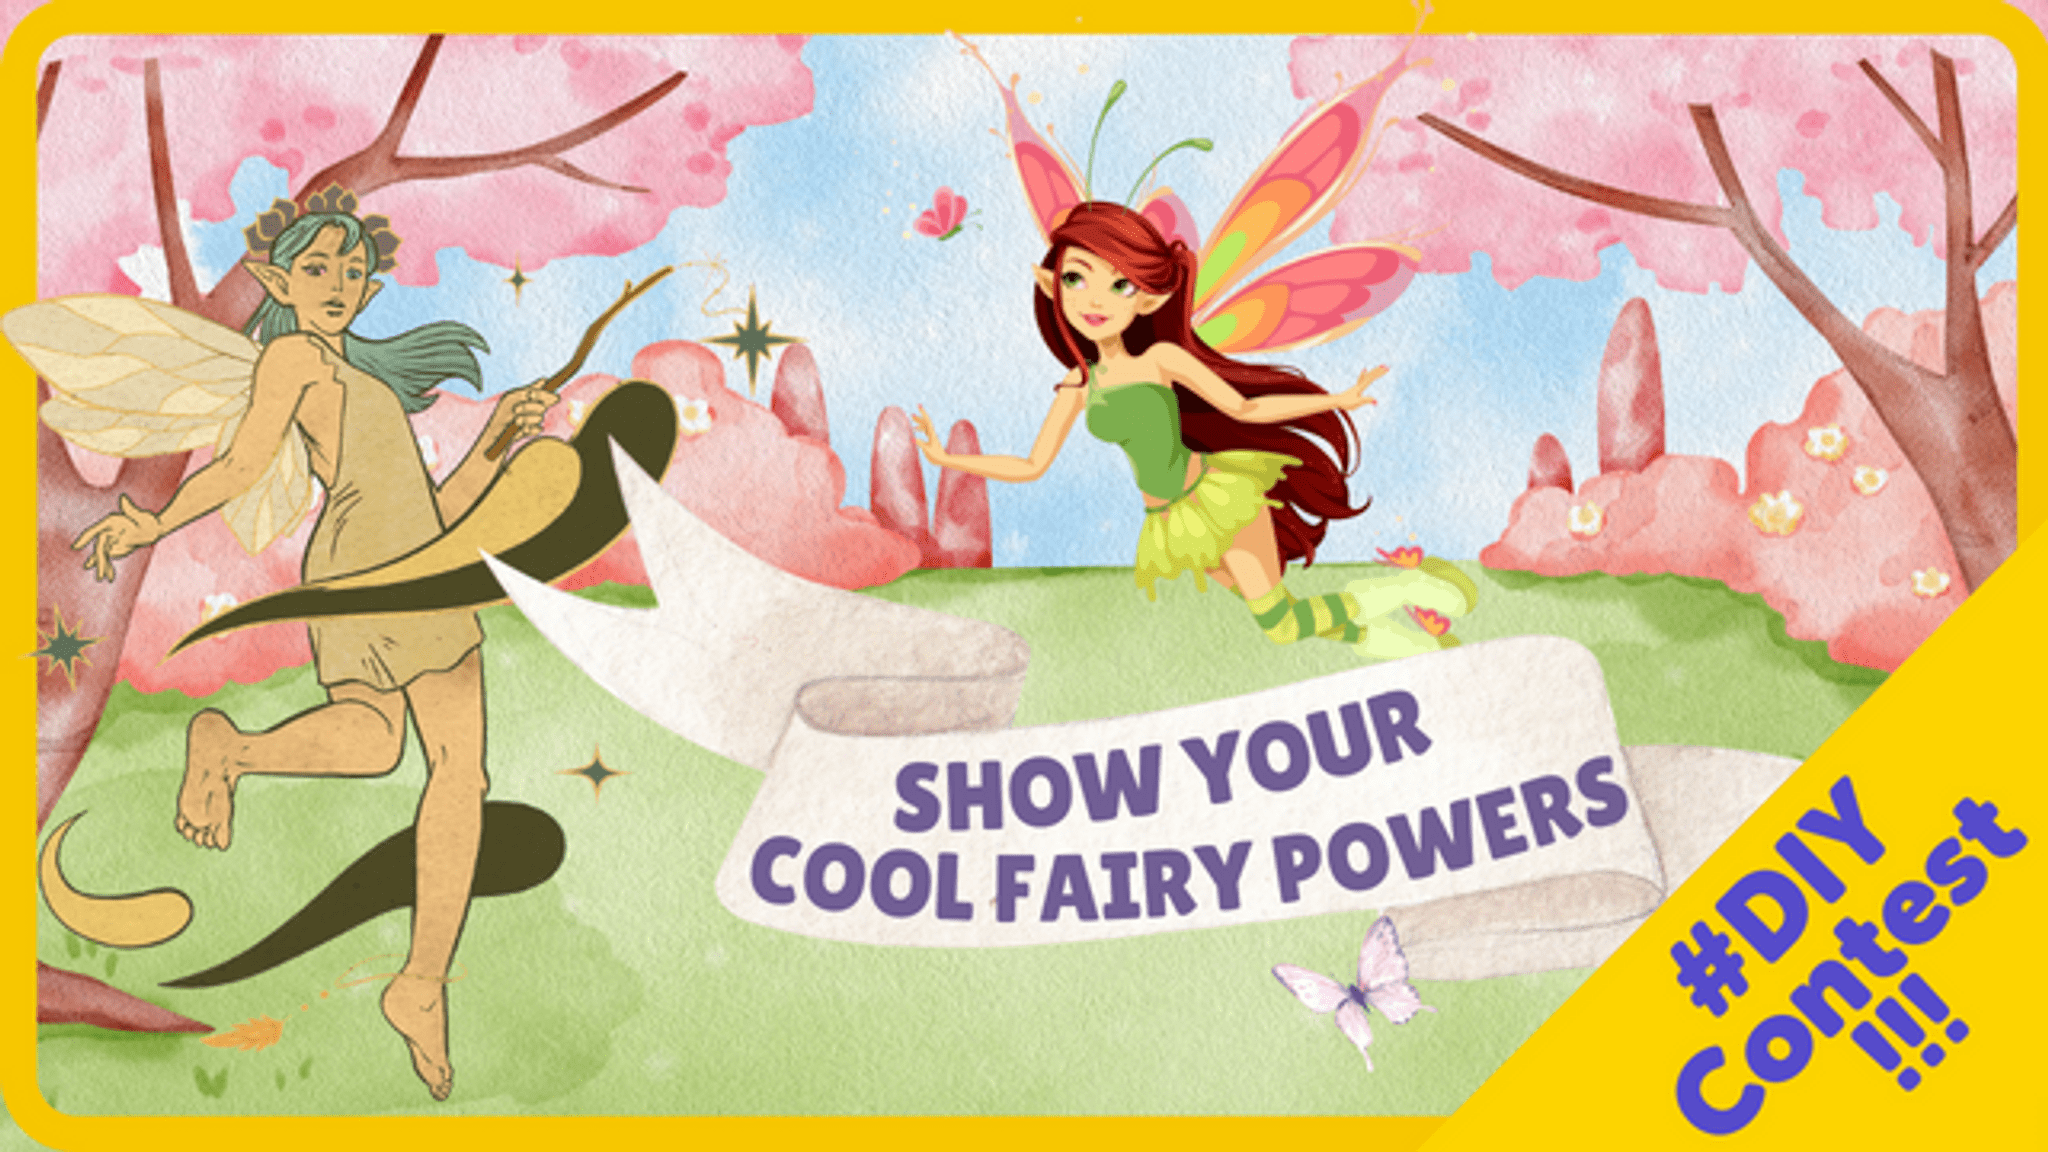
Show your Cool Fairy Powers if ur a fairy w/ DIY Star @xoxogabs
Make a glowing fairy star wand using cardboard, pipe cleaners, tissue paper, glitter, and a safe battery LED to practice crafting and simple circuits.


Step-by-step guide to make a glowing fairy star wand
Stella's Transformation: original Season 1 vs. Reboot Side-by-Side | Winx Club Official
Step 1
Draw and cut two identical star shapes from the cardboard.
Step 2
Cut a small rectangular pocket in the back of one star big enough for the coin cell battery.
Step 3
Cut a piece of tissue paper slightly larger than the star.
Step 4
Glue the tissue paper onto the front of one star and smooth it flat.
Step 5
Apply glue in fun patterns on top of the tissue where you want sparkle.
Step 6
Sprinkle glitter over the glued areas.
Step 7
Find the coin cell battery and the LED and identify the battery’s + side and the LED’s positive lead.
Step 8
Make a tiny hole in the tissue where you want the light to shine.
Step 9
Push the LED bulb through that hole so the light sits on the front and the wires are behind the star.
Step 10
Slide the coin cell into the back pocket behind the LED.
Step 11
Press the LED leads onto the correct battery terminals so the LED lights.
Step 12
Tape the wooden stick or straw to the back star to make the wand handle.
Step 13
Glue or tape the two star pieces together around the edges while keeping the battery pocket accessible.
Step 14
Create an on/off switch by placing a small removable strip of tape over one LED lead so you can lift it to turn the light off.
Step 15
Share your glowing fairy star wand on DIY.org.
Help!?
What can I use if I can't find coin cell batteries or a tiny LED?
If you can't find a coin cell and LED, tuck a small battery-powered LED tealight or a snap-on LED module into the cardboard pocket and follow the same 'slide the coin cell into the back pocket behind the LED' step.
My LED won't light—what should I check first?
Check that the coin cell’s + side is touching the LED’s positive lead, re-seat the LED leads onto the correct battery terminals in the back pocket, and make sure glue or glitter isn't blocking the tiny hole where you pushed the LED bulb through.
How can I adapt the project for different ages?
For younger kids have an adult pre-cut the stars and handle and do the coin cell/LED steps while the child glues tissue and sprinkles glitter, and for older kids let them cut the pocket, push the LED through the tissue, and create the removable tape switch themselves.
How can we make the fairy star wand more special or fancy?
Personalize the wand by painting the cardboard, layering colored tissue on the front, adding sequins over the glued glitter patterns, sliding two different-color LEDs into separate holes for a multicolored glow, and decorating the stick before gluing the stars together.
Watch videos on how to make a glowing fairy star wand
RECAP - Chhota Bheem VS Rangda The Battle for Bali | Epic Action Scenes | Cartoons for Kids
4 Videos

RECAP - Chhota Bheem VS Rangda The Battle for Bali | Epic Action Scenes | Cartoons for Kids

Lego Star Wars: Rebuild the Galaxy -- Pieces of the Past Trailer
The Fantastic Four Discover Their Powers 🚀 | Fantastic Four | @MarvelHQ

Animals with Superpowers | BBC Earth
Facts about crafting and simple circuits for kids
🧚 Fairies appear in folklore across many cultures — some fairy stories and beliefs are over a thousand years old.
💡 A tiny LED uses far less energy than an old-fashioned bulb, so a small coin cell can make your wand glow for hours.
🔋 Common coin (button) cell batteries like the CR2032 are about 3 volts and are often used to safely power craft LEDs.
✨ Tissue paper is great for glowing projects because it’s thin enough for light to shine through for a soft, magical effect.
🧵 Pipe cleaners (chenille stems) bend easily and hold their shape, perfect for shaping star points and wrapping wand handles.
How do I make a glowing fairy star wand?
What materials do I need to make this DIY fairy star wand?
What ages is the glowing fairy star wand activity suitable for?
What safety tips and variations should I consider for this craft?
