Show Us Your City's First Letter with a Hand Sign
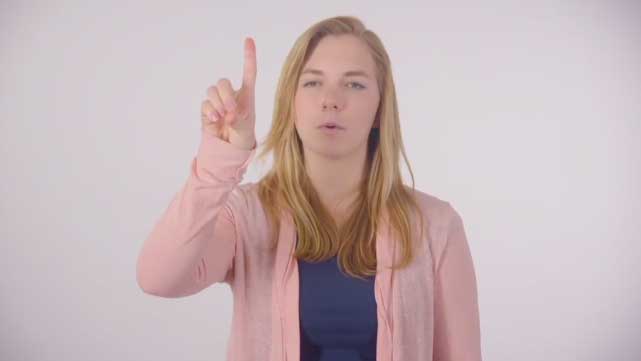
Make a hand sign that shapes the first letter of your city's name, practice it with friends, and safely photograph or record your sign.
About this activity
Make a hand sign that shapes the first letter of your city's name, practice it with friends, and safely photograph or record your sign.
What you need
Step by step
- 1
Step 1
Say your city's name out loud and remember the first letter.
- 2
Step 2
Picture the shape of that first letter in your mind.
- 3
Step 3
Imagine how one hand or two hands could make that letter shape.
- 4
Step 4
Stand in a clear spot with good light.
- 5
Step 5
Stand in front of a mirror.
- 6
Step 6
Hold your hands up so you can see them in the mirror.
- 7
Step 7
Move your fingers and wrist until your hands look like the letter in the mirror.
- 8
Step 8
Hold the hand sign steady for five seconds so you can check how it looks.
- 9
Step 9
Show the sign to a friend or family member and ask them to copy it.
- 10
Step 10
Practice making the sign together three times.
- 11
Step 11
Choose a safe well-lit spot to take a photo or video of the sign.
- 12
Step 12
Ask an adult for permission and help to photograph or record your hand sign.
- 13
Step 13
Look at the photos or video and pick your favorite shot.
- 14
Step 14
Share your favorite photo or video of your hand-sign letter on DIY.org.
Fun facts
How to make a hand sign that shapes the first letter of your city's name and record it safely?
Start by saying your city's name and identifying its first letter. Use a mirror to experiment shaping that letter with one or both hands—try fingers, thumbs, or hand overlap until it looks like the letter. Practice the sign slowly, then with friends to synchronize. Choose a well-lit, safe spot and use a phone on a stable surface or ask an adult to photograph or record. Keep poses comfortable and non-straining.
What materials do I need to make and photograph a hand sign of my city's first letter?
You'll need a smartphone or camera, a mirror for practice, and a stable surface or small tripod to hold the device. Optional: simple backdrop (sheet), good natural or lamp lighting, and a friend or adult to help with photos. If sharing online, have privacy settings and parental approval ready. No special craft supplies required.
What ages is the hand-sign city-letter activity suitable for?
This activity suits preschoolers through teens with adult guidance. Ages 3–5 can make simple one-hand letters with help and supervision. Ages 6–9 can design and practice more precise shapes and safely use a camera with an adult nearby. Ages 10 and up can coordinate group signs, record short videos, and handle online sharing with parental permission. Adapt difficulty and supervision for each child's motor skills.
What are the benefits and safety tips for this hand-sign city letter activity?
Benefits include creativity, fine motor skill practice, spatial reasoning, teamwork and city pride as children design and sync signs. Safety tips: never climb or stretch into dangerous positions to form letters; practice gentle poses; have an adult supervise photo sessions; ask permission before photographing people or private property; review privacy settings before sharing online; and stop if a hand feels uncomfortable or painful.
Watch & Learn
Need help?
What can we use if we don't have a mirror or a camera?
Use a glossy phone or tablet screen or a window reflection instead of a mirror, and use an adult's smartphone, tablet, or webcam to photograph or record the sign while following the instruction to ask an adult for permission and help.
My hands don't look like the letter in the mirror — what should I try?
Draw the first letter on paper and hold your hands above it while looking in the mirror, try using two hands to form different parts of the shape, ask a friend or family member to copy and give feedback, then hold the sign steady for five seconds and practice three times as the steps suggest.
How can we adapt this activity for younger or older kids?
For younger children, have an adult or older sibling gently position their hands and help take the photo while they hold the sign for five seconds, and for older kids challenge them to record a video spelling the whole city name with a sequence of hand signs and edit it before sharing on DIY.org.
How can we make the hand-sign photo more creative or personal?
Choose a safe well-lit spot with a colorful background or a small city-related prop or costume, try different camera angles or a short video clip, then look at the photos or video, pick your favorite shot, and share it on DIY.org as the instructions direct.