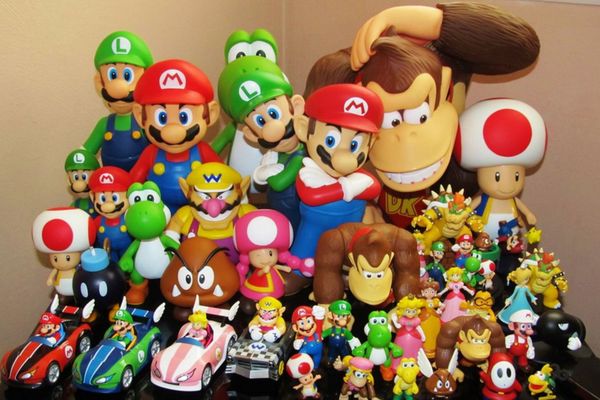
Show off your collection
Create a mini display or shadow box to showcase your collection, label items, arrange them attractively, and present your collection to family or friends.


Step-by-step guide to show off your collection
Create Kids Activity Books on Canva Tutorial for Beginners | Step by Step (Free Class)
Step 1
Pick 6 to 10 favorite items from your collection to include in your display.
Step 2
Choose a small box or shoebox to use as your mini display case and place it open-side up on your table.
Step 3
Clear any loose bits from inside the box and wipe it gently so the inside is clean.
Step 4
Arrange your chosen items inside the empty box without attaching them to try different layouts.
Step 5
Cut a piece of plain paper or cardstock to fit the back and bottom of the box.
Step 6
Glue or tape the cut paper into the box to make a neat background.
Step 7
Write short names or fun facts for each item on sticky notes or label paper.
Step 8
Attach each label near its item using small pieces of tape or by sticking it to the box.
Step 9
Secure each item in place using mounting putty or small strips of double sided tape.
Step 10
Decorate the inside and edges of the box with stickers or marker designs to make it look lively.
Step 11
Show your finished mini display to family or friends.
Step 12
Share your finished creation on DIY.org
Final steps
You're almost there! Complete all the steps, bring your creation to life, post it, and conquer the challenge!


Help!?
If I can't find mounting putty or double-sided tape, what can I use instead to keep items in place?
Use small balls of rolled masking tape, a dab of white craft glue for lightweight items, or play‑dough/clay tucked under each item to 'Secure each item in place' as described in the instructions.
My labels keep falling off and items slide around—what should I try?
Write labels on sturdier cardstock instead of flimsy sticky notes, reinforce each label and its attachment point with small pieces of clear tape, and press extra mounting putty or rolled tape under each item per the 'Write short names' and 'Secure each item in place' steps.
How can I adapt this activity for different age groups?
For younger kids, pick 3–5 larger items, use pre‑cut paper and stickers and have an adult handle cutting and gluing, while older kids can arrange 8–10 items, add longer facts on labels, and try tiny LED lights or a clear cover when following steps like 'Cut a piece of plain paper,' 'Glue or tape,' and 'Decorate.'
What are some ways to extend or personalize the mini display after it's assembled?
Personalize the background by painting or gluing patterned paper to the back and bottom, add battery LED tea lights behind items, include a small photo or QR code with extra facts, and photograph the finished mini display to share on DIY.org as the final step suggests.
Watch videos on how to show off your collection
How to Make DIY Scratch Art at Home | Easy & Fun Art Project for Kids
Facts about shadow box crafts for kids
🎨 Display designers often group items in odd numbers (3 or 5) because our eyes find asymmetrical clusters more interesting.
🏷️ Museum labels usually include title, maker, date, and origin — great info to copy for your own display cards.
🧸 Shadow boxes are like tiny stages — they turn small toys, shells, or badges into mini-stories you can hang on a wall.
🏛️ The British Museum's collection holds around 8 million objects, showing how huge a real museum collection can be!
🧠 The word "curator" comes from the Latin curare, meaning "to take care of" — you're the curator of your mini exhibit!
How do I help my child create a mini display or shadow box to show off their collection?
What materials do I need to make a mini display or shadow box for a child's collection?
What ages is creating a mini display or shadow box suitable for?
What are the benefits and safety tips for making and presenting a child's collection display?


Make things. Learn new skills. Share safely.
DIY is a creative community where kids draw, build, explore ideas, and share what they make, all in a safe, moderated space.
Only $0 after trial. No credit card required


