Shoot a makeup tutorial
Create a simple camera friendly face paint look using safe washable paints, then record a short step by step makeup tutorial to practice filming skills.


Step-by-step guide to shoot a makeup tutorial and create a camera-friendly face paint look
MAKEUP TUTORIALS FOR GIRLS
Step 1
Wash your hands with soap and water so your paints and face stay clean.
Step 2
Put on the headband or tie your hair back so your face is clear.
Step 3
Lay the towel down and place the mirror where you can see your whole face.
Step 4
Pick a simple camera-friendly design like a small heart star or animal mask and draw it once on paper to practice.
Step 5
Choose two or three paint colors and set your brushes or sponges nearby.
Step 6
Put a tiny dot of each paint on the back of your hand and test the colors.
Step 7
Use a sponge or brush to apply the light base shape of your design onto your face.
Step 8
Add one or two detail lines or dots with a smaller brush to finish the design.
Step 9
Gently wipe any mistakes with a face wipe and pat the area dry with the towel.
Step 10
Move to a plain wall or cloth background and make sure the lighting shows your face clearly.
Step 11
Press record on your camera and say your name and the name of the look to introduce your tutorial.
Step 12
Explain each step slowly to the camera while pointing to or showing the finished areas on your face.
Step 13
Stop the recording and save your video file.
Step 14
Share your finished face-paint look and tutorial on DIY.org
Help!?
What can we use if we don't have face paint, a small sponge, or a mirror?
Use non-toxic washable tempera or water-based body paint safe for skin as face paint, a clean kitchen sponge or cotton ball instead of a small makeup sponge or brush, and your phone's front-facing camera as a mirror while following the step to 'put a tiny dot of each paint on the back of your hand and test the colors'.
What should we do if the paint smudges, is too dark, or the design doesn't look right on camera?
Gently wipe mistakes with a face wipe and pat dry with the towel (step 9), let the light base shape dry before adding detail lines (step 7), dilute paint or test more on the back of your hand (step 5) to fix darkness, and check lighting against the plain wall background (step 11) so the camera records the design clearly.
How can we adapt the tutorial for different ages or skill levels?
For younger kids pick a very simple camera-friendly design, limit to two colors and have an adult help with 'Wash your hands' and 'Put on the headband' and with pressing record, while older kids can follow the 'draw it once on paper' practice, add extra detail lines, and explain each step slowly to camera.
How can we extend or personalize the face-paint tutorial to make it more creative or shareable?
Add skin-safe cosmetic glitter or small costume props, change the plain wall or cloth background for a themed look (step 11), record a short intro and outro when you 'say your name and the name of the look' (step 12), and then save and share your finished face-paint look on DIY.org (step 14).
Watch videos on how to shoot a makeup tutorial and create a camera-friendly face paint look
EASY MAKEUP TUTORIALS AND BEAUTY HACKS YOU SHOULD TRY
4 Videos
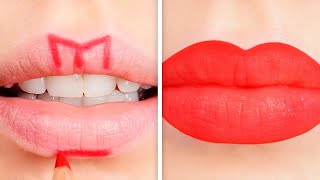
EASY MAKEUP TUTORIALS AND BEAUTY HACKS YOU SHOULD TRY
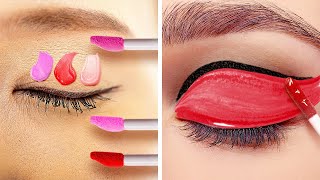
28 EASY MAKEUP TUTORIALS EVERY GIRL WOULD APPRECIATE
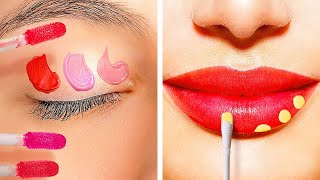
Easy Makeup Hacks For Beginners
AMAZING BEAUTY TIPS AND MAKEUP TUTORIALS FOR ALL GENERATIONS
Facts about children's face painting and basic on-camera makeup
🎨 Face paints are usually water-based and designed to wash off easily with soap and water.
🧴 Many child-safe face paints are labeled non-toxic and formulated for sensitive skin—still do a small patch test first.
🎬 Short, step-by-step tutorials (think 1–3 clear steps) are easier for viewers to follow and great for practicing filming.
💡 Good lighting and an eye-level camera make colors pop on video and show details much more clearly.
✨ Simple designs like stars, hearts, and rainbows can be done in 5–10 minutes and look fantastic on camera.
How do I help my child create and film a simple, camera-friendly face paint tutorial?
What materials do I need to shoot a kid-friendly face paint tutorial?
What ages is this face paint and filming activity suitable for?
What are the safety tips and benefits of filming a kid-friendly face paint tutorial?
