Share Your Serene Artistic Mandala Creations
Create colorful mandala drawings using paper, pencils, markers, and symmetry patterns, then display or photograph and share your serene artwork with others.


Step-by-step guide to Share Your Serene Artistic Mandala Creations
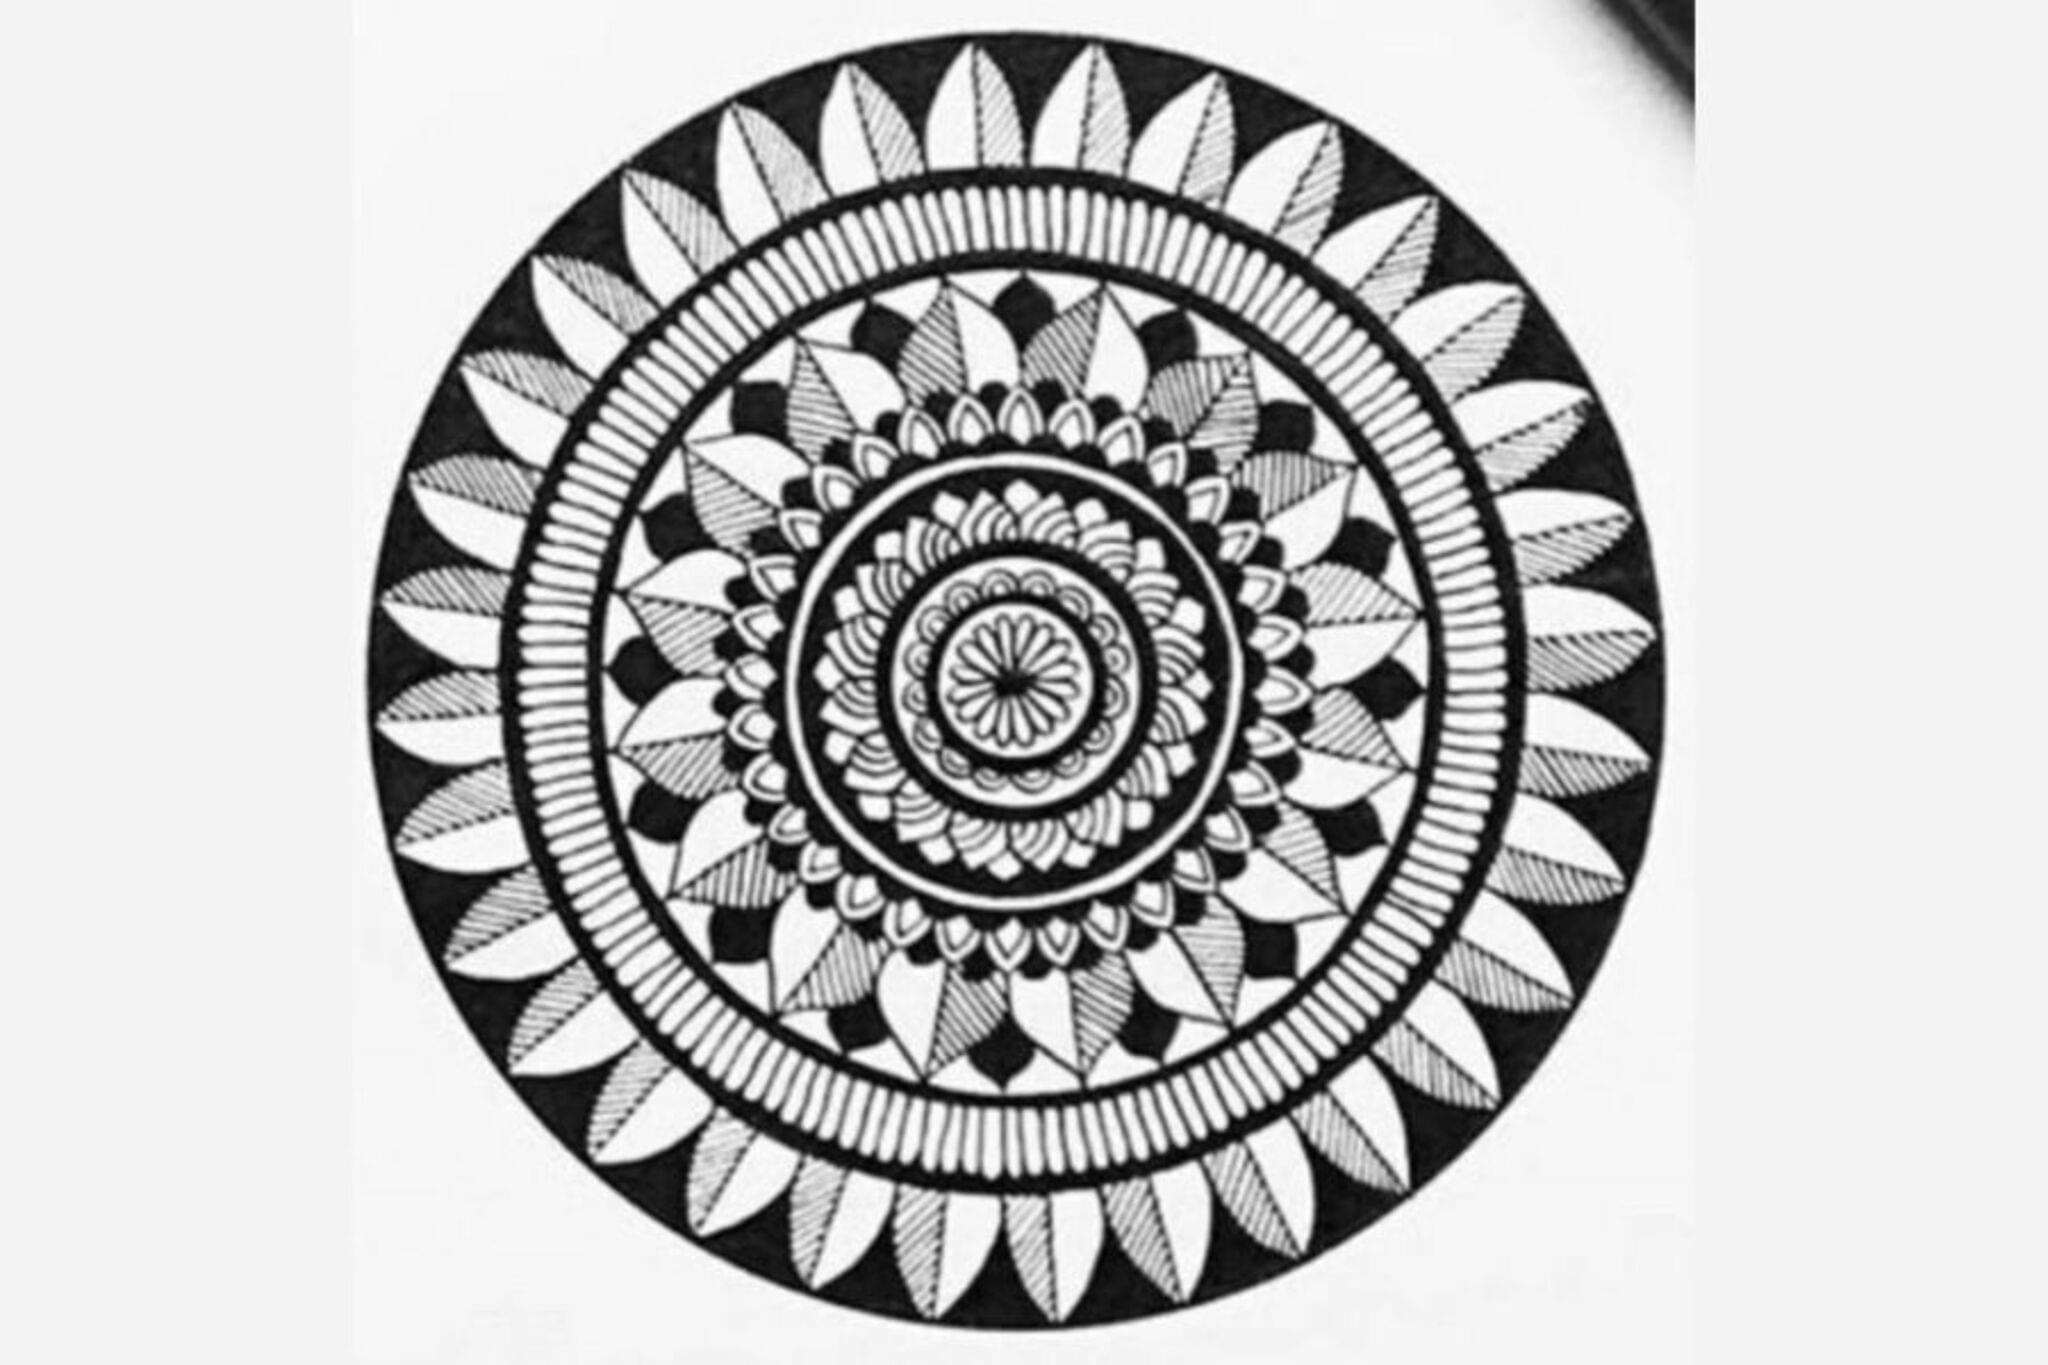
How to Draw a Mandala: Step-By-Step Tutorial for Kids
Step 1
Gather the materials listed and place them where you can reach them easily.
Step 2
Fold the paper in half one way and then fold it in half the other way to make a small crease at the center.
Step 3
Put the round object over the center crease and lightly trace around it with your pencil to make a circle.
Step 4
Use the ruler to draw 6 or 8 straight lines through the center so the circle is divided into equal sections like slices.
Step 5
In one slice near the center, lightly draw a simple shape such as a petal or teardrop with your pencil.
Step 6
Copy that same shape into each slice so the center design is symmetrical.
Step 7
Draw another ring outside the first circle by tracing a slightly larger circle or freehanding a smooth round line.
Step 8
Fill each ring or each slice with repeating patterns like dots stripes small petals or zigzags using your pencil.
Step 9
Carefully trace over the pencil lines you want to keep with a marker to make your design bold.
Step 10
Color the different sections of your mandala using markers or colored pencils to create a calm color scheme.
Step 11
Take a clear photo of your finished mandala or display it somewhere visible for others to enjoy.
Step 12
Share your finished mandala creation on DIY.org
Help!?
What can I use instead of the round object or ruler if I can't find them?
If you don't have a round object, use a cup lid, small plate, or jar rim to trace the circle over the center crease, and if you don't have a ruler use the straight edge of a book or a folded piece of cardboard to draw the 6 or 8 straight lines.
My slices look uneven when I draw the 6 or 8 lines—how can I fix that?
Refold the paper along the original half-way creases to re-establish the center and use those creases as guides while drawing lines with the ruler so each slice through the center is more equal.
How can I adapt this mandala activity for younger or older kids?
For younger children simplify by using fewer slices (for example 4), bigger shapes, and thick markers for coloring, while older kids can add more slices, extra rings, finer repeating patterns, and use colored pencils or a compass for precise circles.
How can we enhance or personalize the finished mandala before sharing on DIY.org?
Personalize it by adding a light watercolor wash before coloring, tracing the final pencil lines with metallic gel pens after the marker step, or mounting it on colored cardstock and taking a clear, well-lit photo for DIY.org.
Watch videos on how to Share Your Serene Artistic Mandala Creations
Complete Beginner's Guide to Mandalas & Sacred Geometry Art
4 Videos
Complete Beginner's Guide to Mandalas & Sacred Geometry Art
HOW TO DRAW BEST VERY EASY MANDALA ART FOR KIDS
🌻Easy Way to Draw Mandala | Colourful Mandala Art for Beginners 💛

Let's create Mini Mandalas with some basic & easy Patterns ✨🥰 How to draw Mandala Art for beginners
Facts about mandala art and symmetry
🎨 Artists use mandalas to explore color, pattern, and balance — they're like colorful puzzles you design!
🕉️ The word "mandala" comes from Sanskrit and means "circle" — many mandalas start from a single center point.
🧘♀️ Monks can spend days creating sand mandalas as a form of meditation and then sweep them away to show life's impermanence.
✳️ Mandalas use radial symmetry: shapes and motifs repeat around the center like the spokes of a wheel.
📷 Mandala photos are super shareable — bright, symmetric designs often get lots of attention on social media and art galleries.
How do I create and share a serene mandala drawing?
What materials do I need to make colorful mandala art?
What ages is this mandala activity suitable for?
What are the benefits of making and sharing mandala art?
