Share your favorite fact about hooping
Create a short presentation sharing your favorite hooping fact, make a demonstration hoop, photograph it, and explain why it’s interesting.


Step-by-step guide to share your favorite fact about hooping
Step 1
Pick your favorite fact about hooping and say it out loud once.
Step 2
Write a short catchy title for your presentation on a piece of paper.
Step 3
On the same paper write two or three simple points that explain the fact and why it is interesting.
Step 4
Decide if you will use a ready-made hula hoop or make a demonstration hoop from flexible tubing.
Step 5
Gather the hoop or tubing plus the tape scissors and colouring materials you will need.
Step 6
With an adult's help cut the tubing to a length that will make a circle about as tall as your waist.
Step 7
With an adult's help join the two tubing ends and tape them securely so the hoop holds its round shape.
Step 8
Decorate your hoop with tape or markers to make it bright and fun.
Step 9
Practice one simple hooping move that shows your fact for one minute so you feel confident.
Step 10
Take one or two clear photos of your decorated hoop and a photo of you doing the demonstration.
Step 11
Put your title points and photos together on the paper to make your short presentation.
Step 12
Read your presentation out loud one time so it sounds smooth and clear.
Step 13
Share your finished creation on DIY.org
Help!?
What can we use instead of flexible tubing if it's hard to find?
If flexible tubing isn't available, use a ready-made hula hoop or a pool noodle or soft PVC pipe from a hardware store and join the ends with duct tape as described in 'With an adult's help join the two tubing ends and tape them securely so the hoop holds its round shape.'
My hoop keeps coming apart or is sagging — what should I do?
If the hoop comes apart or sags, have an adult re-cut the tubing to the correct waist-height, overlap the ends tightly and reinforce the join with extra duct tape or zip ties as suggested in the 'With an adult's help join the two tubing ends and tape them securely' step.
How can I change the activity to suit younger or older kids?
For younger kids have an adult pre-cut and join a larger, more stable hoop and simplify the task to practicing one very easy move and taking one photo, while older kids can make a smaller hoop, add detailed decorations and practice a longer or more advanced move before assembling the title, points and photos.
How can we make the presentation more exciting or personal?
Enhance the project by following 'Decorate your hoop with tape or markers' with themed stickers or LED tape, take clear photos and a short video of your one-minute demonstration, and include those visuals with your catchy title and two or three points before you 'Share your finished creation on DIY.org.'
Watch videos on how to create a hooping presentation
BEGINNER HOOPING TUTORIAL | Easy TRICKS and TRANSITIONS
4 Videos
BEGINNER HOOPING TUTORIAL | Easy TRICKS and TRANSITIONS
3 EASY HOOP TRICKS | BEGINNER HOOPING
3 Easy Hoop Tricks ⭕️ What To Do With A Hula Hoop 💃 How To Hoop Dance

10 BEGINNER HOOP TRICK TUTORIALS!
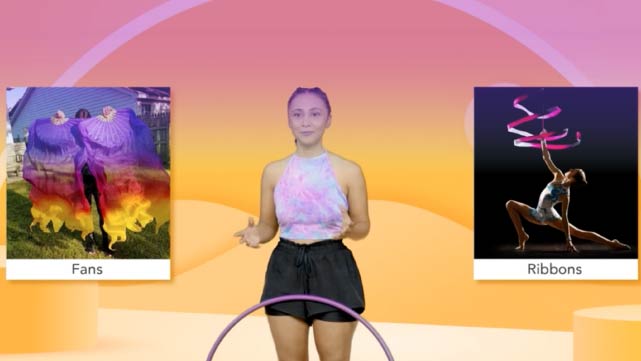
Facts about hula hooping
🌀 The modern plastic Hula Hoop was popularized by Wham-O in 1958 and sparked a worldwide craze.
🔁 Hooping is part of flow arts — a creative mix of dance, movement, and object manipulation seen at festivals around the world.
💪 Hooping is great exercise: regular sessions help strengthen your core, improve balance, and boost coordination.
📏 Hoop size matters: larger, heavier hoops spin slower and are easier for beginners; smaller hoops let you do faster tricks.
📸 Photographing your hoop demo is a smart way to show design, size, and technique — perfect for a short presentation!
How do you create and present a short hooping fact presentation?
What materials do I need to make a demonstration hoop and photograph it?
What ages is this hooping presentation activity suitable for?
What are the benefits of having my child research and present a hooping fact?
