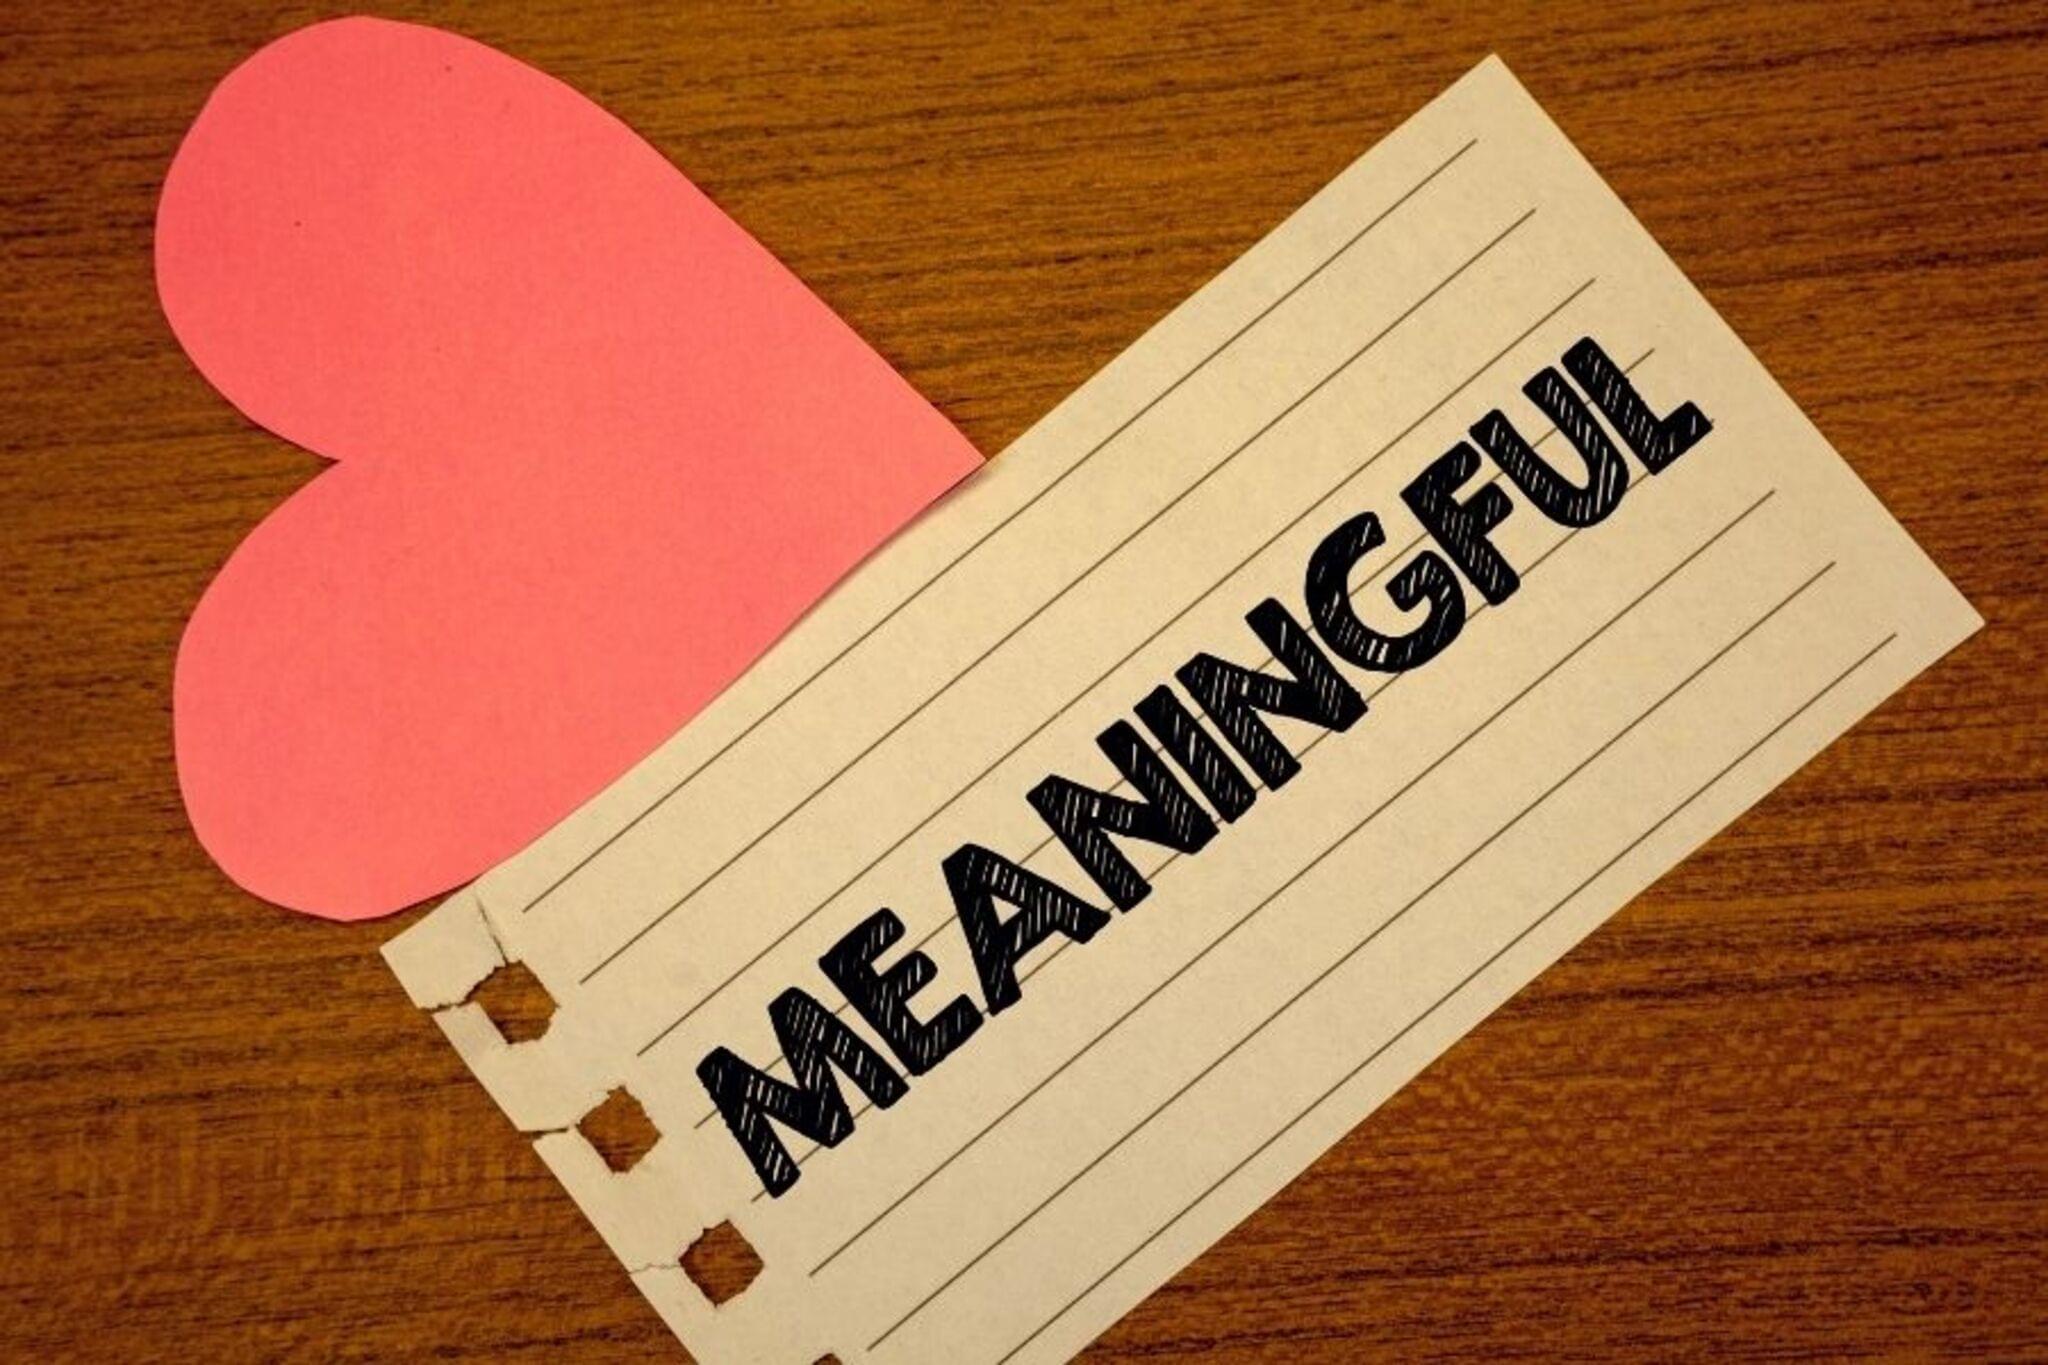
Share Something That's Meaningful With DIY!
Make a handmade memory jar filled with notes, drawings, and small keepsakes to share with someone special, learning storytelling and empathy.


Step-by-step guide to make a handmade memory jar
Mind-Blowing DIY Crafts Your Kids Will Actually Love
Step 1
Gather all materials in one place so you are ready to start.
Step 2
Wash the jar and lid and dry them with a towel.
Step 3
Use scissors to cut the paper into small squares or strips that will fit into the jar.
Step 4
Think of one happy memory kind moment or thing you love to share.
Step 5
Write a short note or draw a picture that describes that memory on one piece of paper.
Step 6
Fold or roll the paper so it fits neatly into the jar.
Step 7
Place the folded note into the jar.
Step 8
Choose a small keepsake and add it into the jar with the note.
Step 9
Repeat Steps 5 to 8 to add more memories and keepsakes until the jar feels full or you have enough.
Step 10
Decorate the outside of the jar using stickers drawings or labels to make it special.
Step 11
Screw the lid onto the jar so your memories are safe inside.
Step 12
Share your finished memory jar on DIY.org so someone special can see and enjoy it.
Help!?
What can I use if I don't have a jar or stickers?
Use a clean empty plastic food container or a small shoebox instead of the jar and lid from Step 2, and decorate the outside with paper labels, ribbon, or washi tape in place of stickers when you do Step 9.
My notes or keepsakes won't fit and the lid won't close—what should I do?
Cut the paper into smaller squares as directed in Step 3, fold or roll each note per Step 6, and swap bulky items for flat keepsakes like photos or ticket stubs so you can complete Step 10 and screw the lid onto the jar.
How can I adapt this activity for different ages?
For younger children, have an adult pre-cut the paper in Step 3 and let them draw or stick decorations in Step 9 using a plastic container for safety, while older kids can write longer memories in Step 5, add meaningful keepsakes in Step 7, and design more detailed decorations before sharing on DIY.org in Step 11.
How can we make the memory jar more special or last longer?
Personalize and extend the project by color-coding or dating each note from Step 5, adding a small battery fairy light or silica gel packet before screwing the lid in Step 10, and creating themed jars (like 'gratitude' or 'vacations') to feature when you share on DIY.org in Step 11.
Watch videos on how to make a handmade memory jar
10 Creative and Easy Kids Craft | Fun Crafts for Kids | Handmeyd Treasures
4 Videos
10 Creative and Easy Kids Craft | Fun Crafts for Kids | Handmeyd Treasures
Arts and Crafts for Kids to Make at Home | Highlights Parents

Top 5 DIY Crafts You Can Master! Including Wood, Decoupage & Step-by-Step Tutorials!

DIY NANO TAPE CRAFTS 🌟🎨 ENGAGING SCHOOL CRAFTS & HACKS
Facts about keepsake crafts for kids
📖 Stories help people remember information better than isolated facts because stories create emotional and logical connections.
✍️ Writing memories by hand often boosts recall—handwriting engages more brain networks than typing.
🎁 Handmade gifts and keepsakes are usually seen as more meaningful because they show time and thought were spent.
🏺 People have kept small memory objects (like lockets and amulets) since ancient times to remember loved ones and events.
🤝 Sharing personal stories with others can increase empathy and strengthen relationships by building understanding.
How do I make a handmade memory jar to share something meaningful?
What materials do I need for a DIY meaningful memory jar?
What ages is the memory jar activity suitable for?
What are the benefits and variations of making a memory jar?
