Shade with lights and shadows
Use a flashlight, objects, and paper to create shadow art and experiments, exploring how light angle and distance change shadow shapes and sizes.


Step-by-step guide to shade with lights and shadows
Step 1
Pick a dim room with a clear wall space where your shadow can show up.
Step 2
Clear that wall area of clutter so you have room to work.
Step 3
Tape the paper to the wall at a comfortable height for you.
Step 4
Place the flashlight on the floor or on a small cup in front of the paper.
Step 5
Turn the flashlight on so it makes a bright beam toward the paper.
Step 6
Hold one object between the flashlight and the paper until its shadow appears on the paper.
Step 7
Trace the outline of that shadow with your pencil.
Step 8
Move the object closer to the flashlight by about the width of your hand.
Step 9
Trace the new shadow outline with your pencil.
Step 10
Move the object farther from the flashlight by about the width of your hand.
Step 11
Trace that new shadow outline with your pencil.
Step 12
Tilt or move the flashlight slightly to change the shadow’s angle.
Step 13
Trace the angled shadow shape with your pencil.
Step 14
Use colouring materials to decorate and turn your traced shadow shapes into a picture.
Step 15
Share your finished shadow art and experiments on DIY.org
Help!?
What can we use if we don't have a flashlight or a small cup to prop it on?
Use your phone's flashlight and prop it on a sturdy book, a rolled sock, or a stack of tape instead of 'Place the flashlight on the floor or on a small cup in front of the paper' to make the bright beam.
My shadow is fuzzy or not appearing—what should I check?
Make the room darker as in 'Pick a dim room', point the flashlight directly at the taped paper ('Turn the flashlight on so it makes a bright beam toward the paper'), and use an opaque object held between the light and paper ('Hold one object between the flashlight and the paper until its shadow appears') for a sharp outline.
How can I adapt this activity for different ages?
For younger kids use large, simple opaque toys and help with taping and tracing, while older kids can measure and record how the shadow changes when they 'Move the object closer...by about the width of your hand' or try multiple light angles.
How can we make the traced shadow art more creative or share-worthy?
Decorate the traced shapes with colouring materials, add colored cellophane over the flashlight for colored shadows, and photograph the results to 'Share your finished shadow art and experiments on DIY.org'.
Watch videos on how to shade with lights and shadows
HOW TO DRAW SHADOWS | For Beginners | DrawlikeaSir
4 Videos

HOW TO DRAW SHADOWS | For Beginners | DrawlikeaSir
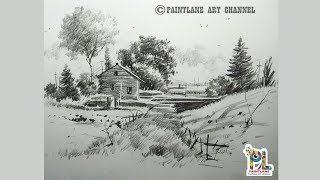
Learn Little Drawing and Shading with Step by Step | How to Draw
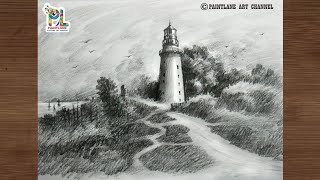
How to Draw Light House and Pencil Shading For Beginners || Light House in Landscape
How To Draw A Kid Sledding + Spotlight
Facts about light and shadows
🔦 Move it closer! A flashlight held near an object makes a bigger, fuzzier shadow than when it's far away.
🌞 The Sun makes very sharp shadows because it's so far away that its light rays are almost parallel.
📐 Tilting a light source can stretch a tiny object’s shadow into a long shape—just like long sunset shadows!
👁️ Artists and our brains use shadows to show depth; adding darker shades can make flat drawings look 3D.
🎭 Shadow puppetry is ancient—cultures like Indonesia and China have used shadow play for storytelling for centuries.
How do I set up and do the Shade with Lights and Shadows activity?
What materials do I need for shadow art and light experiments?
What ages is the shade with lights and shadows activity suitable for?
What are the benefits and safety tips for shadow art and light experiments?
