Sew with electronics
Sew a simple LED-illuminated fabric patch using conductive thread, a coin cell, and LEDs while learning basic circuits, stitches, and safety.

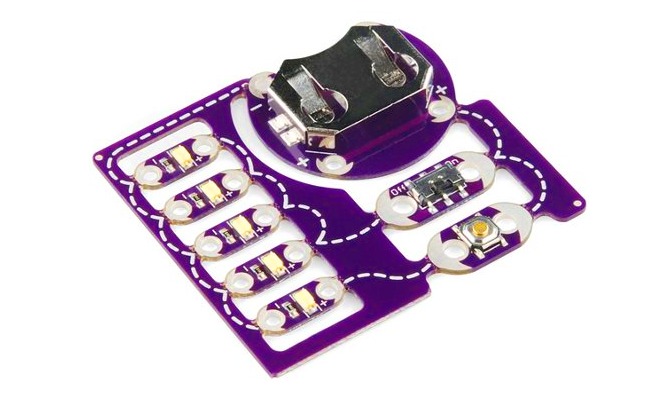

Step-by-step guide to sew a simple LED-illuminated fabric patch
Learn to Sew with Debbie Shore, Kids! Lesson 1
Step 1
Gather all the materials and sit at a clean flat table where you can work comfortably.
Step 2
Lay the felt flat and draw a small circle for the coin cell and two small dots where you want the LEDs, then draw two straight parallel lines from the battery circle to the LED dots leaving about 5 mm space between the lines.
Step 3
Cut two lengths of conductive thread about 40 cm long each.
Step 4
Thread one length of conductive thread onto the needle.
Step 5
Starting at the battery circle, sew a line of running stitches along one drawn line toward the first LED dot and stop there.
Step 6
Tie a small knot to secure the end of that stitched line and trim the extra thread to about 1 cm.
Step 7
Thread the second length of conductive thread onto the needle.
Step 8
Sew a line of running stitches along the other drawn line from the battery circle to the LED dot and stop there.
Step 9
Tie a small knot to secure the end of that second stitched line and trim the extra thread to about 1 cm.
Step 10
Place each LED on the felt so the shorter leg (negative) sits on one stitched line and the longer leg (positive) sits on the other stitched line at the LED dot positions.
Step 11
Use small stitches of conductive thread to wrap and secure each LED leg to its matching stitched trace and tie a knot to hold each leg in place.
Step 12
Place the coin cell with the + sign facing the positive stitched trace so the battery touches both traces and tape the coin cell down securely with a small piece of clear tape.
Step 13
Share your finished LED-illuminated fabric patch on DIY.org.
Help!?
What can I use if I can't find conductive thread or a coin cell?
If you can't find conductive thread, use narrow adhesive copper tape to make the two parallel traces on the felt and wrap the LED legs to the tape, and if you don't have a coin cell you can use a small battery holder with two AAA batteries taped down where the battery circle is drawn.
My LED won't light — what's the most likely problem and how do I fix it?
Make sure the shorter LED leg (negative) sits on the negative stitched line and the longer leg (positive) on the positive line, confirm each leg is tightly wrapped and knotted to its trace, and ensure the two stitched traces keep about 5 mm spacing so the coin cell and tape don't short them together.
How can I adapt the steps for different age groups?
For preschoolers have an adult pre-draw the battery circle and LED dots and pre-thread the needle so they can place LEDs and press the coin cell, for elementary kids let them do the running stitches and secure LED legs themselves, and for older kids challenge them to add more LEDs or design their own trace patterns before taping the coin cell.
How can we enhance or personalize the finished LED-illuminated fabric patch?
Cut the felt into a custom shape before you start sewing, embroider decorative stitches around the traces, add sequins off the conductive lines, or replace the taped coin cell with a small sewable switch or sewable microcontroller to make the LEDs removable or blink while keeping the same stitched connections.
Watch videos on how to sew a simple LED-illuminated fabric patch
Tips For Teaching Children How To Sew (Ages 2-11+) | Paige Handmade
4 Videos

Tips For Teaching Children How To Sew (Ages 2-11+) | Paige Handmade

15 Fun Electronics Projects for Kids

Learn to sew in 20 minutes! | easy step-by-step tutorial

Electronics & Physics Learning in 5 Simple Projects (with ELEGOO Upgraded Electronics Fun Kit)
Facts about e-textiles
💡 LEDs can last for tens of thousands of hours — that's way longer than many regular light bulbs!
🧵 Conductive thread looks like normal thread but has metal woven in so it can carry tiny electric currents for LEDs.
⚠️ Button cell (coin) batteries are small but powerful — never put them in your mouth and always have an adult help when replacing them.
👕 E-textiles are real: designers and engineers make glowing jackets, sensing shirts, and even smart fabric used in space and sports.
✂️ A secure stitch (like a backstitch) not only holds fabric together but helps keep LED and battery connections snug so your circuit stays lit.
How do you sew a simple LED-illuminated fabric patch?
What materials do I need for a sew-with-electronics LED patch?
What ages is this activity suitable for?
What safety tips should I follow when sewing with electronics?
