Sew on patches
Sew colorful patches onto a jacket, backpack, or jeans using basic stitches, a needle and thread, and learn safe sewing techniques.


Step-by-step guide to sew on patches
How To Sew On A Patch. Learn to Sew On A Patch By Hand, With A Sewing Machine, or Iron -On.
Step 1
Gather all your materials and put them on a clean table.
Step 2
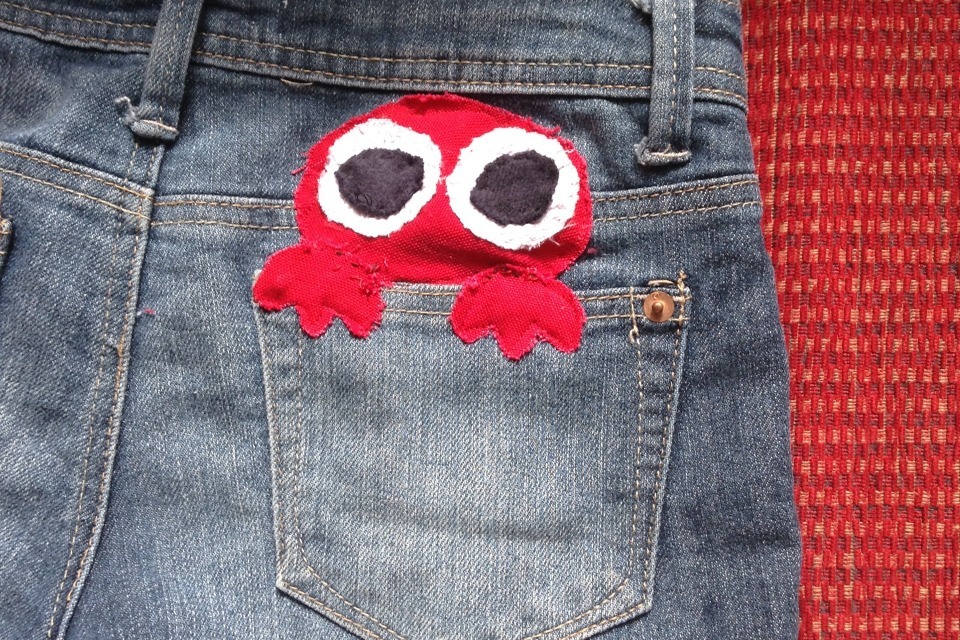
Choose the jacket backpack or jeans you want to decorate.
Step 3
Ask an adult to help and supervise while you sew.
Step 4
Lay the clothing flat and smooth out any wrinkles where you will sew.
Step 5
Place the patch where you want it to go to try different spots.
Step 6
Secure the patch with sewing pins or fabric clips so it won't move.
Step 7
Cut about 18 inches of thread from the spool.
Step 8
Thread the needle using a needle threader or carefully push the thread through the eye.
Step 9
Tie a knot at the end of the thread so it won't pull through the fabric.
Step 10
Bring the needle up from the underside at the edge of the patch until the knot stops.
Step 11
Make small even whip stitches around the edge of the patch until you return to the starting point.
Step 12
Tie a secure knot on the underside to finish the thread.
Step 13
Trim the extra thread close to the knot with scissors.
Step 14
Remove any pins or clips and check that the patch is sewn on firmly.
Step 15
Share your finished creation on DIY.org.
Help!?
What can we use if we don't have a needle threader, sewing pins, or fabric clips?
If you don't have a needle threader, use a tapered-eye or larger sewing needle and dampen the thread tip to push it through the eye, and if you lack sewing pins or fabric clips for step 5, secure the patch with small safety pins or temporary fabric glue before sewing.
What should we do if the patch moves or the thread keeps tangling while sewing?
If the patch shifts or the thread tangles during the small even whip stitches in step 10, re-secure the patch with extra sewing pins or clips, shorten the thread to about 12 inches instead of 18, and make sure the fabric is smoothed flat as in step 4 before continuing.
How can we adapt this sewing activity for different ages?
For ages 3–5, skip the needle and use adhesive-backed patches or fabric glue with adult supervision from step 3; ages 6–9 can use a blunt plastic needle and 12-inch embroidery floss to practice the whip stitches in step 10; ages 10+ can follow the full instructions and try more precise stitches or decorative thread before tying the final knot in step 11.
How can we enhance or personalize the patched jacket, backpack, or jeans after sewing?
To personalize the item, arrange multiple patches in step 5 to create a theme, sew with contrasting embroidery floss using decorative whip or blanket stitches in step 10, add fabric paint or sequins before trimming the extra thread in step 12, and then share your finished creation on DIY.org per step 14.
Watch videos on how to sew on patches
How To Sew On a Patch - Three Different Ways! Backpack, Jeans, and a Pouch
3 Videos
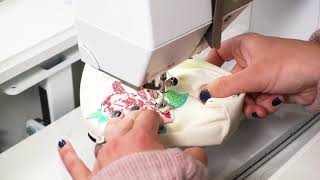
How To Sew On a Patch - Three Different Ways! Backpack, Jeans, and a Pouch
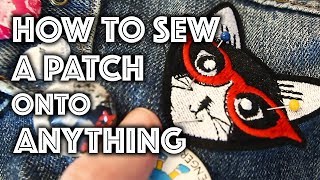
How to Sew a Patch Onto Anything | Sew Anastasia

How to: Sew a Patch on Jeans | Repair a Hole with an Iron-On Patch | Easy Sewing Lesson
Facts about hand sewing for kids
🧵 People have been sewing to make and repair clothing for tens of thousands of years — it's one of humanity's oldest crafts!
🪡 The running stitch is one of the simplest stitches and a great first stitch for kids learning to sew on patches.
👖 The word "denim" comes from the French phrase serge de Nîmes — that's why jeans are tough and perfect for patches.
🔥 Iron-on patches use heat-activated glue to stick, but hand-sewing makes patches last through washes and play.
🧒 A thimble, good light, and a basic backstitch help keep fingers safe and patches extra secure.
How do you sew colorful patches onto a jacket, backpack, or jeans?
What materials do I need to sew on patches?
What ages is this sewing activity suitable for?
What are the safety tips for sewing patches with kids?
