Sew a book binding
Sew a simple book binding using paper, cardboard, needle and thread with adult help. Learn stitching patterns, fold pages, and assemble a homemade notebook.


Step-by-step guide to sew a book binding
DIY SINGLE SHEETS Bookbinding 😉 Easy and Fast [With Sewing]
Step 1
Gather all your materials and put them on a clear table so everything is ready.
Step 2
Fold a stack of plain paper in half neatly to make the pages of your notebook.
Step 3
Cut the cardboard slightly larger than the folded pages so it will be a cover.
Step 4
Fold the cardboard in half to make the front and back cover of your notebook.
Step 5
Place the folded pages inside the folded cardboard and align the edges so the spine is tight.
Step 6
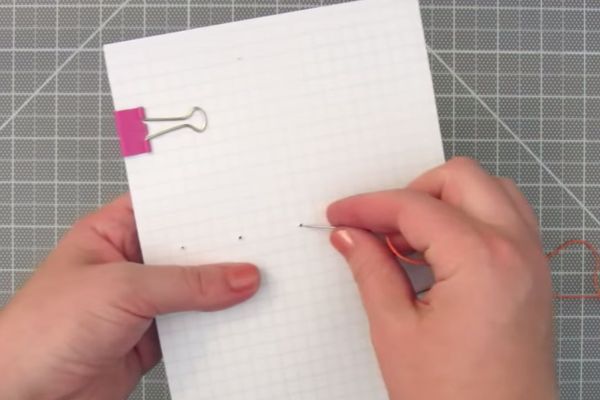
Use the ruler and pencil to mark three evenly spaced holes along the center fold (top middle bottom).
Step 7
With adult help use the awl or thick pin to punch holes through the paper and cardboard at each mark.
Step 8
Thread the sewing needle and tie a small knot at the end of the thread so it won’t pull through.
Step 9
Insert the needle from the inside of the notebook out through the middle hole so the knot stays inside the fold.
Step 10
Push the needle from the outside into the top hole back toward the inside of the book.
Step 11
Bring the needle from the inside out through the middle hole again so the thread loops around the top stitch.
Step 12
Push the needle from the outside into the bottom hole back toward the inside of the book.
Step 13
Bring the needle from the inside out through the middle hole one last time to finish the stitch pattern.
Step 14
Tie a secure knot with the two thread ends at the middle inside fold and trim any extra thread.
Step 15
Share a photo of your finished homemade notebook on DIY.org
Help!?
What can I use instead of an awl or thick pin to punch the holes?
With adult help you can use a pushpin or the sharpened tip of a pencil to poke through the three marks made in step 7 so the paper and cardboard make clean holes for sewing.
My pages shift or holes tear while sewing — how can I fix this?
Before punching (step 7) clamp the folded pages and cardboard together with binder clips and reinforce the center fold with a short strip of clear tape so the paper won't shift or tear during steps 9–15.
How can I adapt this binding for different ages?
For toddlers have an adult pre-punch the holes in step 7 and let them sew with a blunt plastic needle and yarn, while older kids can use multiple folded signatures and waxed bookbinding thread for a sturdier notebook.
How can we personalize or improve the finished notebook after tying the final knot (step 15)?
After tying and trimming the knot in step 15, decorate the cardboard cover with paint, stickers or glued patterned paper, add an inner pocket from extra cardboard, or try adding two more holes for a decorative Japanese-style stitch.
Watch videos on how to sew a book binding
How to Bind Single Section Booklets (beginner friendly stitch patterns!)
3 Videos
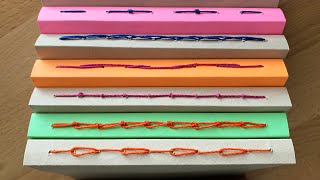
How to Bind Single Section Booklets (beginner friendly stitch patterns!)

Bookbinding: How to Sew a Simple French Link Stitch Textblock
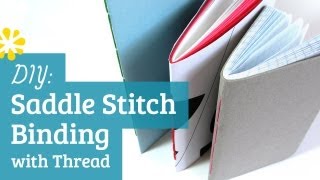
DIY Saddle Stitch Bookbinding Tutorial | Sea Lemon
Facts about bookbinding for kids
📚 Book sewing goes back nearly 2,000 years — early Coptic bindings from around the 2nd century AD are some of the oldest sewn books.
🪡 Coptic and Japanese-style stitches let handmade notebooks lie flat, making them perfect for drawing and writing across the spread.
✂️ You can build a simple stitched notebook from just paper, cardboard, a needle and thread — many kids finish a small book in 20–60 minutes with adult help.
♻️ Recycled cereal boxes make sturdy, eco-friendly covers — upcycling cardboard is a great way to make materials affordable and green.
🧵 Waxing your thread (with beeswax or by running it lightly along a candle) makes sewing smoother and helps knots stay put, a trick bookbinders love.
How do you sew a simple book binding with a child?
What materials do I need to sew a homemade notebook?
What ages is simple book binding suitable for?
What are the benefits and safety tips for sewing a book with kids?
