Sew a bag or pouch
Sew a simple fabric pouch using needle and thread or a safe plastic needle, learn measuring, basic stitches, stitching seams, and decorate your finished bag.


Step-by-step guide to sew a bag or pouch
How to Sew an Easy Fabric Purse + Tips on Teaching Kids to Sew
Step 1
Pick two matching fabric rectangles and lay them flat one on top of the other with the pretty sides facing each other.
Step 2
Measure and mark a rectangle shape on the top fabric using the ruler and fabric marker.
Step 3
Draw a 1 cm seam allowance line around the rectangle on the top fabric.
Step 4
Cut both fabric pieces along the outside edge of your marks so you have two matching pieces.
Step 5
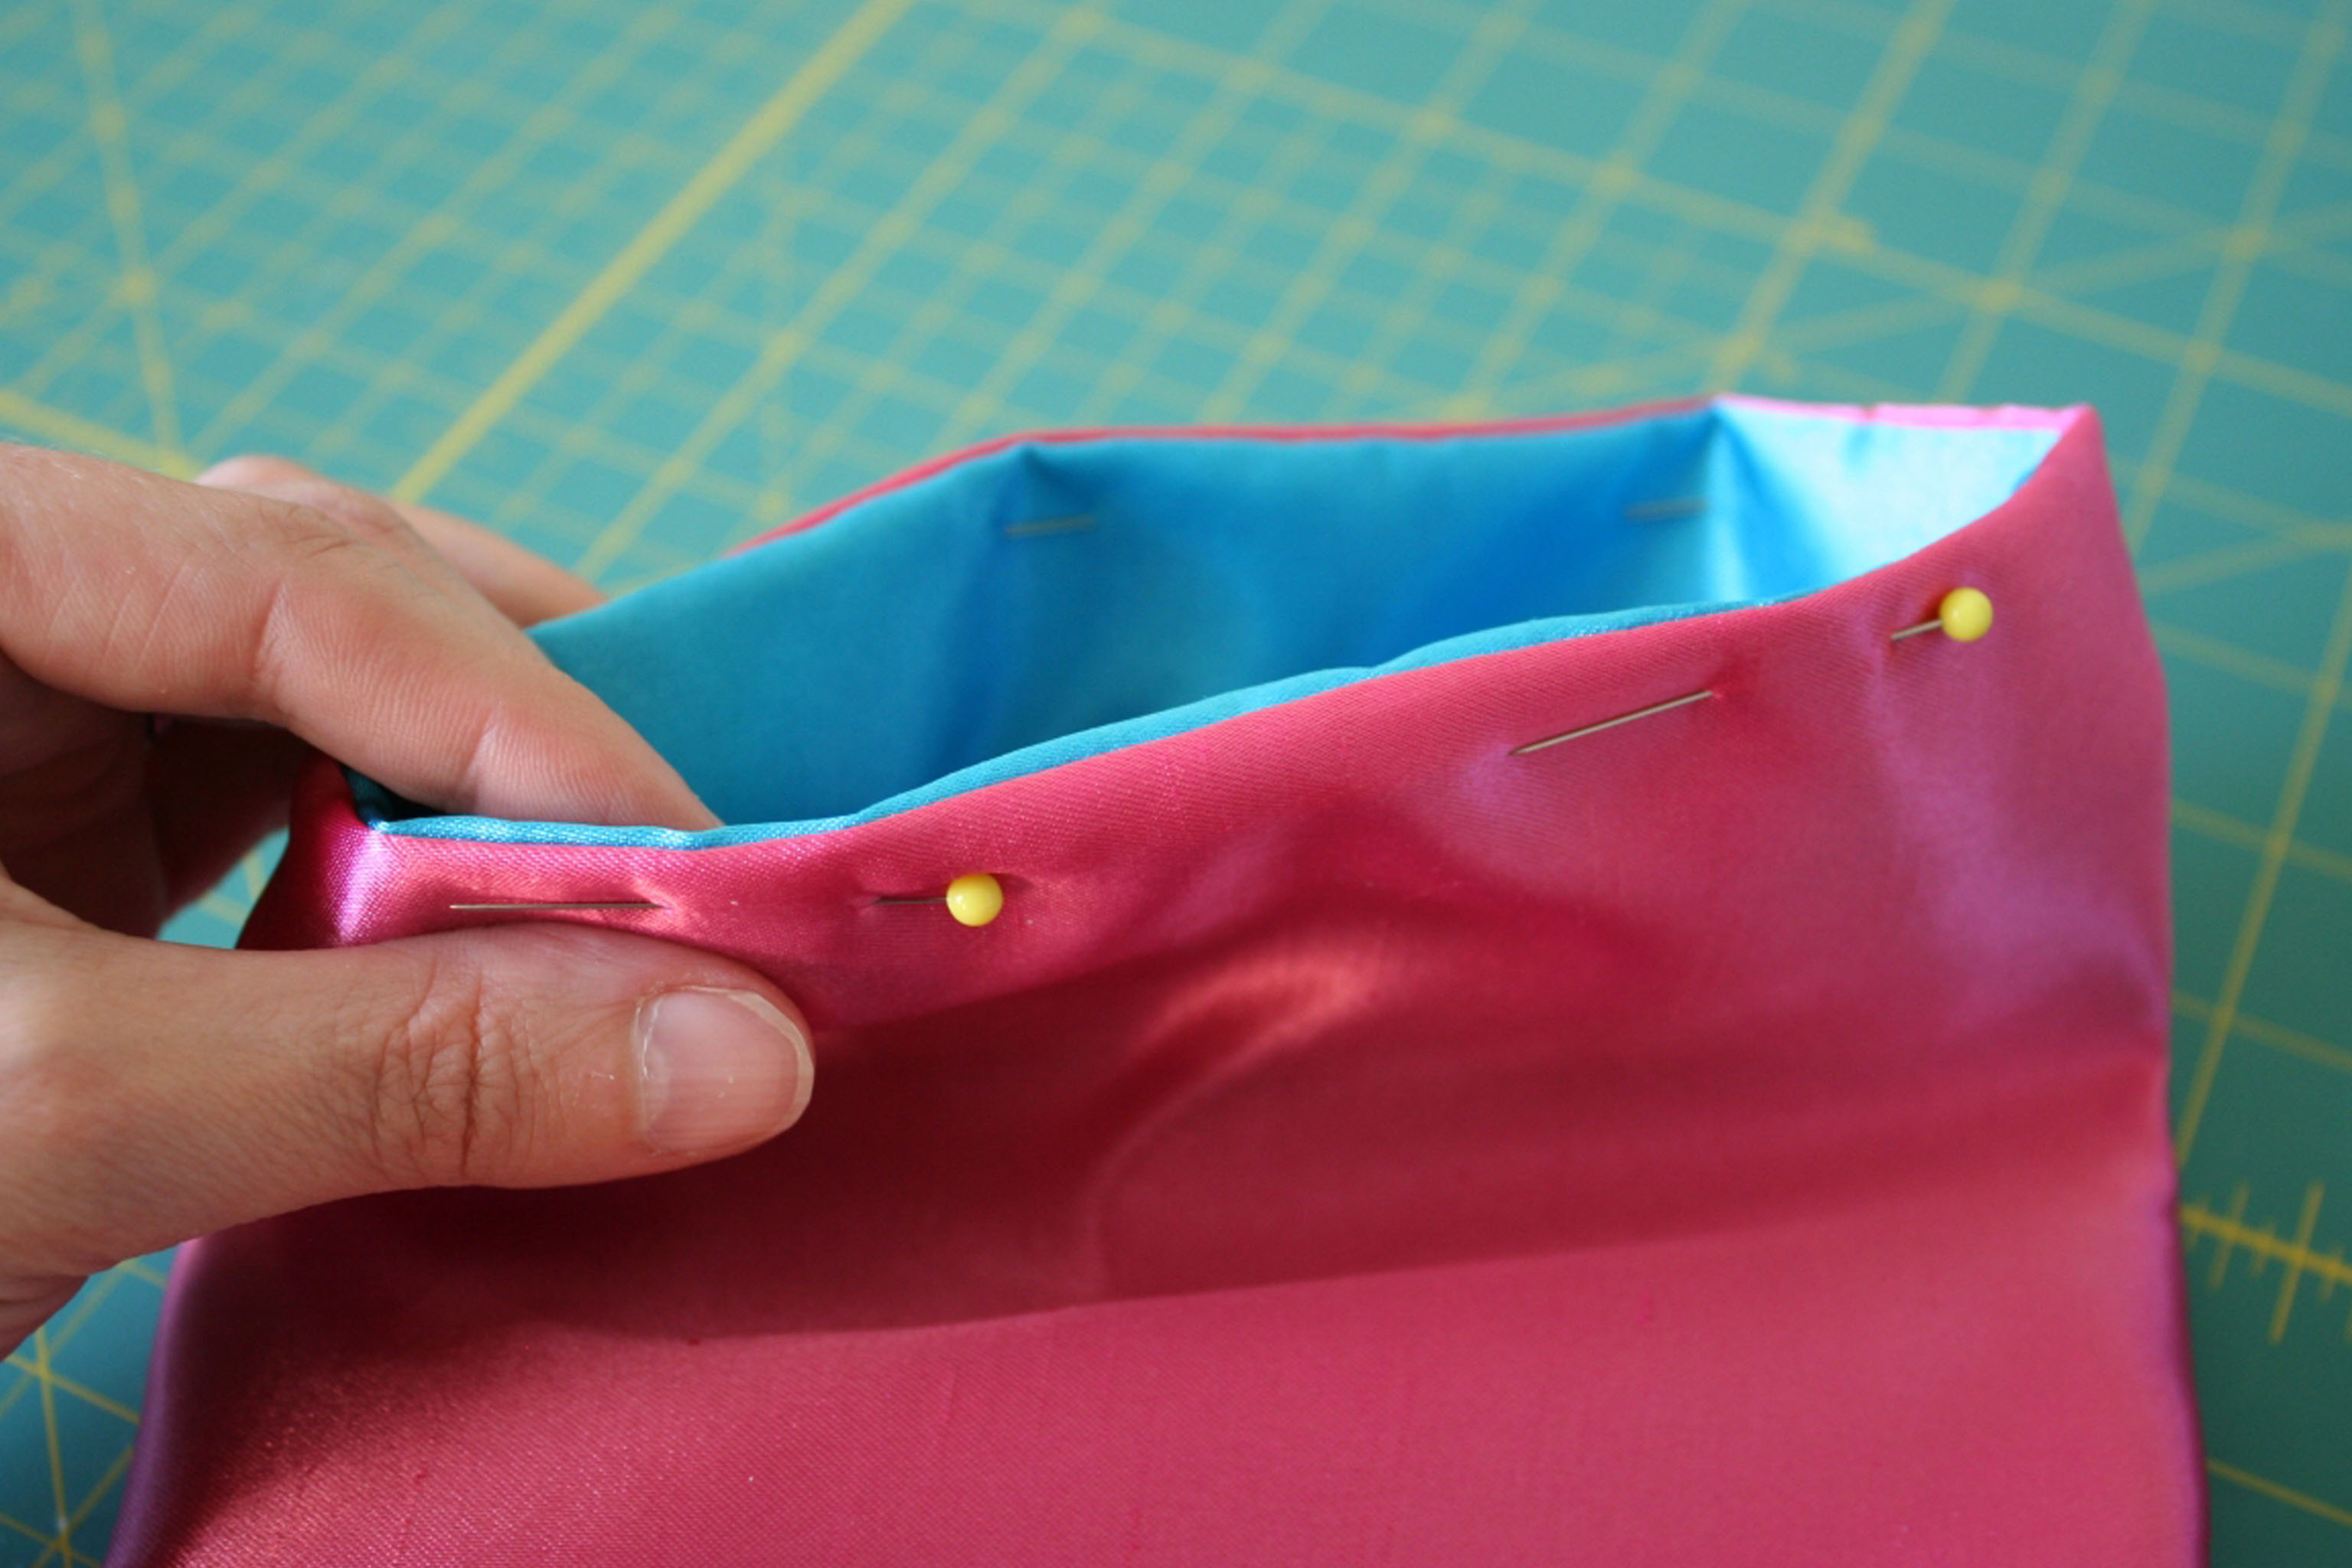
Pin or clip the two fabric pieces together along the sides and bottom so the edges line up.
Step 6
Thread your needle with about 50 cm of thread and pull the ends together.
Step 7
Tie a small knot at the end of the thread to stop it from pulling through fabric.
Step 8
Practice a running stitch on the scrap fabric by making small even stitches about 0.5 cm apart.
Step 9
Sew along the pinned sides and bottom of your pouch using the running stitch and leave the top edge open.
Step 10
Remove the pins or clips and turn the pouch right side out through the open top.
Step 11
Decorate your pouch with buttons ribbons fabric markers or fabric glue to make it special.
Step 12
Share a photo of your finished pouch and what you learned on DIY.org
Help!?
What can we use if we don't have a fabric marker, pins, or a regular sewing needle?
Use tailor's chalk or a pencil to mark the rectangle and 1 cm seam allowance, replace pins with safety pins, paperclips, or binder clips when pinning the sides and bottom, and use a blunt plastic/yarn needle or a sewing machine and embroidery floss or dental floss instead of a regular needle and thread.
My seams are coming loose or my stitches are uneven—how can I fix that?
Practice the running stitch on scrap fabric making small even 0.5 cm stitches as instructed, pin the pieces carefully so the edges line up before sewing, double your thread or tie a secure knot at the end of the 50 cm thread, and remove pins before turning the pouch right side out to avoid snags.
How can I adapt this project for younger children or older kids who want more challenge?
For younger kids, pre-cut the two matching fabric rectangles, use a blunt plastic needle or fabric glue and larger, easy-to-handle stitches, while older children can measure and mark a precise 1 cm seam allowance, sew with a machine, add a zipper or lining, or practice smaller, neater 0.5 cm running stitches.
What are fun ways to personalize or upgrade the finished pouch?
After turning the pouch right side out through the open top you can add a fabric-lined pocket or zipper, embellish with buttons, ribbons, fabric markers, or fabric glue, embroider a name, or attach appliqué shapes before sharing a photo on DIY.org.
Watch videos on how to sew a bag or pouch
How to Sew a Simple Quilted Purse for Little Girls! A Beginner Friendly Tutorial
4 Videos
How to Sew a Simple Quilted Purse for Little Girls! A Beginner Friendly Tutorial
Sew a Cute Girls Purse in ONLY 13 Minutes! | Easy Sewing Project for Beginners (+ Printable Pattern)
How To Make a Simple Zipper Pouch | Beginner Sewing Tutorial
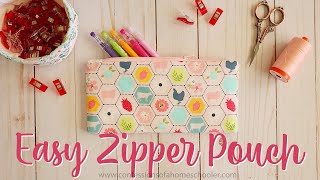
🧵Easy Zipper Pouch (Beginner Friendly Sewing Pattern!)
Facts about basic sewing and textiles
🧵 People have been sewing with needles for at least 20,000 years—early bone needles show hand sewing is ancient!
📏 A small measuring slip-up (even 1/2 cm) can change your pouch size—measure twice, cut once!
🪡 Kids' plastic safety needles have blunt tips and big eyes so little fingers can thread and stitch without poking.
✂️ Three basic stitches—running stitch, backstitch, and whipstitch—are all you need to sew seams for a pouch.
🎨 Upcycling fabric scraps into a pouch is eco-friendly and a fun way to turn waste into custom decorations.
How do I sew a simple fabric pouch with my child?
What materials do I need to make a simple fabric pouch?
What ages is sewing a fabric pouch suitable for?
What are the benefits, safety tips, and variations for sewing a pouch with kids?
