Sculpt a figure
Sculpt a small clay figure using air dry clay, simple tools, and armature basics, learning shaping, textures, and safe finishing techniques.


Step-by-step guide to sculpt a small clay figure
Sculpture Learning: How to make child head sculpture
Step 1
Clear a flat work area and cover it with newspaper or an old cloth so your table stays clean.
Step 2
Decide what small figure you want to sculpt and picture its basic pose in your mind.
Step 3
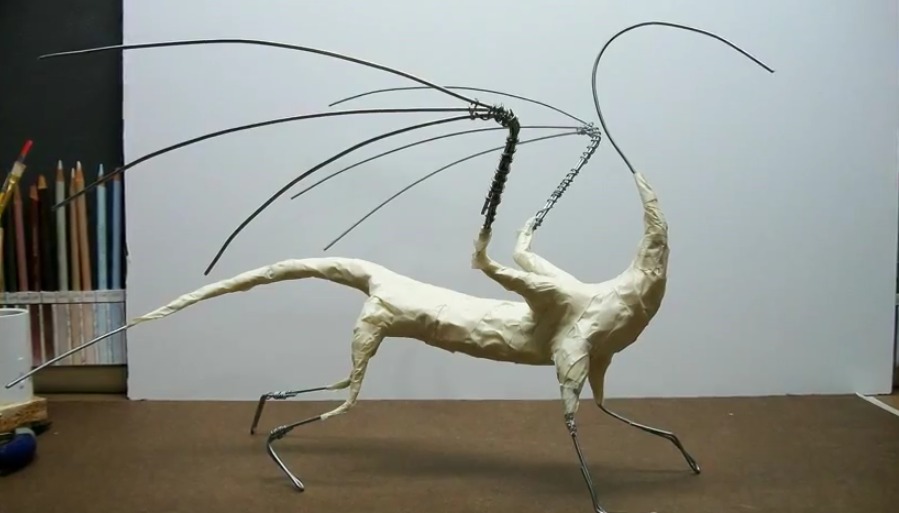
Crumple a piece of aluminum foil into the rough shape of your figure to make a light armature core.
Step 4
Push toothpicks or skewers into the foil to create simple limb supports if your figure needs arms or legs.
Step 5
Press air-dry clay onto the foil armature until the core is fully covered and the shape is stable.
Step 6
Use your fingers to form the big shapes like head body and limbs making them the right size and position.
Step 7
Cut and carve smaller details such as eyes nose mouth or fingers with the plastic knife or sculpting tool.
Step 8
Add texture like hair fur or clothes by dragging a toothpick or tool across the clay surface.
Step 9
Smooth any rough areas by dipping your finger or a sponge in water and gently rubbing the clay.
Step 10
Make any thick parts thinner by pressing or hollowing them so they are no more than about 1/2 inch thick to help dry evenly.
Step 11
Set your sculpted figure on a flat surface and let it air dry completely for at least 24 hours until hard.
Step 12
Lightly sand any bumps with fine-grit sandpaper and wipe away dust with a paper towel.
Step 13
Paint your figure with acrylic paints using brushes and let the paint dry completely.
Step 14
Share your finished creation on DIY.org
Help!?
What can we use instead of air-dry clay or aluminum foil if we can't find them?
If you don't have air-dry clay, use oven-bake polymer clay or homemade salt-dough for the step 'Press air-dry clay onto the foil armature', and if you lack aluminum foil crumple newspaper or use a rolled paper towel or cardboard core as the armature.
My figure keeps cracking or sagging while it dries—what should I do?
If parts crack or sag while drying follow the instruction to make thick parts thinner or hollow them to no more than about 1/2 inch thick, reinforce limbs by pushing toothpicks or skewers further into the foil armature, and let the figure dry flat and undisturbed for at least 24 hours.
How can I adapt this sculpting activity for different ages?
For younger kids have an adult prepare the foil armature and limit them to pressing clay and using fingers and a sponge for smoothing, while older children can carve details with the plastic knife, use fine-grit sandpaper after drying, and paint with acrylics.
How can we extend or personalize the finished sculpture after painting?
Personalize your figure by adding texture with fabric impressions before drying, attaching small fabric or paper clothes after painting, sealing with clear acrylic varnish, and mounting it on a painted wooden base to display or share on DIY.org.
Watch videos on how to sculpt a small clay figure
How to make simple figure sculpture _ step by step tutorial by thePeterZaytsev DIY thePeterSculptor
4 Videos
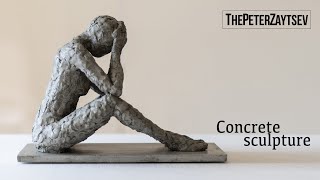
How to make simple figure sculpture _ step by step tutorial by thePeterZaytsev DIY thePeterSculptor
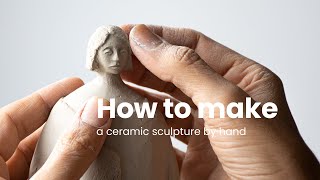
How to Make a Hand Built Ceramic Sculpture: Step by Step Tutorial for Beginners
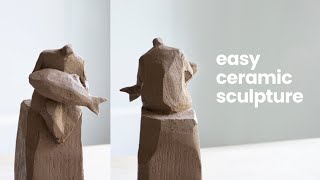
How to sculpt ceramic sculpture: step by step clay sculpture

DIY clay sculpture: a figure on a rock step by step
Facts about air-dry clay sculpting for kids
🗿 Some of the oldest known sculptures are over 35,000 years old—tiny figurines show how long people have been shaping figures.
🧱 Clay is made of super-fine mineral particles, which is why it can capture tiny details like fingerprints and textures.
🧰 An armature is simply a wire frame (often bulked with foil) — even pros use it to support thin limbs and poses.
🌬️ Air-dry clay hardens by losing moisture, so drying slowly and keeping thick parts hollow helps prevent cracking.
🧴 Many air-dry clays are non-toxic; finishing with non-toxic acrylic paint or a water-based varnish protects your sculpture.
How to sculpt a small clay figure
Materials needed for clay figure sculpting
What ages is this activity suitable for?
Safety and finishing tips for air-dry clay figures
