Scale a drawing with a grid
Use a grid to scale a drawing by copying each square onto a larger or smaller grid, learning proportions, measurement, and careful observation.

Drawing Apps
Step-by-step guide to scale a drawing with a grid
Using a Grid to Scale a Drawing Larger or Smaller
Step 1
Pick a simple picture to copy and place it flat on one sheet of paper.
Step 2
Decide whether you want to scale the drawing up or down and choose the size of each square for the reference grid.
Step 3
Use your ruler and pencil to draw a neat grid of equal squares over the reference picture using the size you chose.
Step 4
Choose a new square size for your copy grid that is larger to scale up or smaller to scale down and write that new size down.
Step 5
Draw a grid on the blank sheet using the new square size so the copy grid matches the reference grid in rows and columns.
Step 6
Label the top row with letters and the left column with numbers on both grids so you can match squares easily.
Step 7
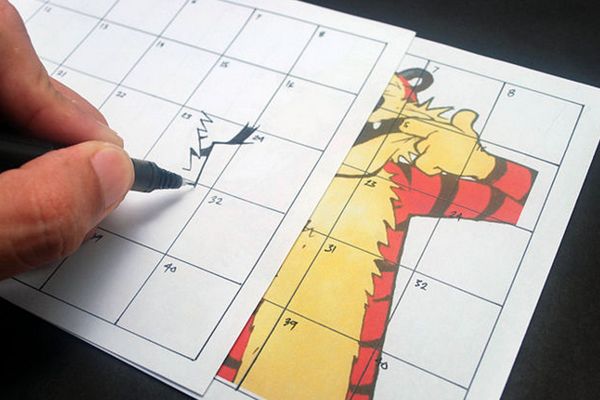
Look at the top-left square on the reference grid and lightly sketch only what you see inside that square into the matching square on the copy.
Step 8
Continue copying one square at a time across and down the grid until you have transferred the whole picture.
Step 9
Compare the full copy to the reference and make small pencil adjustments to any squares that look different.
Step 10
Erase the grid lines from your copy gently without smudging your drawing.
Step 11
Trace your final drawing lines with a black pen or darker pencil to make the image neat and clear.
Step 12
Add color to your drawing with your colouring materials if you like.
Step 13
Take a photo and share your finished scaled drawing on DIY.org
Help!?
What can we use if we don't have a ruler or graph paper for making the reference or copy grid?
Use a straight-edged book, a cereal box cut to a straight edge, or a folded piece of cardboard as a ruler and substitute store-bought graph paper by measuring equal squares with a coin or stamp and marking them lightly in Step 3.
My copied squares look stretched or the picture doesn't match — what should I check or redo?
Check that your chosen square sizes for the reference and copy grids produce the same number of rows and columns, recount and erase any mismeasured grid lines, relabel the letters and numbers, and redraw the blank-sheet grid with your ruler before continuing Step 7.
How can I change the activity for younger children or make it more challenging for older kids?
For younger kids use much larger square sizes, pre-draw both grids and let them sketch with a thick pencil one square at a time, while older kids can use smaller squares, fractional scaling, or graph paper and finish by tracing final drawing lines with a black pen as in Step 11.
What are simple ways to extend or personalize the scaled drawing after finishing it?
After erasing the grid and tracing your final lines with a black pen in Step 11, personalize the piece by adding color, mixed media textures, a background scene, making a series of scaled versions, and then take a photo to share on DIY.org as in the last step.
Watch videos on how to scale a drawing with a grid
GRID SCALE TECHNIQUE
4 Videos
GRID SCALE TECHNIQUE
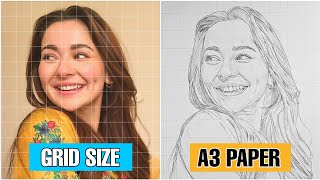
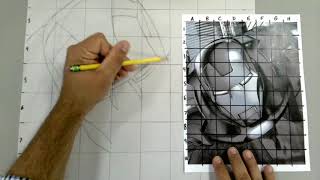
How to make Perfect Grids on A3 Size - Beginners guide for Realistic Drawings
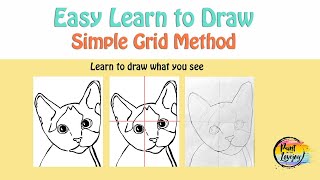
Easy: Learn to DRAW what you see: Simple Grid Method 🎨✏
How to make a drawing bigger using the grid method
Facts about grid drawing and proportions
🟦 Chuck Close used the grid method to turn small photos into massive, detailed portraits—square by square!
📏 Doubling each grid square (e.g., 1×1 to 2×2) doubles every measurement, so scaling is simple multiplication.
🧮 Grids are a hands-on way to learn ratios: a 3:1 grid makes every dimension three times larger.
📐 Graph paper helps artists keep lines straight and proportions accurate when copying or scaling drawings.
🎨 Artists and craftspeople have used simple measurement tricks like grids for centuries to copy and enlarge designs.
How do I teach my child to scale a drawing using a grid?
What materials do I need to scale a drawing with a grid?
What ages is scaling a drawing with a grid suitable for?
What are the benefits of teaching kids to scale drawings using a grid?
