#ReviewDIYTV - Origanimals
Fold paper to create simple origami animals, learn basic folding techniques, follow step-by-step diagrams, and decorate your animal creations with markers and stickers.

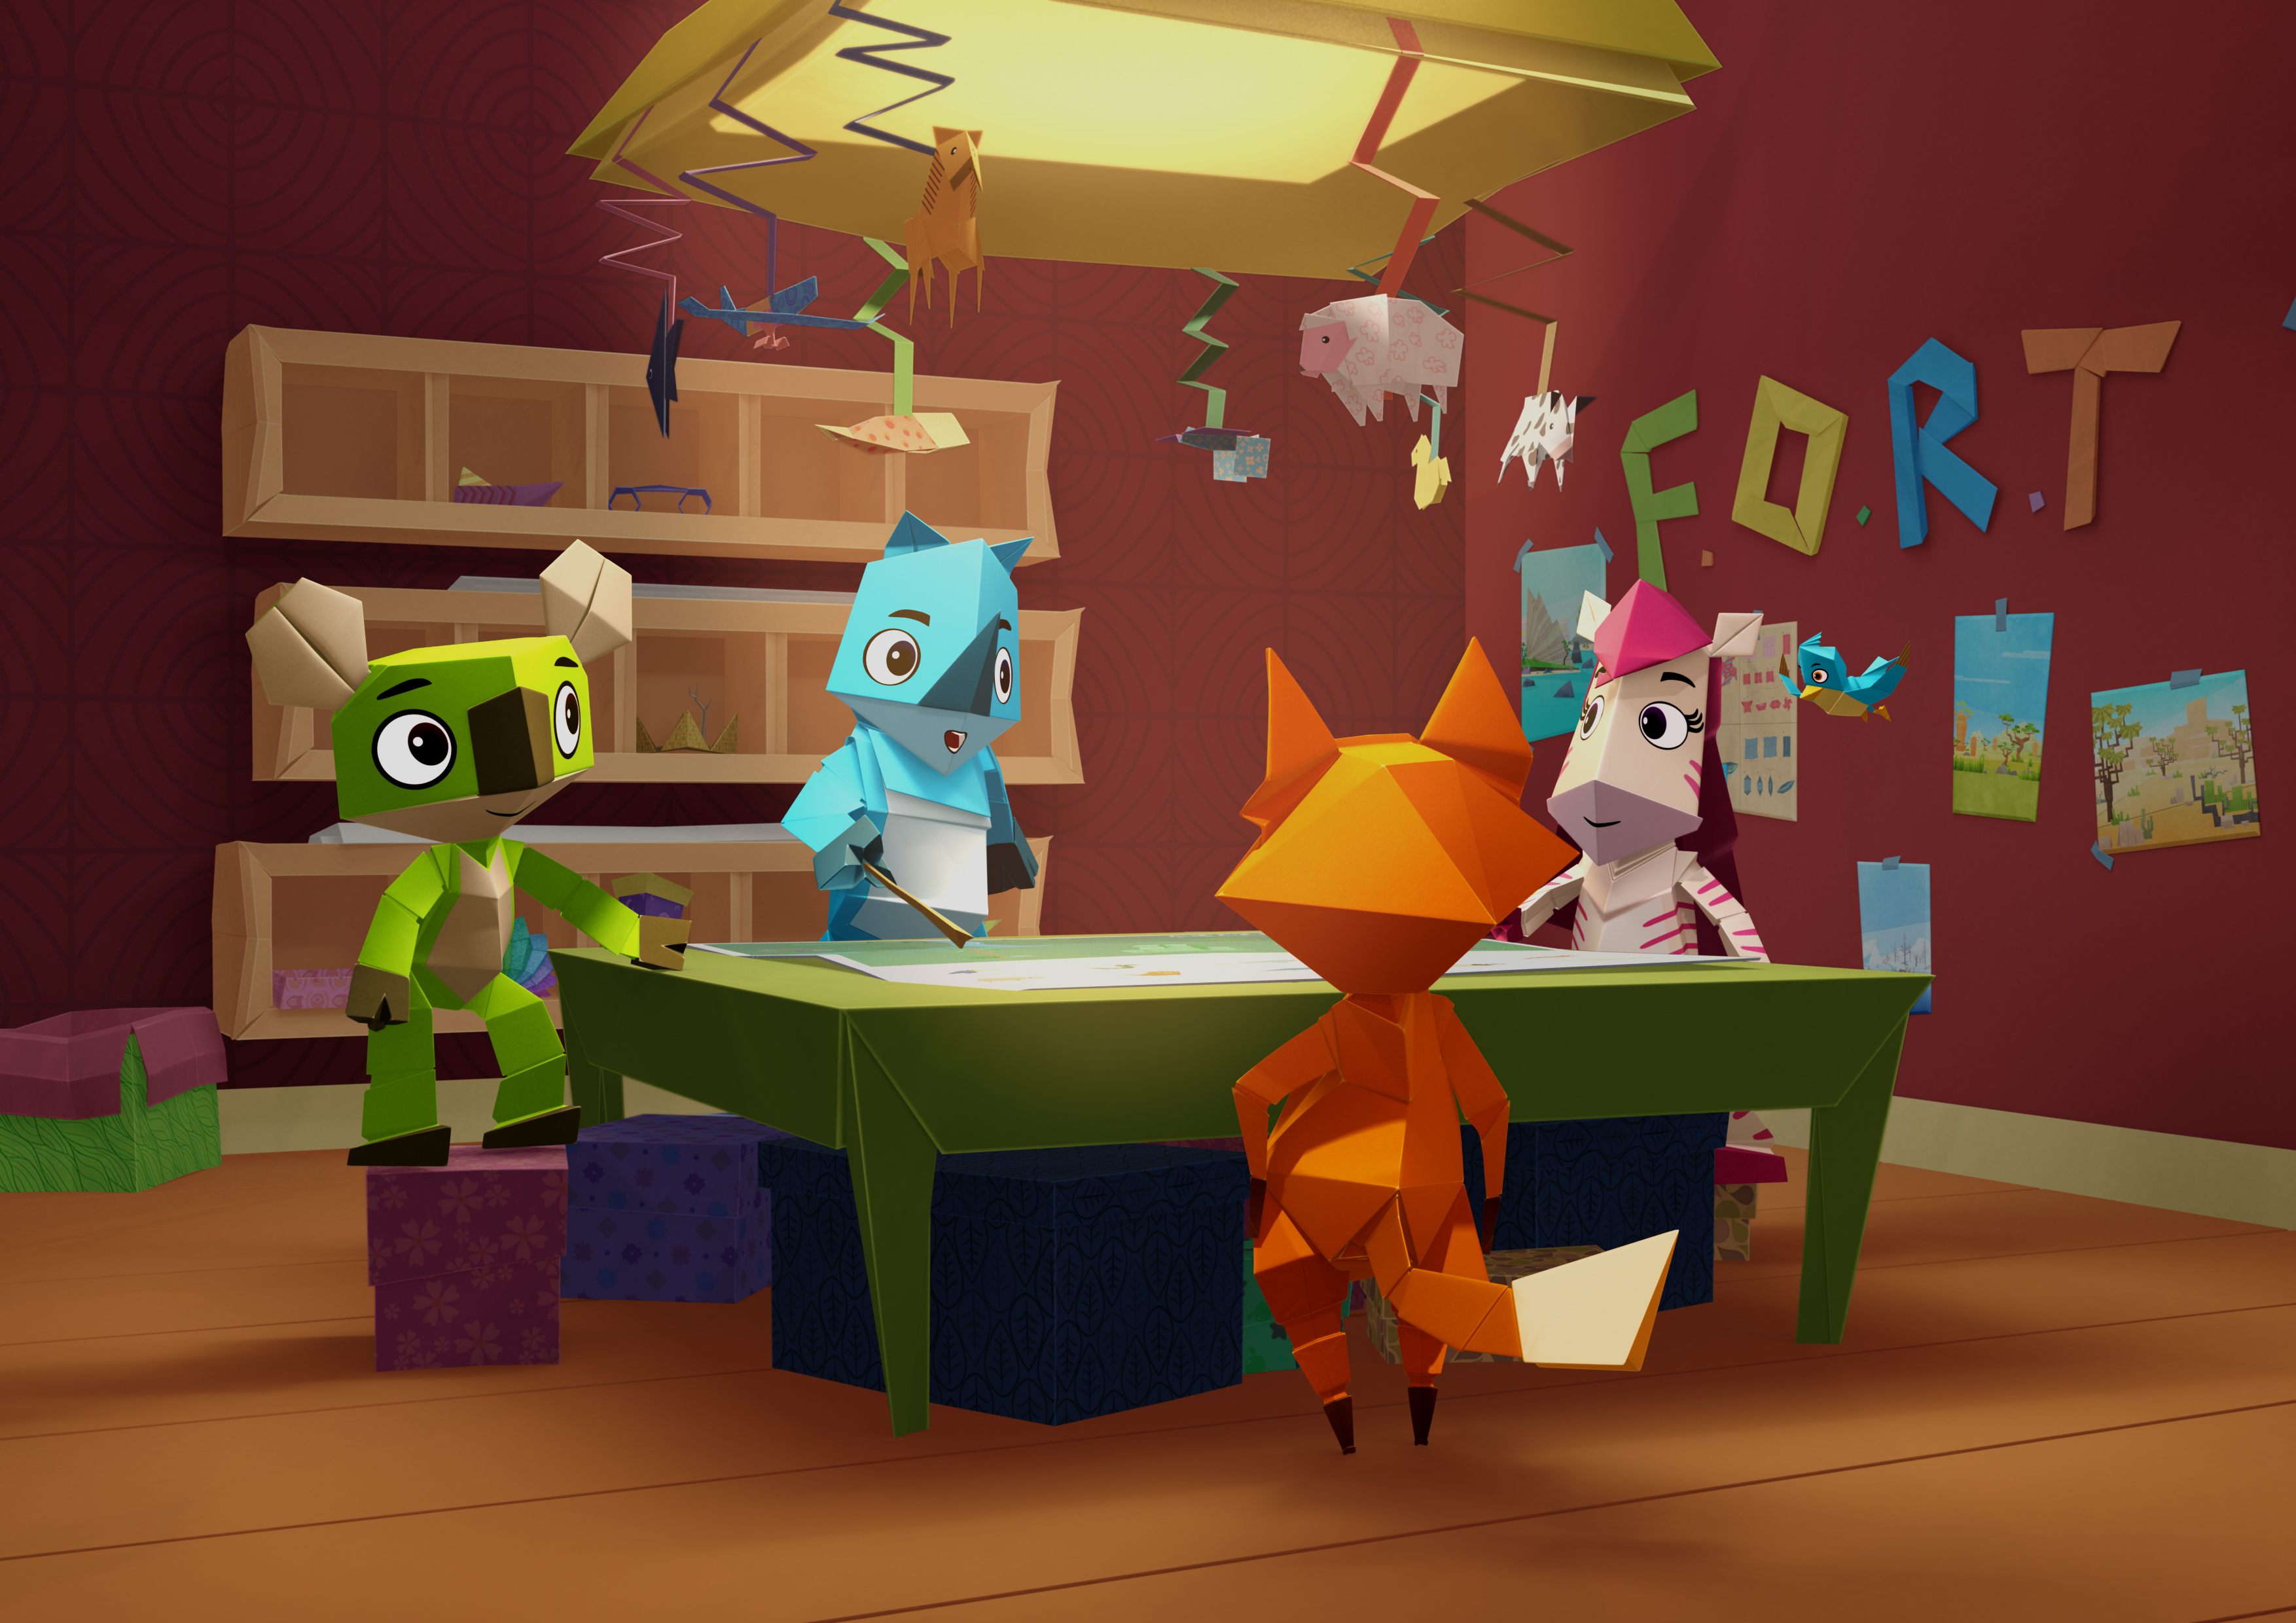

Step-by-step guide to make Origanimals (fold simple origami animals)
Step 1
Gather all your materials and make a clear space to work on.
Step 2
Fold one corner of your paper over to the opposite edge to make a triangle and crease the fold.
Step 3
Cut off the rectangle of paper below the triangle along the crease to make a perfect square with an adult's help.
Step 4
Unfold the paper so you have a neat square ready to fold.
Step 5
Fold the square diagonally in half to make a triangle and press the crease firmly.
Step 6
Fold the triangle's left corner up so its tip meets the top point and press the crease to form one ear.
Step 7
Fold the triangle's right corner up so its tip meets the top point and press the crease to form the other ear.
Step 8
Fold the small top point down about one-third of the way and press the crease to make a forehead.
Step 9
Fold the bottom tip up a little and press the crease to shape the chin or snout.
Step 10
Decorate your folded animal face with markers and stickers to turn it into a cat bunny fox or dog.
Step 11
Share a photo of your finished Origanimal on DIY.org so everyone can see your creation.
Help!?
I don't have origami paper or a perfect square—what can I use instead?
Use regular printer paper or recycled magazine pages and follow the step "Fold one corner of your paper over to the opposite edge to make a triangle" then cut off the rectangle along the crease (with an adult's help) to make a perfect square.
My ears don't line up with the top point when I fold the left/right corners—how do I fix it?
Unfold to the triangle from the step "Fold the square diagonally in half to make a triangle," sharpen that central crease, then realign each corner so its tip meets the top point before pressing the ear creases firmly.
How can I adapt this activity for younger or older kids?
For younger kids, an adult should prepare the "perfect square" by cutting off the rectangle and supervise the creasing while the child focuses on the "Decorate your folded animal face" step, and for older kids, challenge them to add extra folds for ears or snouts or create full origami animals from the same square.
How can we personalize or extend the Origanimal beyond decorating with markers?
After the "Decorate your folded animal face" step, personalize it with glued-on googly eyes, yarn whiskers, patterned wrapping paper, make a string of Origanimals to hang, and then "Share a photo of your finished Origanimal on DIY.org" to show your creations.
Watch videos on how to make Origanimals (fold simple origami animals)
The History of the Olympic Games (1896 - 2024)
3 Videos

The History of the Olympic Games (1896 - 2024)

The History of the Olympics: From Ancient Greece to Modern Times

The History of the Ancient and Modern Olympic Games on a map
Facts about origami and paper crafts
🦢 The origami crane is a symbol of peace in Japan—folding 1,000 cranes (senbazuru) is a special wish for health or luck.
✂️ Traditional origami uses no cuts or glue—just clever folds from a single sheet of paper.
🧑🎨 Akira Yoshizawa popularized modern origami and helped create the clear diagram style beginners use today.
📐 Origami and math are pals—folding can create precise geometry and even help solve complex equations.
🎨 Kids love decorating origami animals—markers, stickers, and tiny accessories turn simple folds into playful characters.
How do I make Origanimals (simple origami animals)?
What materials do I need for Origanimals?
What ages are Origanimals suitable for?
What are the benefits and fun variations of making Origanimals?
