Recreate the DIY logo using unique materials
Recreate a DIY logo using unique materials like buttons, fabric scraps, and recycled items to explore design, texture, and color while practicing cutting and gluing.


Step-by-step guide to recreate the DIY logo using unique materials
Turning Kids Drawings Into Real Toys
Step 1
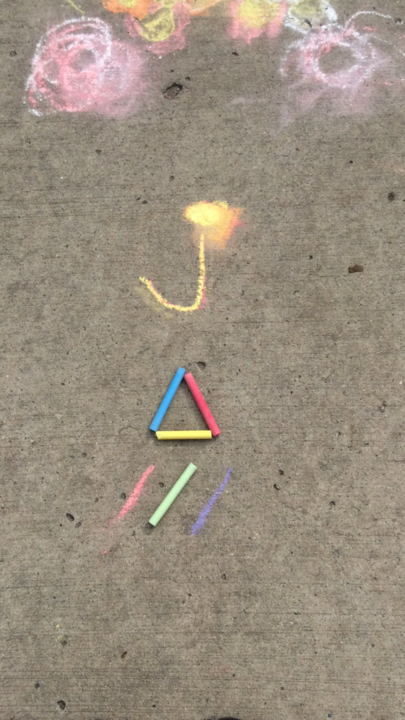
Find a clear picture of the DIY logo to use as your model on a device or printed page.
Step 2
Lightly sketch the outline of the logo on your paper with a pencil and ruler.
Step 3
Decide which parts of the logo you will make from buttons fabric scraps and recycled items and choose matching colors.
Step 4
Cut fabric scraps into shapes that match the areas of the logo you planned.
Step 5
Cut or flatten recycled items so they match the logo shapes you need.
Step 6
Sort buttons beads and small pieces by color and size into small piles.
Step 7
Lay your sorted materials onto the sketched logo without gluing to test the layout.
Step 8
Apply glue or double sided tape to one small area of the sketched logo.
Step 9
Press the matching materials into the glued area and hold for a few seconds.
Step 10
Repeat applying glue and pressing materials section by section until the whole logo is covered.
Step 11
Use coloring materials or stickers to add drawn details and fill tiny gaps.
Step 12
Trim any excess materials around the edges of your logo.
Step 13
Secure any loose pieces with extra glue or tape.
Step 14
Let your artwork dry completely before moving it.
Step 15
Share your finished creation on DIY.org
Help!?
If I don't have buttons, fabric scraps, or double-sided tape, what can I use instead?
Use punched paper circles or sequins for buttons, patterned magazine pages or colored construction paper instead of fabric scraps, and apply a thin layer of school glue or a glue stick in place of double-sided tape when following the 'apply glue or double sided tape to one small area' step.
My pieces keep falling off or the edges look messy — what should I do?
Follow the instructions to work section by section ('apply glue or double sided tape to one small area'), press each material firmly for a few seconds, secure any loose pieces with extra glue or tape as the directions say, and trim excess materials around the edges after the artwork has dried.
How can I adapt this activity for younger children or older kids?
For younger children, simplify step 2 by pre-sketching the logo and use large adhesive shapes or stickers for them to press in; for older kids, encourage precise ruler-guided sketching, detailed fabric cutting in step 4, and complex sorting/placement of buttons and beads in step 6.
How can we personalize or make the finished logo more durable and display-ready?
After letting the artwork dry completely as instructed, seal it with a clear craft varnish or Mod Podge, mount the trimmed logo on stiff backing or frame it, and optionally add name labels or tiny battery LEDs around the edge before sharing on DIY.org.
Watch videos on how to recreate the DIY logo using unique materials
Easy and Fun Crafts for Kids | Handmade Picture Frame | Simple Handmade Gifts
4 Videos
Easy and Fun Crafts for Kids | Handmade Picture Frame | Simple Handmade Gifts
Fantastic School Tricks And DIY School Supplies || Colorful DIY Crafts To Brighten Your Days
Easy Paper Kawaii Pencil Toppers Paper Mache Project Ideas School Supplies DIY
Abstract Window Art | Craft Makers | Crafts For Kids | Fun
Facts about mixed-media crafts for kids
🎨 Collage was popularized by Picasso and Braque in the early 1900s and mixes scrap materials to create new images.
♻️ The term 'upcycling' became popular in the 1990s and means turning old or discarded items into something more valuable.
🧵 Archaeologists found button-like ornaments in the Indus Valley dating back to about 2000 BCE—buttons have been used as decoration for millennia.
✂️ Cutting, gluing, and sorting small items help kids build fine motor skills and hand-eye coordination.
🌈 Mixing textures (smooth buttons, fuzzy fabric, shiny recyclables) makes designs pop and helps kids learn about color and contrast.
How do I recreate a DIY logo using buttons, fabric scraps, and recycled items?
What materials do I need to recreate a DIY logo with unique materials?
What ages is this DIY logo recreation activity suitable for?
What are the benefits of recreating a DIY logo with buttons and recycled materials?
