Recreate Paper Cut Forest in Layers
Make a layered paper-cut forest diorama by cutting and arranging tree silhouettes on stacked sheets, exploring depth, composition, color, and safe scissor techniques.


Step-by-step guide to make a layered paper-cut forest diorama
Step 1
Gather all your materials and clear a flat workspace.
Step 2
Choose one full sheet as your background and lay it flat as the back layer.
Step 3
Use a pencil to draw different tree silhouettes on several colored sheets making some tall thin and some short wide.
Step 4
Practice safe scissor technique on a scrap by holding scissors with your thumb on top and your fingers below and cutting slowly while keeping your other hand away from the blades.
Step 5
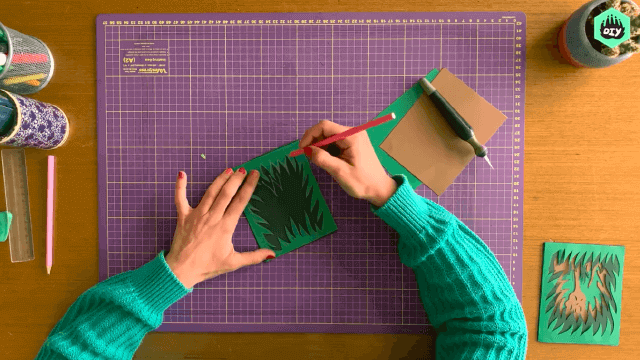
Cut out the tree silhouettes carefully following your pencil lines.
Step 6
Decorate the cut trees with simple lines dots or color to add texture using your coloring materials.
Step 7
Lay a blank full sheet down and arrange some cut trees on it to try different placements and depths.
Step 8
Glue each tree into place on its own full sheet exactly where you planned the layout.
Step 9
Cut small equal strips of cardboard or thick paper and fold them into tabs to make spacers.
Step 10
Attach two or three spacers near the corners on the back of each full sheet using glue or tape.
Step 11
Stack your sheets from the background to the foreground aligning the edges and press so the spacers hold the layers apart.
Step 12
Add tiny paper details like a moon or animals between layers and glue them in place if you like.
Step 13
Share your finished layered paper cut forest on DIY.org.
Help!?
What can I use if I don't have thick cardboard, colored sheets, or craft glue?
Use folded cereal-box cardboard or several glued-together full sheets for spacers, color plain printer paper with crayons or markers for tree sheets, and substitute a glue stick or double-sided tape for craft glue when attaching trees and spacers.
My layers keep sliding or the spacers crush—how do I fix that?
Reinforce the small folded cardboard tabs by doubling them and securing with tape to the back of each full sheet, use stronger glue or double-sided tape to anchor trees before stacking, and align edges carefully as you press layers together to keep spacing stable.
How can I adapt this activity for younger kids or make it more challenging for older kids?
For younger children, pre-draw and pre-cut the tree silhouettes and spacers so they can decorate and arrange (using safety scissors if they cut), while older kids can design intricate silhouettes, use an adult-supervised craft knife for fine cuts, and experiment with varying spacer thickness for deeper layers.
What are simple ways to enhance or personalize the layered paper cut forest?
Paint a gradient on your chosen background sheet, tuck tiny LED tea lights or glitter between layers before stacking, and add glued paper details like a moon or animals as suggested to create mood and storytelling in the scene.
Watch videos on how to make a layered paper-cut forest diorama
DIY Simple and Easy Paper Craft Trees | How to Make Paper Tree | Beginner Art | Craftmerint
4 Videos
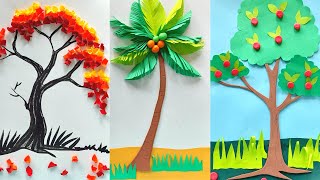
DIY Simple and Easy Paper Craft Trees | How to Make Paper Tree | Beginner Art | Craftmerint
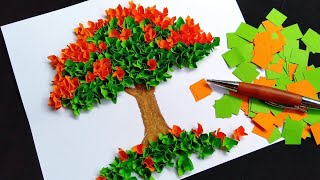
How to Make Paper Tree || DIY 3D Paper Tree || Origami Paper Tree Wall Decor
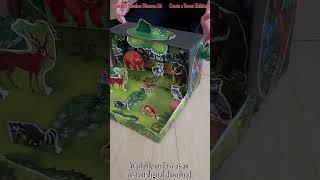
Forest Diorama Paper craft Printable Shoebox Diorama kit. Create a Forest Habitat, Paper Templates
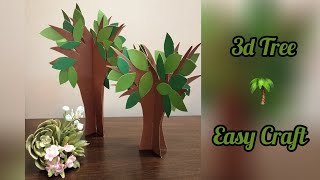
Learn how to make a 3D Tree with Paper | Easy Tree Craft | Tree DIY | Daily Art
Facts about paper crafts for kids
🌲 Layering paper sheets at different distances creates real depth using parallax—when you move the diorama, nearer layers appear to shift more than distant ones.
✂️ Child-safe scissors with blunt tips let kids cut clean silhouettes while lowering the chance of nicks and accidents.
🎨 Color temperature helps suggest distance: cool colors (blues, greens) seem to recede, while warm colors (reds, oranges) appear closer.
🖼️ Dioramas became popular in 19th-century museums to make tiny, immersive scenes—miniature worlds inside a box!
🔍 Scherenschnitte, a traditional paper-cutting folk art from the 16th century, inspired many modern silhouette and papercut techniques.
How do you make a layered paper-cut forest diorama?
What materials do I need to recreate a layered paper-cut forest?
What ages is the layered paper-cut forest activity suitable for?
What are the benefits, safety tips, or variations for the paper-cut forest project?
