Re-organise Your Closet
Sort and categorize clothing and accessories, measure and label storage boxes, create a simple layout plan, and organize your closet for easier daily routines.


Step-by-step guide to Re-organise Your Closet
Step 1
Gather all the materials from the list and bring them to your closet area.
Step 2
Take every piece of clothing and accessory out of the closet and place them on your bed or a clean floor space so you can see everything.
Step 3
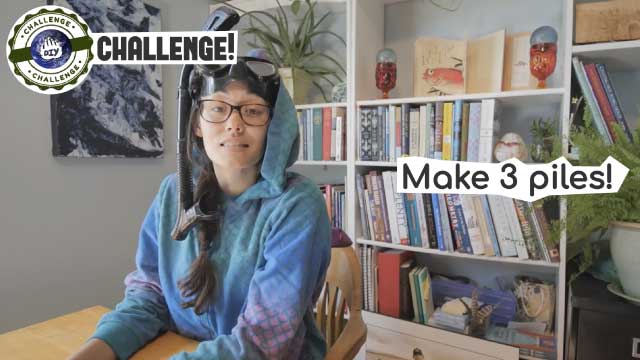
Sort the items into piles by category (for example: everyday clothes; school outfits; sports gear; pajamas; dress-up; accessories; donate/repair).
Step 4
Measure each storage box with the measuring tape and write the length and width on your paper.
Step 5
Put a sticky label on each box with the name of the category that will go inside.
Step 6
Measure the inside width and height of your closet and write those numbers on your paper.
Step 7
Draw a simple layout plan on your paper showing shelves hooks and hanging space and label where each category will go.
Step 8
Move the labeled boxes and extra hangers into the closet following the layout plan you drew.
Step 9
Put the clothes from each sorted pile into their matching labeled box or onto their assigned hanger.
Step 10
Place the daily outfits and school clothes at eye level so they are easy to grab every morning.
Step 11
Put shoes and accessories into a small box or on hooks and place them where they are easy to find.
Step 12
Put the donate or repair pile into the donation bag and leave it by the door for an adult to help drop off.
Step 13
Share your finished organized closet on DIY.org.
Help!?
What can we use if we don't have a measuring tape, sticky labels, or storage boxes from the materials list?
Use a piece of string and a ruler to take measurements, replace sticky labels with masking tape and a marker, and substitute storage boxes with shoeboxes or clean grocery boxes for sorting and labeling.
My boxes don't fit after I measure and start placing them in the closet — what should I do?
If boxes won't fit, re-check the inside width and height you wrote on paper, redraw your layout plan to use vertical space, swap to smaller boxes or move more items onto extra hangers so shelves and hanging space match the measurements.
How can I adapt this closet re-organisation for younger kids or older teens?
For younger kids simplify the sorting step into three picture-labeled piles and have an adult do the measuring and sticky-labeling, while older teens can use the measuring tape, write exact dimensions, color-code boxes and draw a more detailed layout plan themselves.
How can we make the organised closet more fun or personalized after following all the steps?
Decorate and color-code the storage boxes and sticky labels, add outfit cards to the daily outfits box, attach fun hooks for accessories, and take a photo of the finished organised closet to share on DIY.org.
Watch videos on how to Re-organise Your Closet
Kids Closet Organization | How To Organize Kid's Closet | Declutter + Organize Kids Clothes With Me
3 Videos
Kids Closet Organization | How To Organize Kid's Closet | Declutter + Organize Kids Clothes With Me
How To Organise Children Cloths👗/ Kids Closet Organisation/ 15 Tips and Tricks To Organise Wardrobe

Unlock Closet Organization: 4 Essential Uses for Kids-Sized Hangers!
Facts about home organisation and storage for kids
✨ Marie Kondo's KonMari method tells you to keep only items that 'spark joy' — a fun way to choose what stays!
📏 A common sewing tape measure is 150 cm (60 in), perfect for measuring clothes and storage boxes.
🗃️ Clear storage boxes make it easy to see what's inside at a glance, helping you find things faster.
👗 Lots of people wear about 20% of their clothes most of the time — sorting helps you spot your favorites!
⏱️ Spending 30–60 minutes organizing your closet can save you several minutes each morning and less stress overall.
How do I reorganize my child's closet so it's easier for them to use daily?
What materials do I need to reorganize a child's closet?
What ages is closet reorganization suitable for?
What are the benefits and safety tips for reorganising a child's closet?
