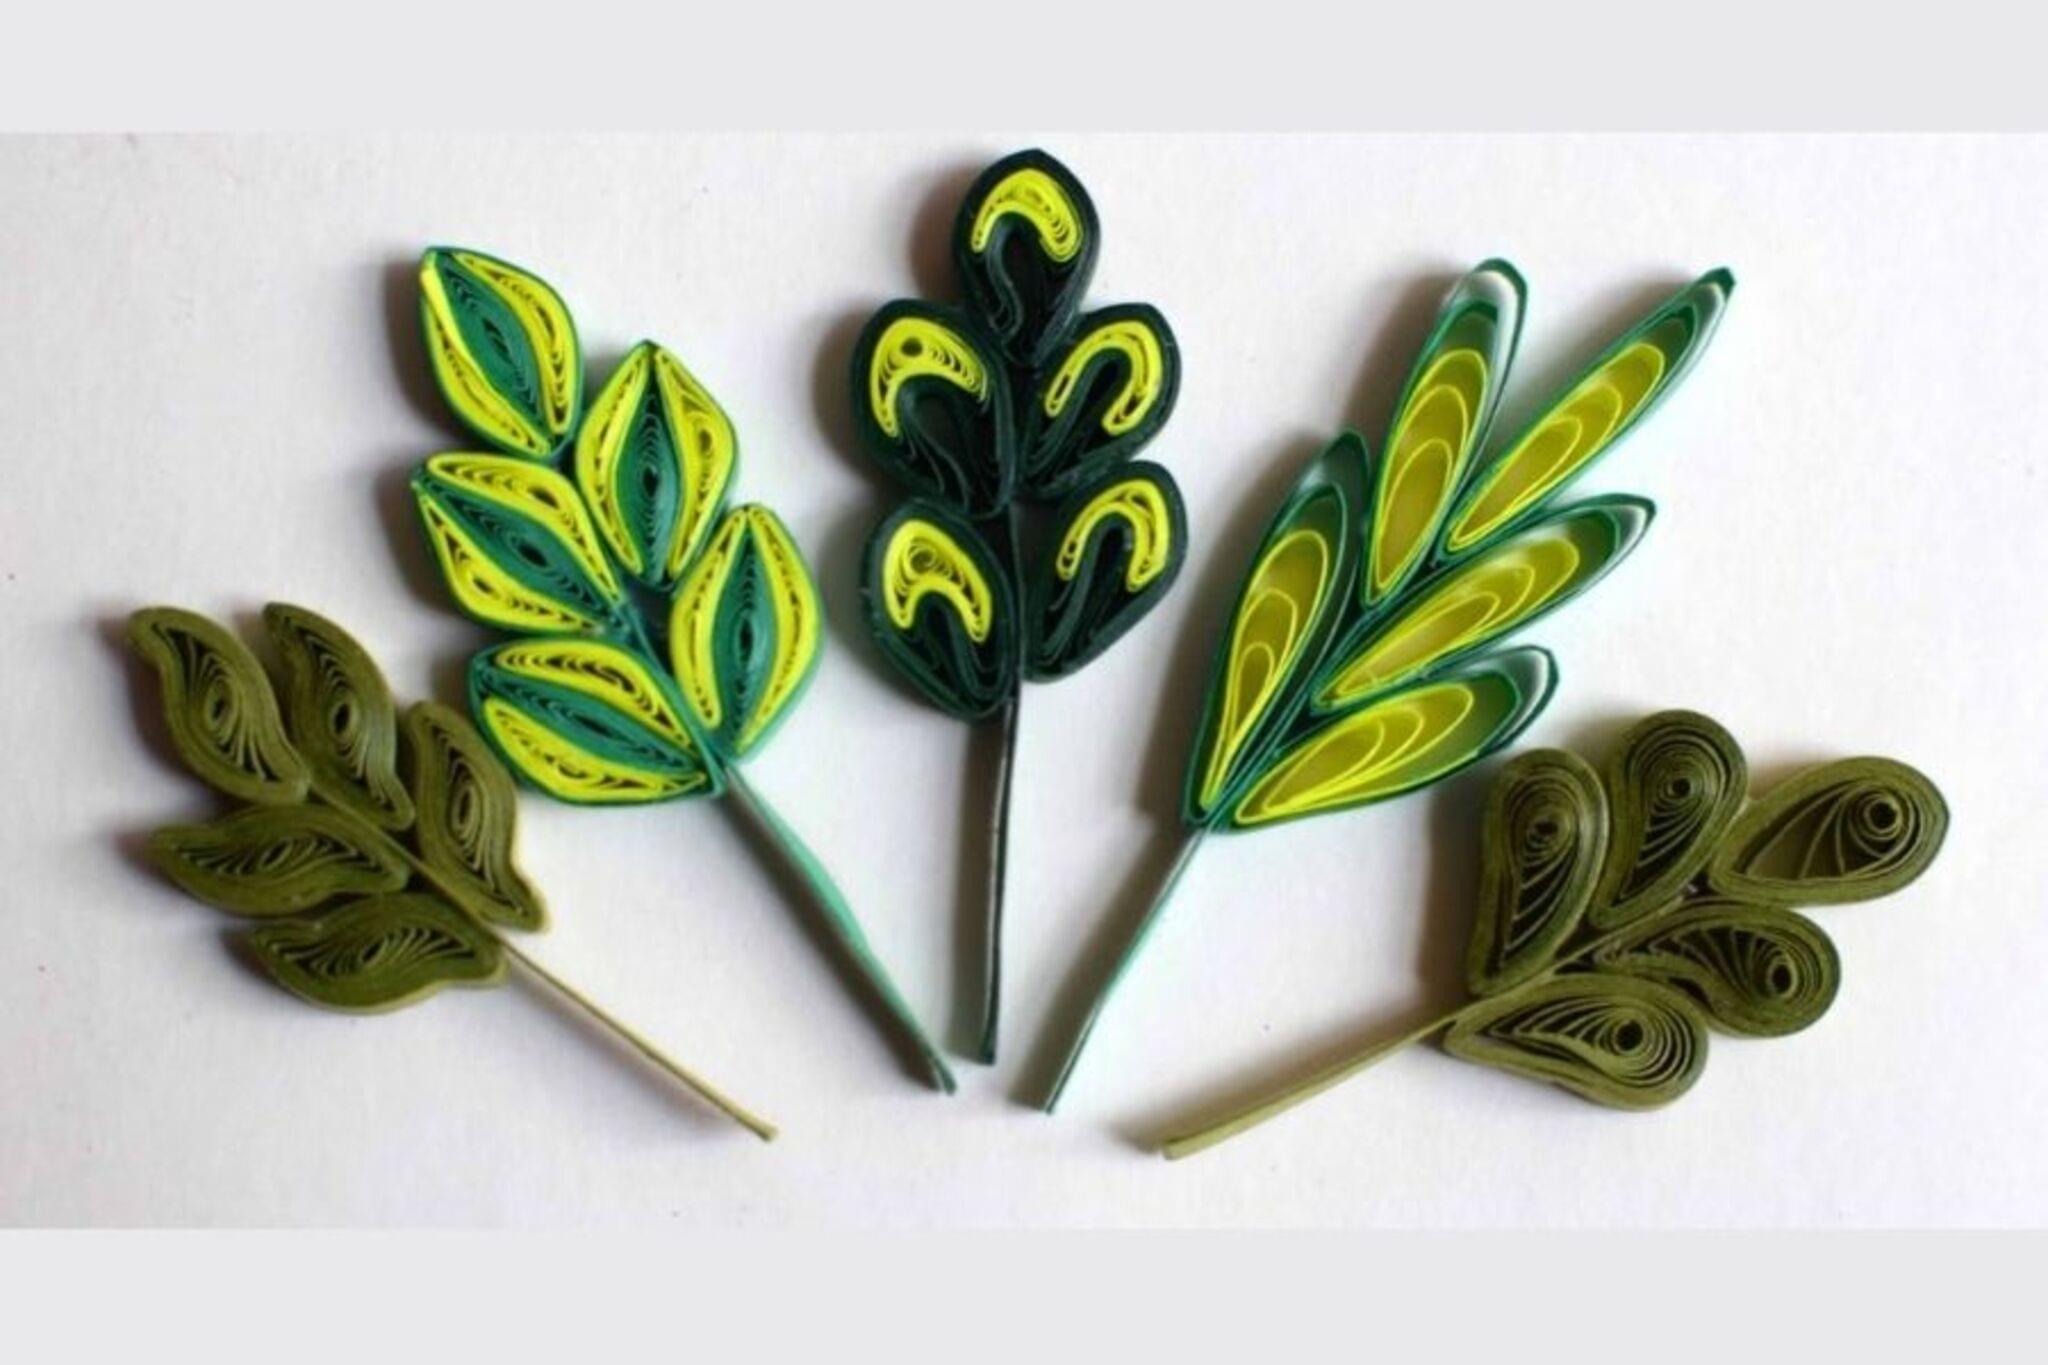
Quill Leaves
Make leaf quills by drying and shaping fallen leaves, then, with adult help, use them for ink dipping and writing to explore textures.


Step-by-step guide to make leaf quills
All About Leaves | Science For Kids | STEM Home Learning
Step 1
Go outside and collect 3 to 5 recently fallen leaves of different sizes and shapes to explore textures.
Step 2
Gently wipe each leaf with your cloth or paper towel to remove dirt and tiny bits.
Step 3
Put one leaf between two sheets of plain paper so it lies flat.
Step 4
Slide the paper with the leaf into the heavy book and close the book.
Step 5
Leave the book closed for 48 to 72 hours so the leaf dries and flattens.
Step 6
Open the book and carefully take out one dried leaf.
Step 7
Use the scissors to trim the leaf stem to about 2 or 3 centimeters so it’s a comfy handle.
Step 8
With adult help use the craft knife to cut a diagonal point at the tip of the leaf to make a nib.
Step 9
With adult help use the craft knife to make a small vertical slit about 5 to 10 millimeters at the tip to form an ink channel.
Step 10
Pour ink or washable paint into the shallow dish, dip the leaf nib briefly, and wipe any extra ink on the cloth.
Step 11
Practice writing or drawing on scrap paper to feel and compare the different textures each leaf quill makes.
Step 12
Share photos and what you learned about the textures your leaf quills made on DIY.org
Help!?
What can we use if we don't have a heavy book, craft knife, or liquid ink?
Press leaves between two sheets of plain paper under a stack of textbooks or canned goods instead of a heavy book, use small sharp scissors or a metal nail file (with adult help) instead of the craft knife to make the diagonal nib and 5–10 mm slit, and substitute tea, diluted food coloring, or a washable marker dabbed into the shallow dish for liquid ink.
What should we do if the leaf quill splits, doesn't flatten, or the ink blobs instead of flowing?
Make sure you fully dry each leaf for the full 48–72 hours pressed between plain paper in the heavy book, trim the stem to about 2–3 centimeters for a steady handle, cut a shallower diagonal point and a 5–10 mm vertical slit to form a proper ink channel, and always wipe extra ink on the cloth before practicing on scrap paper.
How can this activity be adapted for different ages?
For toddlers and preschoolers skip the craft knife and let them help wipe leaves and use leaves as paint stamps with washable paint while older kids can, with adult supervision, trim stems to 2–3 cm, carve finer diagonal nibs and 5–10 mm slits with the craft knife, and experiment with different inks on scrap paper to compare textures.
How can we extend or personalize the leaf quill activity once we've made quills?
After collecting 3–5 different leaves and trimming stems to 2–3 cm, test nibs on scrap paper, label each leaf with its species and a note about the texture it produced, decorate the stem handles with washi tape or wrapped thread, and photograph your set to share on DIY.org.
Watch videos on how to make leaf quills
Learn to Recognize Different Types of Leaf Shapes | Plant Leaves
4 Videos
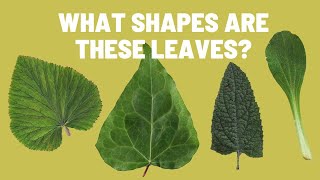
Learn to Recognize Different Types of Leaf Shapes | Plant Leaves
Types of Leaves🌱 | Simple Leaves, Compound Leaves, and more | Science for Kids | SuperMindz
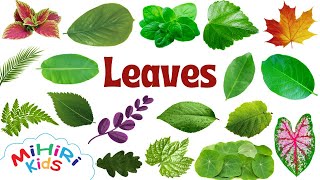
100+ Leaves Names With Pictures - Learning For Children - Learn At Home
Leaf Names & Shapes - Learn to Identify Trees by Their Leaves | Fun Nature Guide for Kids
Facts about nature crafts for kids
🍃 Some leaves crisp up and change texture as they dry, so each leaf quill writes and feels a little different!
✒️ Quill pens (made from bird feathers) were the main writing tool in Europe for about 1,000 years before metal nibs became popular.
🖋️ Historic inks often used natural ingredients like soot, plant tannins, or iron gall — early chemistry you can explore safely with an adult.
🧪 Pressing and gently drying leaves helps them hold a firm shape so they can be trimmed into a nib for dipping in ink.
🌿 Herbariums are collections of dried, pressed plants — a leaf quill project can make a tiny, creative herbarium of your own!
How do you make leaf quills and use them for ink writing?
What materials do I need to make and use quill leaves?
What ages is the leaf quill activity suitable for?
What are the benefits, safety tips, and variations for leaf quills?
