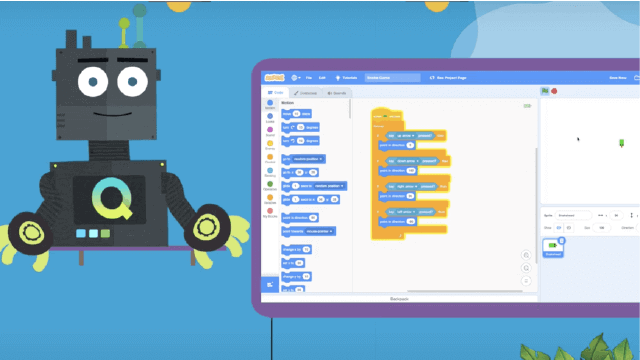
Program Your Snake Sprite!
Program a snake sprite in Scratch by building movement, turning, food collision, and scoring with blocks to learn coding logic and problem solving.

Step-by-step guide to program your snake sprite
Step 1
Click "Create" to start a new Scratch project.
Step 2
Delete the cat sprite by right-clicking it and choosing "delete."
Step 3
Add or draw a snake sprite by clicking "Choose a Sprite" or "Paint" and making it slithery.
Step 4
Add a small bright food sprite by clicking "Choose a Sprite" and selecting or drawing a food shape.
Step 5
Create a variable named score for all sprites using the "Variables" category.
Step 6
Attach a "when green flag clicked" hat block to the snake and add a block to set score to 0.
Step 7
Add a second "when green flag clicked" script with a forever loop that moves the snake 10 steps and waits 0.1 seconds so it glides.
Step 8
Make the snake turn with the arrow keys by adding "when key pressed" blocks that point the snake to 0 for up 90 for right 180 for down and -90 for left.
Step 9
Inside the snake's movement loop add an "if touching [food]?" block.
Step 10
Inside that "if touching" block add blocks to change score by 1 and to make the food go to a random position.
Step 11
Click the green flag to test your game and play using the arrow keys to make sure the snake eats food and the score increases.
Step 12
Share your finished snake game on DIY.org.
Final steps
You're almost there! Complete all the steps, bring your creation to life, post it, and conquer the challenge!

Help!?
What can we use if we don't have the Paint editor or can't find a snake or food sprite in Scratch?
If you can't use Paint or find a sprite, click 'Choose a Sprite' to search the Scratch library or upload an image from your computer, or pick any built-in sprite and edit its costume to make it look like a slithery snake or bright food.
The snake moves but the score doesn't go up when it touches the food—what should I check?
Check that the 'if touching [food]?' block is inside the snake's movement script and that both the 'change score by 1' and 'go to random position' blocks are nested inside that same 'if' and that the sensing menu actually names your food sprite.
How can I adapt this snake project for different age groups?
For younger kids, slow the snake by increasing the forever loop's wait to 0.5 seconds and make the food larger and fewer, while older kids can shorten the wait, increase the move steps, add tail sprites to grow the snake, or add wall-collision logic for extra challenge.
What are easy ways to personalize or extend the game before sharing on DIY.org?
Personalize by adding a 'play sound' block and a chomping sound inside the 'if touching [food]?' branch, create multiple food costumes or extra food sprites, and make levels by gradually decreasing the wait or increasing the move steps as the score rises.
Watch videos on how to program your snake sprite
Code a Snake Game with Python and Pygame 🐍 - Tutorial
4 Videos
Code a Snake Game with Python and Pygame 🐍 - Tutorial
How to make a Snake Game in Scratch 3.0! - Part 1 | Easy, Simple, Beginner Scratch Tutorial
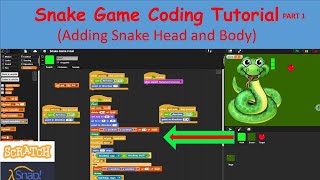
Snake Game Coding Tutorial Part 1 (How to Create the Snake Head Sprite) using Scratch and SNAP
Scratch Tutorial #23 | Snake Game | Coding for Kids (English) | #scratch #kids #english
Facts about Scratch programming for kids
🔢 A scoreboard in Scratch is just a variable (like "score") that you change when the snake eats food — easy to display and update!
🧠 Building a Snake game teaches key coding ideas: loops to keep moving, conditionals for turning, and debugging when things go wrong.
🎯 Collision detection is the idea of checking when two sprites touch — in Scratch you can use the "touching [sprite]?" block to spot food or walls.
🐱 In Scratch, characters are called sprites — you control them with colorful code blocks like "move 10 steps" and "turn 15 degrees."
🐍 The classic Snake game became wildly popular on Nokia phones in the late 1990s and inspired many simple coding projects.
How do I program a snake sprite in Scratch?
What materials do I need to program the snake sprite?
What ages is this Scratch snake project suitable for?
What are the benefits and safety tips for making a snake game in Scratch?


One subscription, many ways to play and learn.
Only $6.99 after trial. No credit card required