Procreate Hub - Textures and Blends
Use Procreate to create textured digital paintings and learn blending techniques. Practice layering, color mixing, and simple texture experiments on an iPad.


Step-by-step guide to use Procreate Hub - Textures and Blends
How to Blend Colors in Procreate (Procreate watercolor shading made easy)create depth in digital art
Step 1
Open the Procreate app.
Step 2
Create a new canvas by tapping the + button and choosing a size.
Step 3
Pick a background color and fill the canvas by dragging the color circle onto the canvas.
Step 4
Tap the Layers icon and add a new layer above the background.
Step 5
Open the Brush Library and choose a sketch or pencil brush.
Step 6
Lightly sketch a simple shape or scene on the new layer.
Step 7
Add another new layer for textures above your sketch layer.
Step 8
Open the Brush Library and choose a textured brush you like.
Step 9
Paint textured strokes on the texture layer using different pressure and brush sizes.
Step 10
Tap the texture layer and change its Blend Mode to Overlay or Multiply.
Step 11
Lower the texture layer Opacity slider until the texture looks natural.
Step 12
Use the Smudge tool with a soft brush to gently blend any rough edges.
Step 13
Export your artwork by tapping Actions > Share and saving a PNG to Photos.
Step 14
Share your finished creation on DIY.org.
Help!?
What can we use if we don't have an Apple Pencil or an iPad with Procreate?
If you don't have an Apple Pencil or iPad, use your finger or a capacitive stylus and run Procreate Pocket on an iPhone or a free drawing app (e.g., Autodesk Sketchbook) to follow the same steps of creating a canvas, adding layers, and using textured brushes.
My texture layer looks wrong after I change the Blend Mode—what should I check?
If your texture disappears or looks too strong after changing its Blend Mode in step 7, make sure the texture layer is above the sketch layer, try switching between Overlay and Multiply, and adjust the Opacity slider until the texture looks natural as directed in step 8.
How can I adapt this activity for younger or older kids?
For younger kids simplify by using fewer layers (background + one texture layer), bigger brush sizes and the finger for painting, while older kids can add extra layers, experiment with the Smudge tool blending, and fine-tune Blend Modes and Opacity for more subtle textures.
What are some ways to extend or personalize the finished artwork?
To personalize and extend the activity, import a photo or scanned paper texture into a new layer, set it to Overlay or Multiply, use Alpha Lock or clipping masks to confine the texture to your sketch, then export a PNG (Actions > Share) to add to your DIY.org post.
Watch videos on how to use Procreate Hub - Textures and Blends
How To Draw Cartoon Faces + Adding Texture To Illustrations • Cute Art • Procreate Tutorial
4 Videos
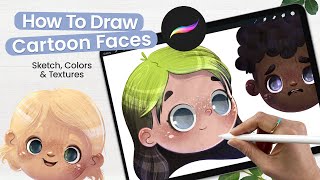
How To Draw Cartoon Faces + Adding Texture To Illustrations • Cute Art • Procreate Tutorial
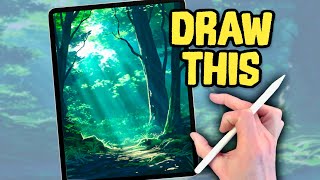
PROCREATE Landscape DRAWING Tutorial in Easy STEPS - Woodland Sun Rays

How to Make a Watercolor Brush in Procreate (Easy Beginners Tutorial +FREE Brush & Texture!)
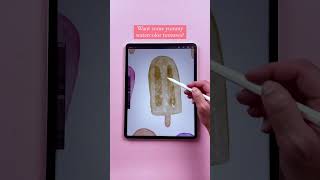
Learn how to create a watercolor patterns in Procreate
Facts about digital painting and blending techniques
🎨 Procreate was created by Australian studio Savage Interactive and quickly became a favorite iPad art app for both professionals and beginners.
✏️ Using an Apple Pencil with Procreate gives you pressure and tilt control for expressive, natural-looking brush strokes and blends.
🧩 Procreate can export layered PSD files so you can continue editing your layered artwork in Photoshop without losing structure.
🖌️ Procreate’s brushes are fully customizable — you can tweak or import brushes and create textured brushes for unique surface effects.
🧪 Layer limits in Procreate depend on canvas resolution — smaller canvases can allow 250+ layers, so adjust size when planning lots of textures.
How do you use Procreate to create textured digital paintings and learn blending techniques?
What materials and tools do I need to try Procreate textures and blends on an iPad?
What ages is Procreate Hub - Textures and Blends suitable for?
What are the benefits of teaching children texture and blending skills in Procreate?
