Present your comic book!
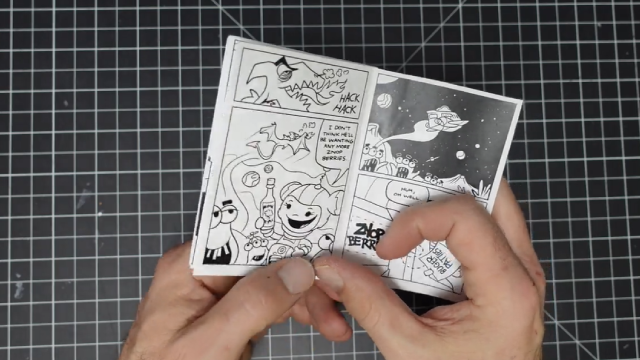
Create a short comic book with characters, panels, and speech bubbles, then present it aloud to family or classmates to share your story.


Step-by-step guide to present your comic book
Step 1
Think of a short story idea and choose two or three characters to star in it.
Step 2
Give each character a name and pick one clear trait or feeling for them.
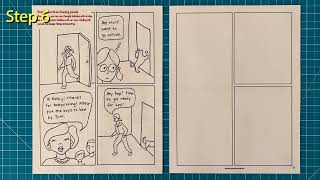
Step 3
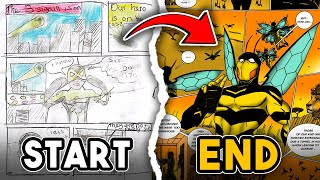
On scrap paper draw a tiny thumbnail that shows each page and where the panels will go.
Step 4
Decide how many pages you want and draw panel borders on your final pages using the ruler.
Step 5
Draw your characters and the actions that happen in each panel with your pencil.
Step 6
Add speech bubbles and short captions to show what each character says or thinks.
Step 7
Trace over the pencil drawings and text with your black pen to make clean outlines.
Step 8
Let the ink dry completely before you touch the pages.
Step 9
Gently erase the pencil marks so only the inked art and words remain.
Step 10
Color your comic pages using your colouring materials to bring the story to life.
Step 11
Fold the pages and staple the spine or hole punch and tie them to make a little book.
Step 12
Practice presenting your comic aloud once or twice so you know how to bring your characters to life.
Step 13
Share your finished comic book and your presentation on DIY.org
Final steps
You're almost there! Complete all the steps, bring your creation to life, post it, and conquer the challenge!

Help!?
What can we use instead of a ruler, black pen, or stapler if we don't have them?
Use the straight edge of a cereal box or a hardcover book to draw panel borders, a fine-tip marker or dark pencil instead of the black pen for tracing, and tape, ribbon, or folded-and-tucked pages instead of a stapler to bind the spine.
My ink smudged or my pencil lines won't erase cleanly—how do I fix that?
Follow the instruction to let the ink dry completely before you touch the pages, then gently erase pencil marks, and cover tiny ink mistakes with a white gel pen or a small piece of white tape before recoloring.
How can I adapt this comic activity for younger or older kids?
For younger kids skip the ruler step and use larger panels on a single sheet with pre-drawn templates and help tracing, while older kids can add more pages, tighter panel layouts with a ruler, detailed inking, and rehearse a longer presentation for DIY.org.
How can we make the comic book more creative or shareable?
Add a decorated cover, bold sound-effect captions, layered collage backgrounds with colored paper or stickers before coloring, and scan or photograph the finished book to upload a crisp image for sharing on DIY.org.
Watch videos on how to present your comic book
Learn and make your own comic book | Very easy! | Just like any other comic | Craft Mob
4 Videos
Learn and make your own comic book | Very easy! | Just like any other comic | Craft Mob
How to Make a Comic Book
How To Make A Comic from Start to Finish
How to Make Your Own Comic | Toontorial | @cartoonnetworkuk
Facts about comic books and storytelling
✍️ Comic creators often start with tiny thumbnail sketches for layout, then pencil, ink, color, and finally lettering and speech bubbles.
🦸 Action Comics #1 (1938) introduced Superman and helped kick off the superhero boom in comic books.
📘 Scott McCloud wrote Understanding Comics, which defines comics as "juxtaposed pictorial and other images in deliberate sequence."
💬 Speech balloons have been used in art for centuries, but the round, tail-pointing bubbles became popular in 19th–20th century newspaper cartoons.
🎨 The word "cartoon" originally meant a full-size preparatory drawing (from Italian cartone) before it became a name for funny drawings and comics.
How do I create and present a short comic book?
What materials do I need to create a short comic book?
What ages is creating and presenting a comic book suitable for?
What are the benefits of making and presenting a comic book?


One subscription, many ways to play and learn.
Only $6.99 after trial. No credit card required