Practice your Defense
Make a cardboard shield, decorate it, and practice blocking soft foam balls to improve balance, reaction time, and safe movement.

Step-by-step guide to Practice your Defense
Step 1
Gather all the materials and bring them to a clear flat workspace.
Step 2
Lay the cardboard flat and use the pencil and ruler to draw a shield shape about the size of your chest.
Step 3
Cut out the shield shape with child-safe scissors and ask an adult to help if the cardboard is thick.
Step 4
Apply strips of tape around the shield edges to make them stronger and smoother.
Step 5
Wrap the elastic or ribbon around your forearm to check the fit.
Step 6
Cut the elastic or ribbon to the size you tested.
Step 7
Tape the ends of the elastic or ribbon to the inside of the shield to create an arm loop.
Step 8
Decorate the front of the shield using your coloring materials and stickers to make it yours.
Step 9
Place the soft foam balls or rolled-up socks in a small pile within arm’s reach.
Step 10
Stand with your feet shoulder-width apart and hold the shield in front of your chest.
Step 11
Have an adult or partner gently toss a foam ball toward you from a short distance so you can practice blocking.
Step 12
Practice stepping left or right before each block to keep your balance while defending.
Step 13
Put away all materials neatly and check your play area for safety.
Step 14
Share your finished shield and a short note about your practice on DIY.org.
Final steps
You're almost there! Complete all the steps, bring your creation to life, post it, and conquer the challenge!

Help!?
What can we use if we don't have elastic, ribbon, or foam balls listed in the materials?
Use a wide strip of fabric or a shoelace cut to the tested forearm size and taped to the inside of the shield instead of elastic or ribbon, and use rolled-up socks or a small soft stuffed toy in place of foam balls.
My shield bends or the arm loop comes loose during practice — what should we try?
If the cardboard bends, glue or tape a second cardboard layer and if the arm loop loosens, reinforce the taped ends with extra strips of tape or ask an adult to staple or hot-glue them for a stronger attachment.
How can we adapt this activity for younger children or older kids?
For younger children have an adult pre-cut the shield, use stickers and shorter tossing distances, and for older kids make the shield chest-sized, increase toss distance and add tougher foam balls or timed drills.
How can we personalize or extend the shield-making and practice beyond the basic instructions?
Personalize the front with a family crest or painted design, add a second strap to create a hand-grip or extra padding inside, practice blocking combinations while stepping, and share photos and a short note on DIY.org as suggested.
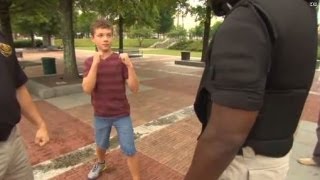
Watch videos on how to Practice your Defense
Keep your kids safe with these 3 self-defense moves
4 Videos

Keep your kids safe with these 3 self-defense moves
5 self-defense techniques for your children

basic self defense techniques for kids
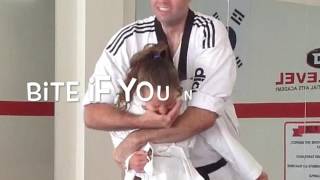
Self Defense for Kids
Facts about balance and coordination for kids
🌀 Balance is mainly controlled by the vestibular system in your inner ear working with your eyes and muscles — practice helps them coordinate better.
📦 Corrugated cardboard was invented in the 19th century and quickly became a favorite for lightweight, strong DIY projects and packaging.
🛡️ Shields have been used for thousands of years — archaeologists have found shield remains from ancient Egypt and Greece over 3,000 years old.
🧸 Soft foam balls absorb impact, making them ideal for safe practice while still teaching timing, aim, and movement control.
🧠 The average human reaction time to a visual stimulus is about 200–300 milliseconds, so practicing blocks speeds up your responses.
How do you practice your defense with a cardboard shield?
What materials do I need to make a cardboard shield and practice blocking?
What ages is this practice suitable for?
What are the benefits and safety tips for cardboard shield blocking practice?


One subscription, many ways to play and learn.
Only $6.99 after trial. No credit card required