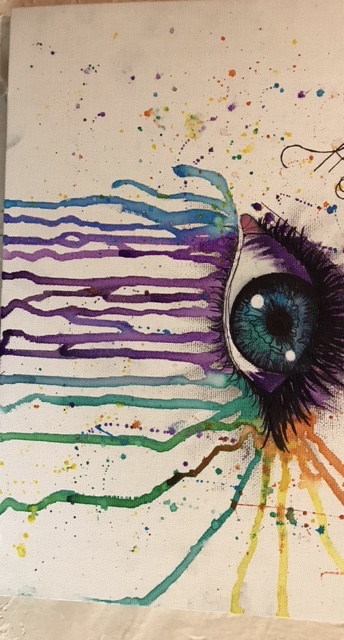
Practice drawing an eye
Practice drawing a realistic eye step-by-step using pencils, erasers, and shading techniques to learn proportions, light, and texture with simple reference photos.

Drawing Apps
Step-by-step guide to practice drawing a realistic eye
Step 1
Place your paper and the reference photo side-by-side on a flat table.
Step 2
Sharpen your pencil until the tip is pointed.
Step 3
Put your eraser and blending stump or tissue within easy reach.
Step 4
Lightly draw a horizontal guideline across the paper for the eye level.
Step 5
Lightly draw a small vertical guideline to mark the center of the eye.
Step 6
Sketch the outer almond shape of the eye with soft light strokes.
Step 7
Draw the upper eyelid crease using a gentle curved line.
Step 8
Draw the lower eyelid curve with light strokes.
Step 9
Lightly draw the iris circle and mark the pupil center.
Step 10
Shade the pupil dark while keeping the small highlight area white.
Step 11
Shade the iris with short radial strokes to create texture.
Step 12
Gently blend the iris and soft shadows with your stump or tissue.
Step 13
Draw eyelashes with quick curved strokes starting at the lash line.
Step 14
Use your eraser to lift tiny highlights and tidy any edges.
Step 15
Share your finished eye drawing on DIY.org.
Help!?
What can we use instead of a blending stump or a very pointed pencil if we don't have them?
Use a clean tissue, cotton swab, or fingertip instead of a blending stump and a regular HB or 2B pencil sharpened as fine as possible to sketch the almond eye shape and shade the pupil.
My guidelines or outer almond shape look too dark or smudged—how do we fix that?
Lightly erase the horizontal or vertical guideline with your eraser, redraw the outer almond shape with softer pressure, and gently blend harsh shadows in the iris or under the eyelid using your stump or tissue to tidy the outcome.
How can I adapt this eye-drawing activity for younger children or make it harder for older kids?
For younger kids skip the fine radial iris strokes and detailed eyelashes and have them draw and color a simple almond and solid pupil, while older kids can add short radial strokes, subtle crease shading, and precise highlights with an eraser before blending.
How can we extend or personalize the finished eye drawing once it's done?
Try adding colored pencils to the iris, practicing different reference photos to capture angles and expressions, or including tiny highlights and a signature before sharing your finished eye on DIY.org.
Watch videos on how to practice drawing a realistic eye
How to Draw a Simple Eye | Easy Art Tutorial
4 Videos
How to Draw a Simple Eye | Easy Art Tutorial
How to draw an eye/eyes easy step by step for beginners Eye drawing easy tutorial with pencil basics

How to draw Eyes from ANY perspective | Tutorial | Drawlikeasir

How to Draw an Eye | Step-by-Step Tutorial
Facts about pencil drawing and shading for kids
👁️ No two irises are identical — artists can treat each eye like a tiny fingerprint when adding detail.
✏️ Pencil grades run from hard (H) to soft (B); many artists use 2B–6B for smooth, rich shading on eyes.
💡 A small white highlight (catchlight) makes an eye look alive by mimicking light reflecting off the cornea.
🎯 Pupil size and the position of reflections control gaze and mood — tiny changes can shift where a subject appears to look.
📐 In classic portrait proportions, the eyes sit about halfway down the head and the face is roughly five eye-widths across.
How do I practice drawing a realistic eye step-by-step?
What materials do I need to practice drawing a realistic eye?
What ages is practicing a realistic eye suitable for?
What are the benefits, safety tips, and variations for this eye-drawing activity?
