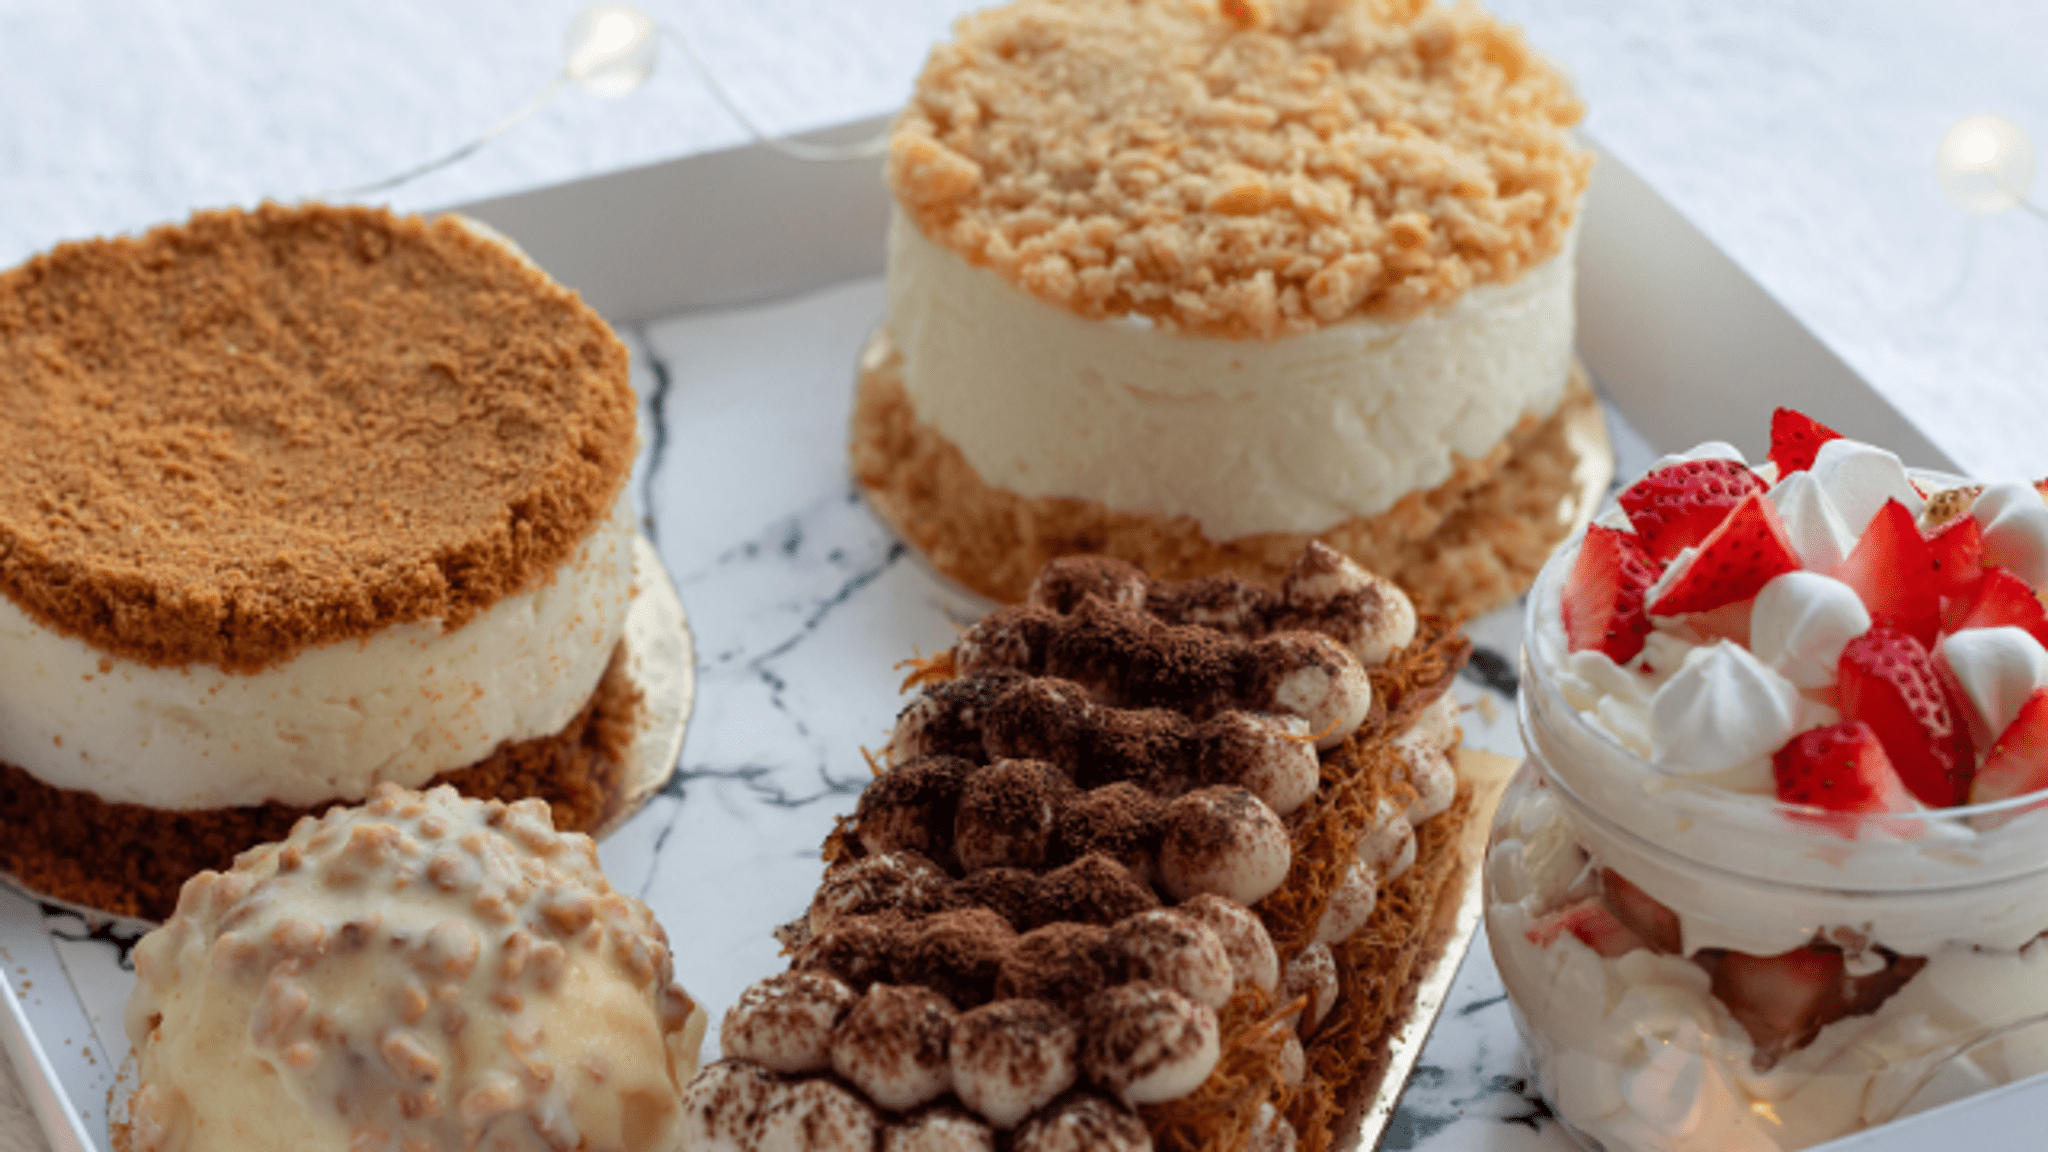
POV - Your Favorite Summer Desserts
Make three simple summer desserts—fruit popsicles, yogurt parfaits, and granola cups with adult help, learning measuring, safe food prep, and freezing.


Step-by-step guide to POV - Your Favorite Summer Desserts
4 EASY "NO BAKE" Summer Treats Kids Can Make!
Step 1
Wash your hands with soap and dry them so your hands are clean for cooking.
Step 2
Gather all the Materials Needed and put them on the table so everything is ready.
Step 3
Rinse the fruit under cold water to make it clean and fresh.
Step 4
With adult supervision cut the fruit into small pieces on the cutting board.
Step 5
Measure 1 to 2 cups of the cut fruit and put the measured fruit into a blender or a bowl for mashing.
Step 6
Measure 1/4 cup juice and 1 to 2 tablespoons honey or maple syrup and put the measurements nearby.
Step 7
Add the measured juice and honey to the fruit and blend or mash until the mixture is smooth (adult may help with the blender).
Step 8
Pour the fruit mixture into popsicle molds or paper cups leaving a little space at the top.
Step 9
Put a popsicle stick into each mold then place the molds flat in the freezer and freeze for at least 4 hours until solid.
Step 10
Spoon about 2 tablespoons of yogurt into the bottom of each parfait cup to start your first layer.
Step 11
Add a layer of cut fruit on top of the yogurt in each cup.
Step 12
Sprinkle a tablespoon of granola over the fruit and repeat the yogurt fruit granola layers until each parfait cup is full.
Step 13
Mix 2 cups granola with about 1/3 cup honey in a bowl then press the mix into muffin tin cups to form little granola cups and chill them in the fridge or freezer until firm.
Step 14
Share photos of your three summer desserts—fruit popsicles yogurt parfaits and granola cups—on DIY.org so everyone can see your tasty creations.
Help!?
What can we use instead of popsicle molds or a muffin tin if those are hard to find?
If you don’t have popsicle molds or a muffin tin, pour the blended fruit into paper cups or an ice cube tray and use wooden craft sticks or small plastic spoons as popsicle sticks so you can still follow the freeze step.
My popsicles didn’t blend smoothly and the granola cups fell apart—what should I check or change?
Make sure you fully mash or blend the measured 1–2 cups of cut fruit with the 1/4 cup juice and 1–2 tablespoons honey, press the granola and 1/3 cup honey mixture firmly into the muffin tin cups, and chill long enough in the freezer or fridge so popsicles and granola cups become solid and set.
How can I adapt the steps for different ages so it’s safe and fun?
For younger kids have an adult do the rinsing and cutting on the cutting board and let them mash fruit into a bowl or spoon yogurt into parfait cups, while older kids can measure ingredients, use the blender with supervision, and assemble and freeze the popsicle molds themselves.
What are simple ways to personalize or upgrade each dessert before sharing photos on DIY.org?
Customize the desserts by adding fresh herbs like mint to the blended fruit, using flavored yogurts or chocolate chips in the parfait layers, sprinkling extra granola or nuts on top of each granola cup, and decorating the popsicle sticks before freezing for a unique photo-ready result.
Watch videos on how to POV - Your Favorite Summer Desserts
Easy Summer Desserts & Family Dinners | Kid-Friendly & Budget Meals!
4 Videos
Easy Summer Desserts & Family Dinners | Kid-Friendly & Budget Meals!

6 Best-Ever SUMMER DESSERT RECIPES you'll go Crazy over!

6 Easy Summer Desserts You Need to Try (Kool Aid Pie, Grilled Donut Shortcake & More!) | Allrecipes
6 Summer Desserts To Master This Season
Facts about cooking for kids
🍦 The Popsicle was invented by an 11-year-old in 1905 and later became a popular frozen treat called the Popsicle.
🥛 Yogurt contains live probiotics—friendly bacteria that can help with digestion and add tangy flavor to parfaits.
🍓 Parfait means “perfect” in French and is traditionally served in layers—great for colorful yogurt-and-fruit stacking.
🌾 Granola started as a 19th-century health food; today it’s often made from oats, nuts, honey, and dried fruit for crunchy energy.
❄️ Home-made popsicles usually take about 4–6 hours to fully freeze, so plan ahead before you enjoy them!
How do I make three simple summer desserts (fruit popsicles, yogurt parfaits, granola cups) with kids?
What materials and ingredients do I need to make these summer desserts?
What ages are these dessert activities suitable for?
What safety tips should I follow when kids help with making summer desserts?
