Pointillism Art Technique - The Dragonfly
Create a dragonfly picture using pointillism dots with paint or markers, exploring color blending, patterns, and fine motor control while observing real dragonfly shapes.
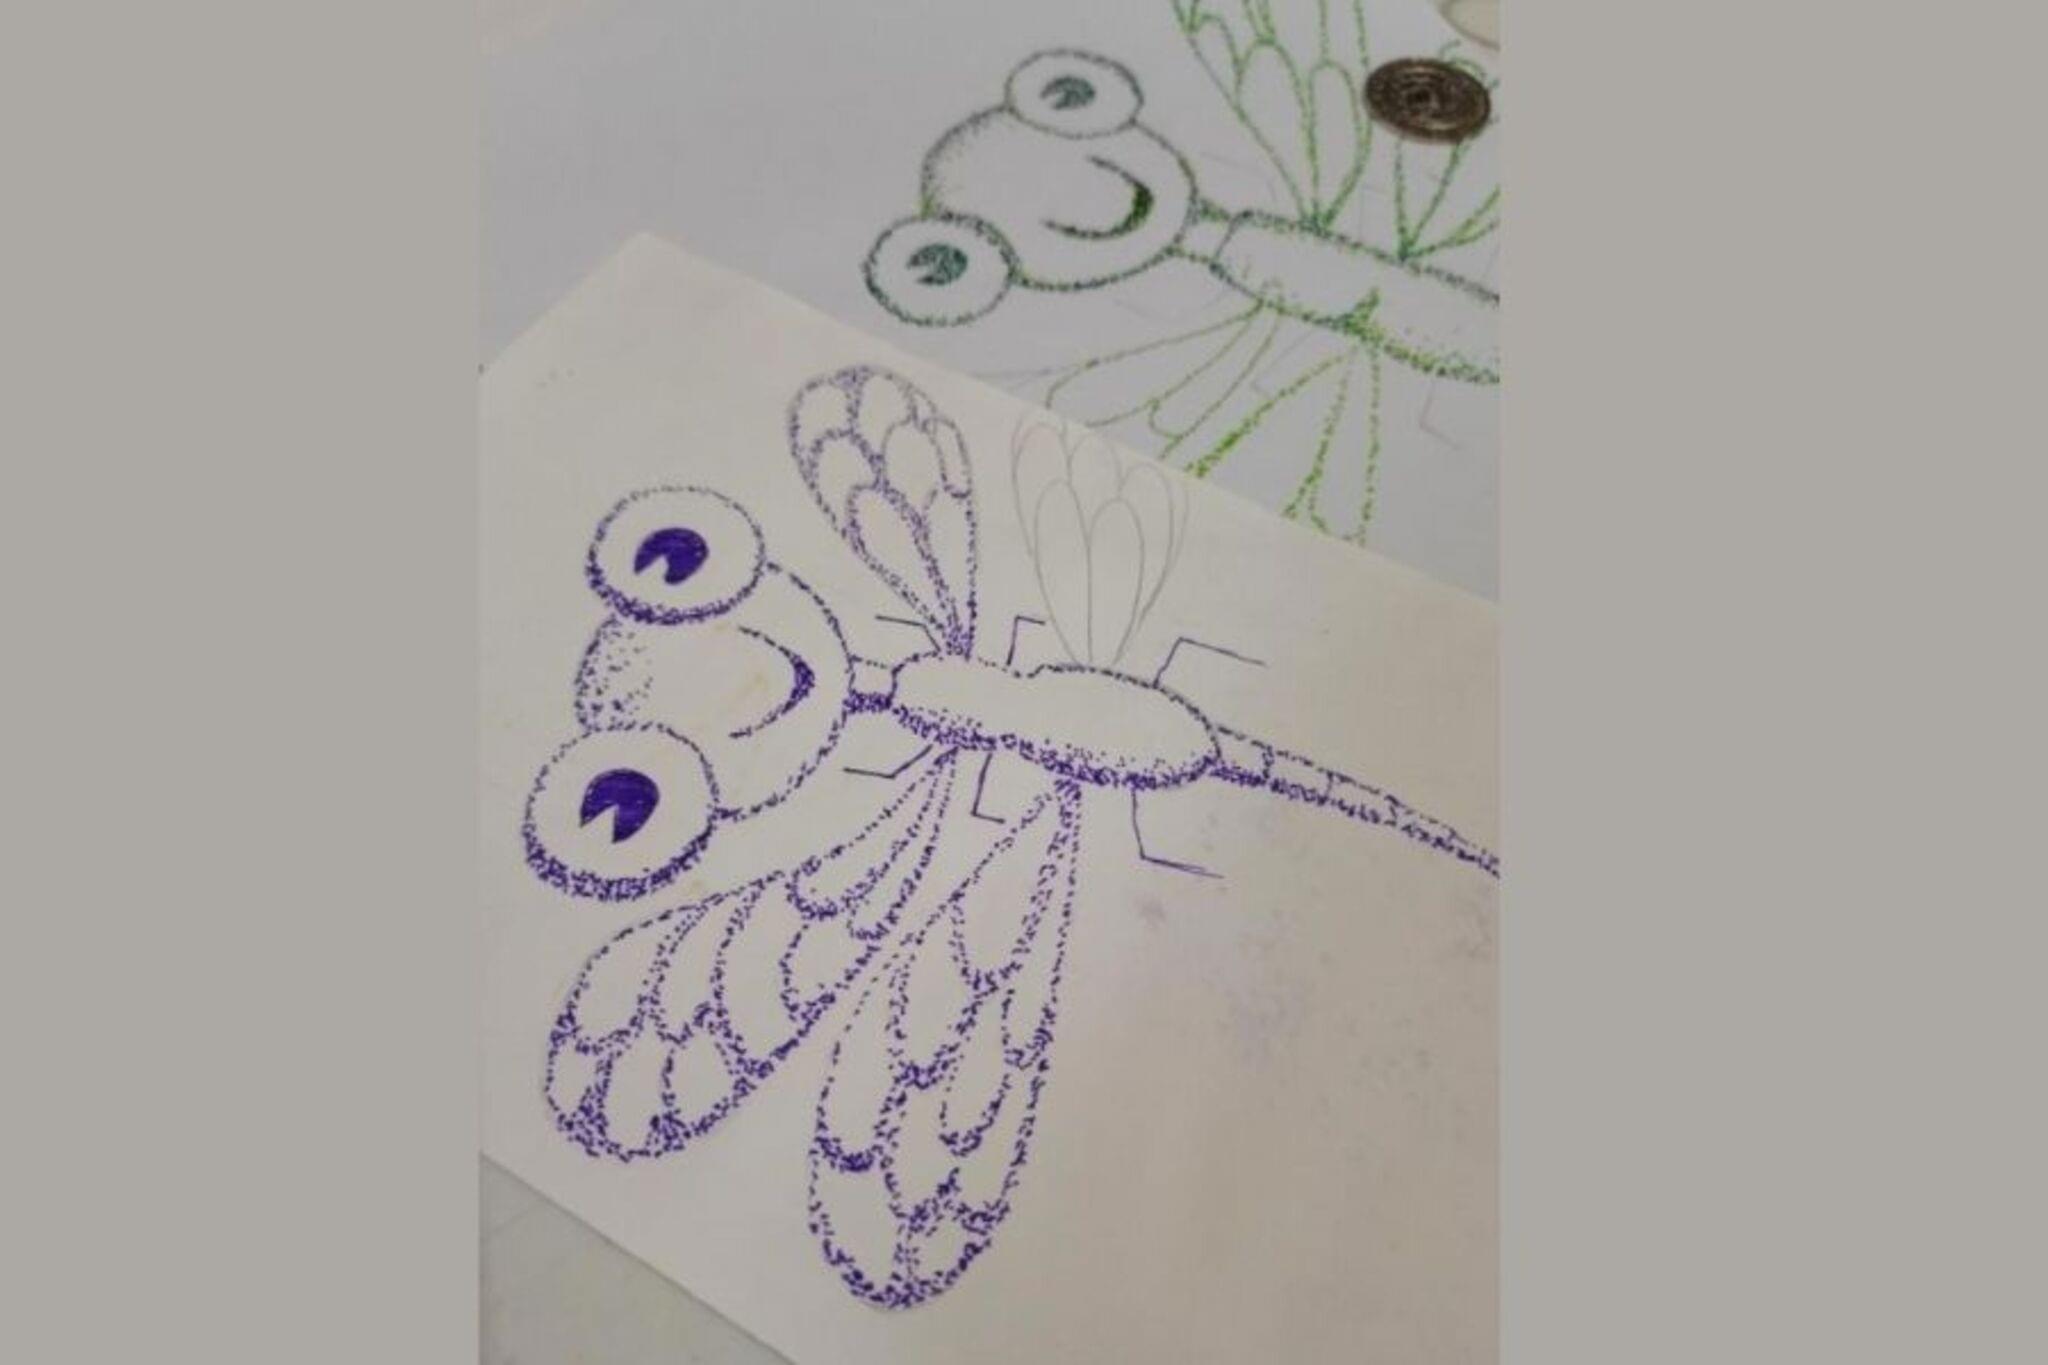
About this activity
Create a dragonfly picture using pointillism dots with paint or markers, exploring color blending, patterns, and fine motor control while observing real dragonfly shapes.
What you need
Step by step
- 1
Step 1
Gather all your materials and set them on a clear workspace so everything is easy to reach.
- 2
Step 2
Look closely at your reference dragonfly picture and notice the wing shapes body segments and eye placement.
- 3
Step 3
Lightly draw the dragonfly outline on your paper with a pencil using simple shapes for the body and wings.
- 4
Step 4
Choose three or four colors you want to use and make a few test dots on a palette or scrap paper to see how they look.
- 5
Step 5
Use small dots to fill in the dragonfly’s body following your pencil outline and keep the dots close together.
- 6
Step 6
Fill each wing with many small dots leaving a little white space so the wings look sparkly and light.
- 7
Step 7
Add dots of a second color right next to the first color to make the colors blend with your eyes.
- 8
Step 8
Make tiny dense dots for the eyes and thin dots or short strokes for the legs with a fine-tip marker or small brush.
- 9
Step 9
Create patterns on the wings by adding rows or clusters of contrasting colored dots.
- 10
Step 10
Add soft background dots around the dragonfly to help it stand out from the page.
- 11
Step 11
Let your artwork dry completely before touching it.
- 12
Step 12
Gently erase any visible pencil lines now that the paint or marker is dry.
- 13
Step 13
Sign and date your dragonfly artwork in a corner so everyone knows you made it.
- 14
Step 14
Ask an adult to help you take a photo and share your finished dragonfly on DIY.org.
Fun facts
How do I make a pointillism dragonfly with dots?
To make a pointillism dragonfly, first look at photos or a real dragonfly and lightly sketch a simple body and wings on thick paper. Choose two or three paint or marker colors for each wing area. Use a thin brush, Q‑tip, or marker tip to place small dots close together—build layers to blend colors visually. Add patterns inside wings with contrasting dots. Let paint dry and outline the dragonfly with a fine marker if desired.
What materials do I need for a pointillism dragonfly craft?
You’ll need heavy paper or cardstock, washable dot markers or tempera paints, small round brushes or cotton swabs for dots, pencils and erasers for a light sketch, a fine-tip black marker for outlines, a palette or plate, water cup and paper towels. Optional: glue and glitter for decoration, a magnifying photo of a dragonfly for reference, and a tray to keep colors separate. Choose washable, non-toxic supplies for safety.
What ages is a pointillism dragonfly activity suitable for?
This activity fits preschoolers through elementary ages with adjustments. Ages 4–6 enjoy dot markers or Q‑tips with paint for simple wing patterns; provide close supervision and larger tools. Ages 7–11 can practice finer dots, color blending, and layered patterns to build patience and precision. Older kids can add detailed anatomy or mixed media. Always consider individual fine-motor skills and supervise younger children with paint and small tools.
What are the benefits and safe variations of a pointillism dragonfly activity?
Pointillism dragonfly projects boost fine motor control, color awareness, patience, and observational skills. Making repeating dot patterns strengthens hand-eye coordination and concentration while teaching how colors blend visually without mixing. For safety, use non-toxic, washable paints and supervise, especially with small Q‑tips or glitter. Variations: try watercolor washes under dots, metallic markers for shimmer, or collaborative murals where each child paints a wing section to explore te
Watch & Learn
Need help?
What can I use instead of a fine-tip brush, markers, or paint if I can't find them?
Use cotton swabs, toothpicks, the rounded end of a pencil, or gel pens to make small dots on your paper, and use scrap paper as a palette instead of a paint tray.
My dots are smudging or the colors look muddy — how can I fix that?
Prevent smudging and muddiness by using less water on your brush or lighter marker pressure, letting each area dry completely before adding adjacent second-color dots to blend with your eyes, and blotting any puddles on scrap paper.
How can I adapt the activity to suit toddlers or older kids?
For younger children, simplify the dragonfly outline and use q-tips with three colors and larger dots, while older kids can use a fine-tip brush or micron pens, more colors, and denser tiny dots to create detailed wing patterns.
How can we personalize or extend the dragonfly pointillism after finishing the basic painting?
Enhance the finished dragonfly by adding metallic or white gel-pen highlights on the wings, gluing tiny sequins or tissue-paper dots for sparkle, layering soft background dots for depth, and then sign and date before photographing to share on DIY.org.