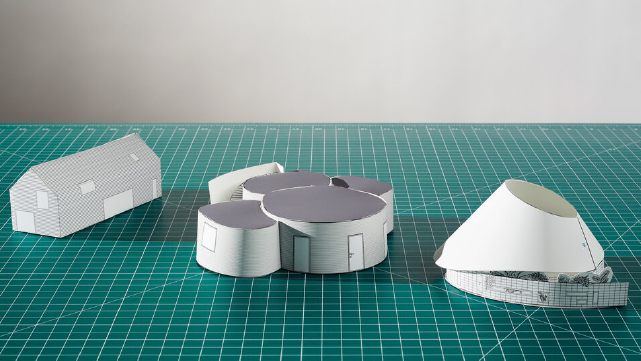
Place all Architectural Details on the Base
Place architectural details like windows, doors, and cornices onto a model base using safe glue and tools to practice spatial design.

Step-by-step guide to place all architectural details on the base
Step 1
Clear a flat workspace and place your model base in the center.
Step 2
Lay out all your architectural pieces next to the base so you can see each one.
Step 3
Arrange the pieces on the base without glue to try different designs.
Step 4
Measure spacing for windows and doors with your ruler.
Step 5
Lightly mark the placement points on the base with your pencil.
Step 6
Apply a thin layer of safe glue to the back of one detail piece.
Step 7
Press the glued piece onto its pencil mark and hold it firmly for a few seconds.
Step 8
Repeat gluing and pressing each remaining detail one at a time.
Step 9
Trim any pieces that overlap the base edges using scissors for a clean fit.
Step 10
Let your model sit undisturbed until the glue is fully dry.
Step 11
Add color or small decorations with your coloring materials to finish the look.
Step 12
Tidy your workspace and put tools away safely.
Step 13
Share a photo of your finished architectural model on DIY.org.
Final steps
You're almost there! Complete all the steps, bring your creation to life, post it, and conquer the challenge!

Help!?
What can we use if we don't have the 'safe glue' or a model base listed in the instructions?
If you don't have craft-safe glue or a foam model base, use a glue stick, double-sided tape, or glue dots to attach lightweight architectural pieces onto a sturdy cardboard or cereal-box base.
My detail pieces keep shifting before the glue dries—how can I stop that?
To prevent shifting, apply a thin layer of glue as the instructions say, press each glued piece onto its pencil mark and hold for a few extra seconds, or use small clothespins or binder clips until the glue is fully dry.
How can I change the activity for younger kids or make it more challenging for older kids?
For younger children skip the ruler measuring step and use pre-cut pieces with a glue stick and adult help for scissors, while older kids should measure spacing with the ruler, trim overlaps precisely, and add finer decorations with the coloring materials.
What are some easy ways to personalize or extend the finished architectural model before sharing it?
Personalize the model by adding color and small decorations with your coloring materials, gluing on textured materials or fabric for detail, installing a small battery LED behind windows, or creating a paper landscaping base before photographing for DIY.org.
Watch videos on how to place all architectural details on the base
Structural Drawing - Basics for Beginners | A Guide to Structural Drawings for Homes,Flats |EduArchs
4 Videos
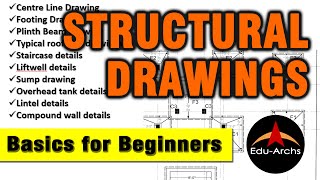
Structural Drawing - Basics for Beginners | A Guide to Structural Drawings for Homes,Flats |EduArchs

Architectural Design Process Explained
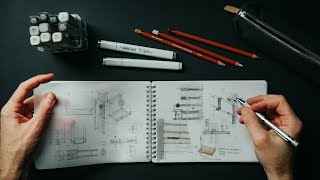
How I Sketch + Design Architectural Details
How to Design + Draw Construction Details (Start to Finish)
Facts about model-making and basic architectural design for kids
✂️ Moving a window, door, or cornice on a model can completely change how a building feels — small details make big differences!
📐 Architects and model-makers often use scales like 1:50 or 1:100 so big buildings fit neatly on a tabletop.
🏛️ Cornices date back to ancient Greek and Roman temples — they help throw rain away from building walls and look fancy!
🪟 In medieval times windows were tiny because glass was expensive and hard to make, so light was precious.
🚪 Some ancient doors were made of bronze or stone and have survived for thousands of years — doors can be historic treasures!
How do you do the activity Place all Architectural Details on the Base?
What materials do I need for Place all Architectural Details on the Base?
What ages is this activity suitable for?
What safety tips should I follow for this activity?


One subscription, many ways to play and learn.
Only $6.99 after trial. No credit card required