Photograph an ornament
Photograph an ornament using a phone or camera, set up background and lighting, try different angles and close-ups, then share your favorite image.


Step-by-step guide to photograph an ornament
How to Make Easy DIY Photo Ornaments
Step 1
Pick one ornament you want to photograph and make sure it is clean.
Step 2
Choose a plain background color that will make your ornament stand out.
Step 3
Tape or drape the background over the table or chair so it creates a smooth backdrop.
Step 4
Move your setup so it sits near a window for soft natural light.
Step 5
Add a few small props around the ornament to make the scene interesting.
Step 6
Set the ornament on the backdrop so it sits steady and won’t roll.
Step 7
Place your camera or phone at the same height as the ornament on a steady surface.
Step 8
Take one wide photo that shows the whole ornament and its scene.
Step 9
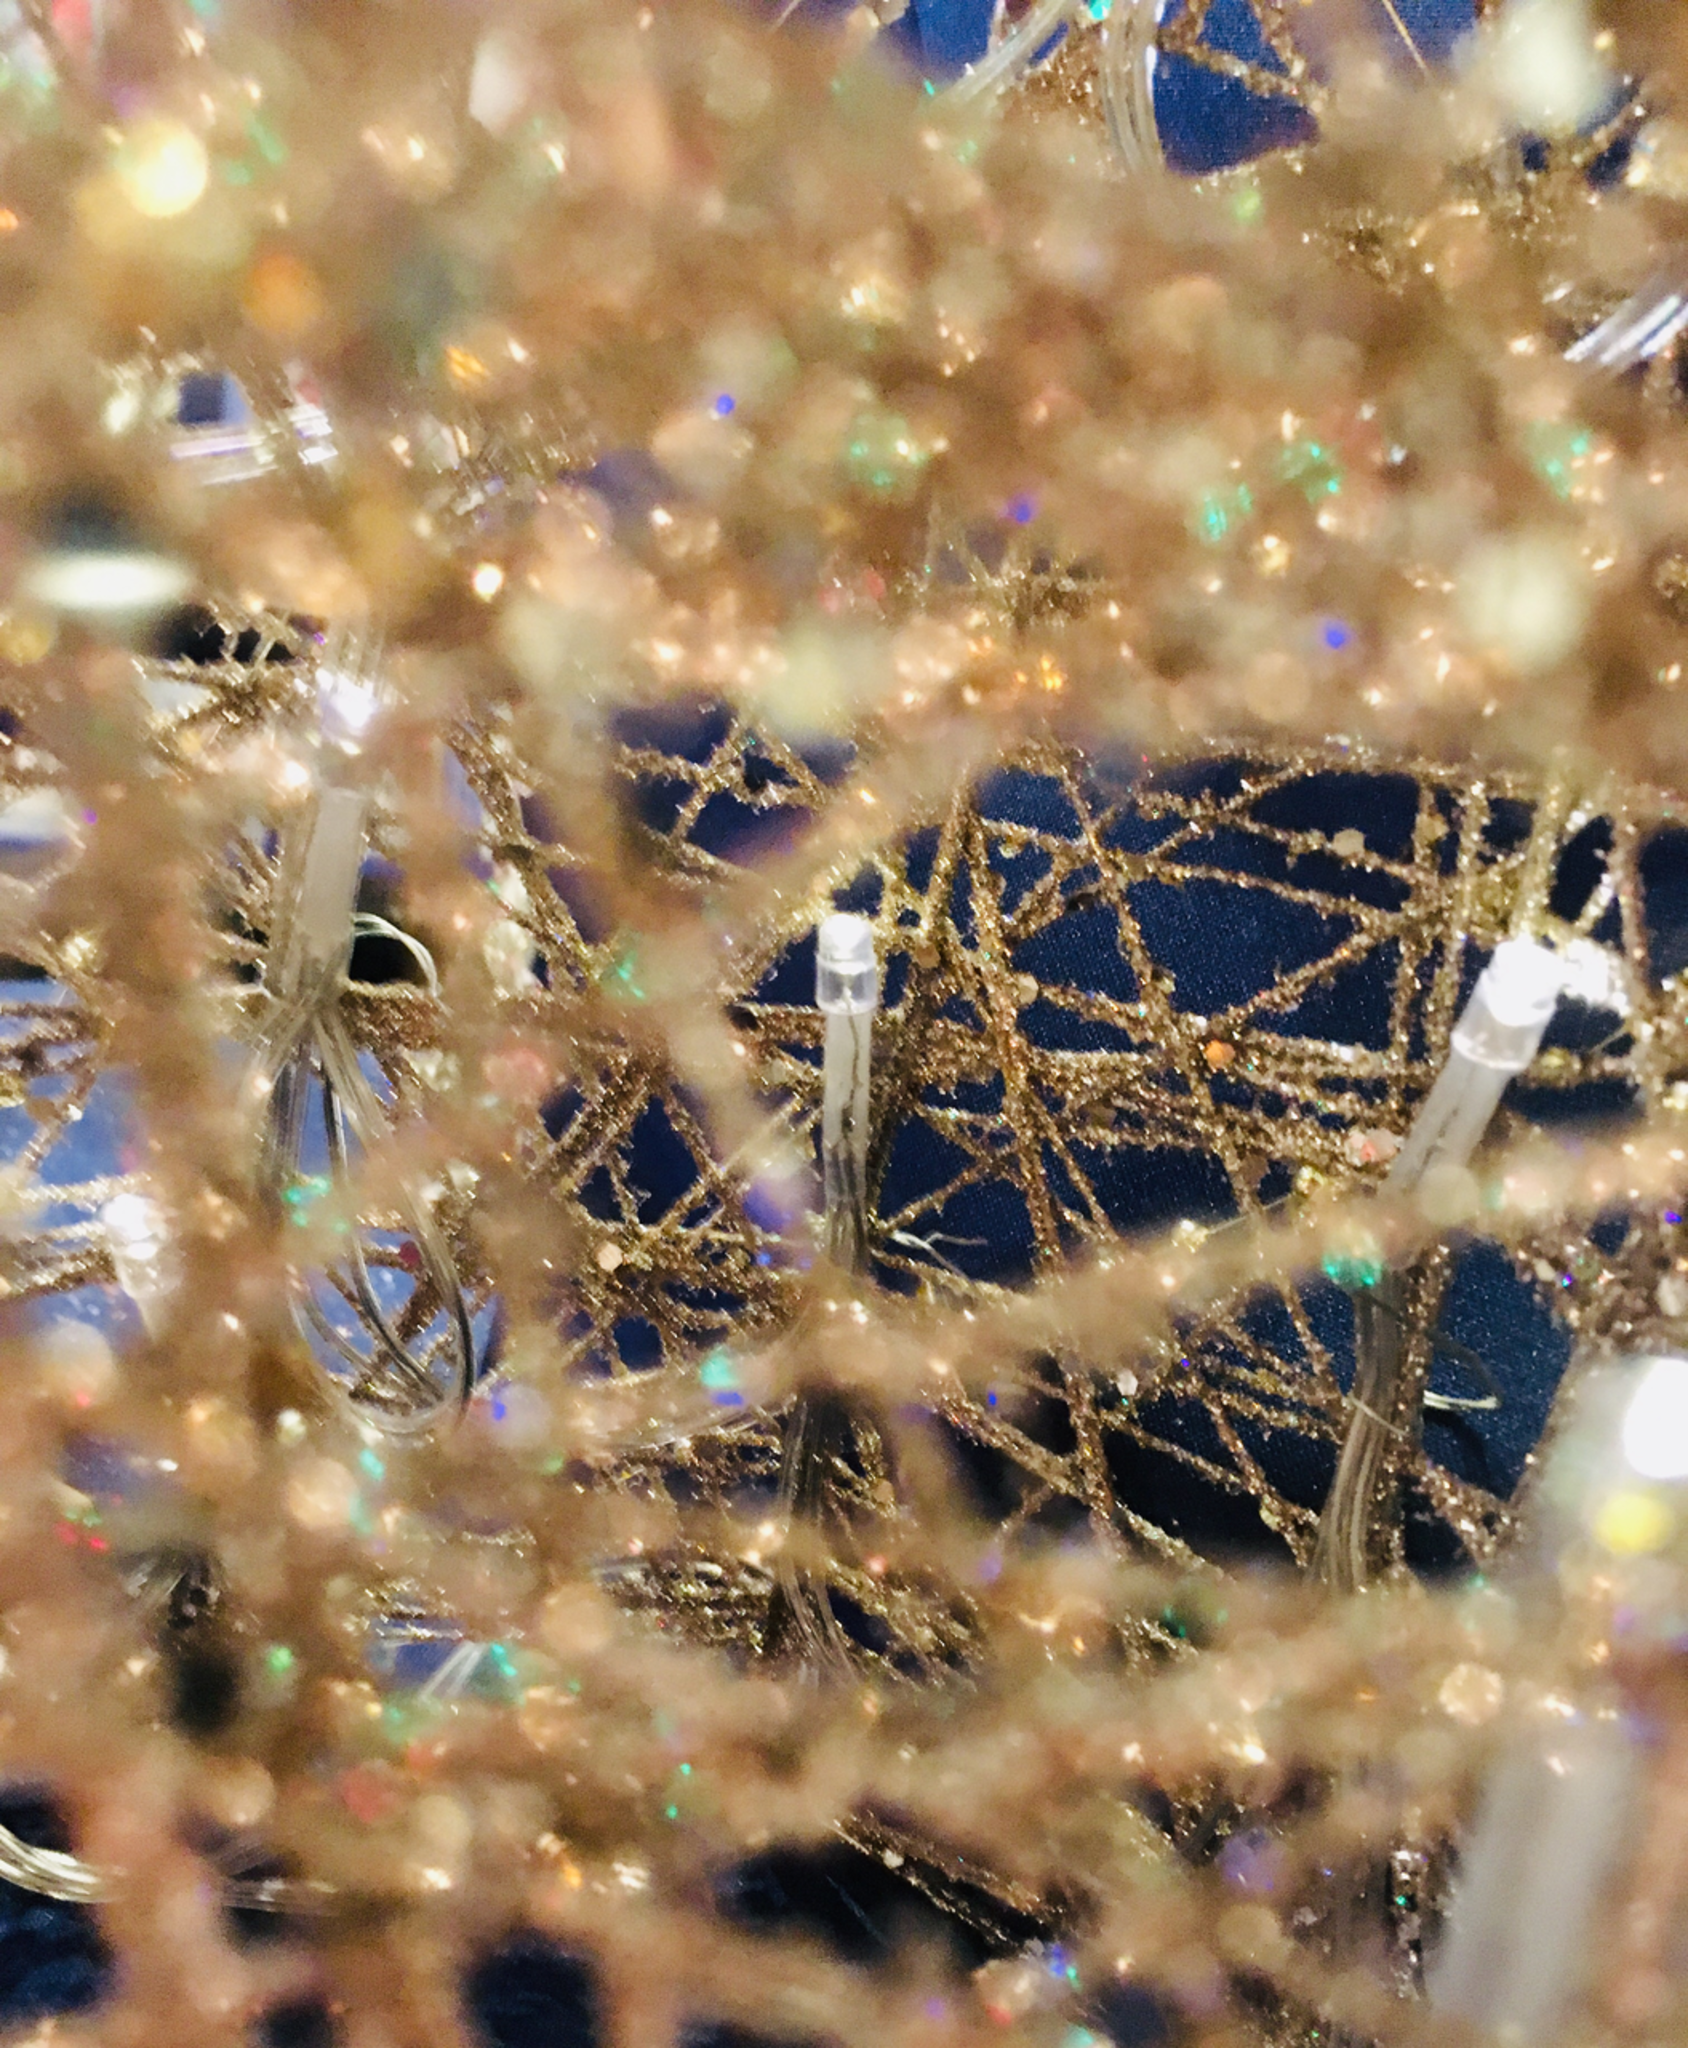
Take a close-up photo that focuses on a shiny or detailed part of the ornament.
Step 10
Change your camera angle by moving higher or lower to see a different view.
Step 11
Take a photo from the new angle you just set up.
Step 12
Look through your pictures and pick the image you like best.
Step 13
Share your favorite photo of the ornament on DIY.org
Help!?
What can I use if I don't have a plain background paper or tape for the backdrop step?
Drape a solid-colored bed sheet, pillowcase, or poster board over the table or chair and secure it with clothespins, binder clips, or heavy books instead of tape.
My ornament keeps rolling when I try to 'Set the ornament on the backdrop so it sits steady' — how do I fix that?
Place a small piece of poster putty, a rolled-up scrap of the backdrop, or a tiny mound of tape under the ornament to create a steady cradle so it won't roll.
How can I adapt this ornament photography activity for younger or older kids?
For younger children, have them pick and clean the ornament and take one wide photo while an adult handles the window setup, and for older kids, ask them to shoot both wide and close-ups, experiment with higher and lower angles, and edit their favorite before sharing on DIY.org.
What are simple ways to enhance or personalize the ornament photos after following the basic steps?
Add string lights or small themed props around the ornament, use a white card as a reflector near the window to fill shadows, and make a mini gallery of different angles to share on DIY.org.
Watch videos on how to photograph an ornament
How to make a personalized ceramic ornament featuring your photos
3 Videos
How to make a personalized ceramic ornament featuring your photos
5 EASY ways to make photo ornaments / quick image transfer techniques
HCBC - Custom Photo Ornaments & Snow Globes
Facts about photography for kids
📱 Many smartphones now have multiple lenses (wide, ultra‑wide, telephoto) — switch lenses to change how your ornament fills the frame.
💡 Soft, diffused light (like from a window or a lampshade) helps reduce harsh reflections on shiny ornaments.
🔍 Macro mode or a close‑up lens can reveal tiny details like glitter, brush strokes, or engraved patterns you didn’t notice before.
🎨 Using a plain background (fabric, poster board, or wrapping paper) makes the ornament pop and keeps distractions away.
📸 Photographers often try at least three angles and several distances — more shots mean a better chance of a favorite image.
How do you photograph an ornament using a phone or camera?
What materials do I need to photograph an ornament?
What ages is photographing an ornament suitable for?
What are the benefits of photographing an ornament with a child?
