Pencil your character's face
Draw and shade a character's face with pencil, practicing proportion, facial features, and expressions while learning basic sketching and simple shading techniques.

Drawing Apps
Step-by-step guide to draw and shade a character's face with pencil
Step 1
Place a sheet of paper flat on a table so it will not move while you draw.
Step 2
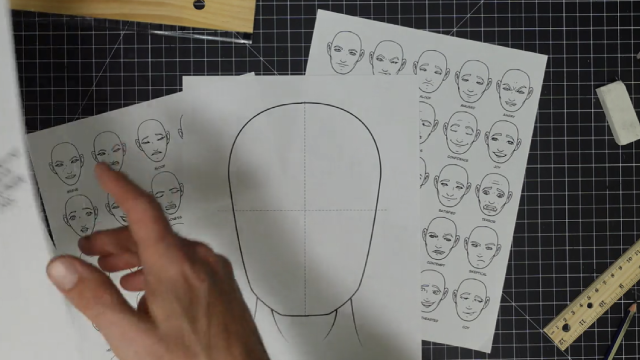
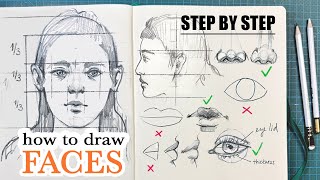
Lightly draw a circle near the top half of the page to make the basic shape of the head.
Step 3
Draw a light vertical line down the middle of the circle to split the face in half.
Step 4
Draw a light horizontal line across the middle of the circle to mark the eye level.
Step 5
Mark two small points on the eye line to show where the eyes will go and how far apart they are.
Step 6
Draw the eyes over those marks and add small dark pupils inside each eye.
Step 7
Draw a small simple nose halfway between the eye line and the bottom of the circle.
Step 8
Decide what expression your character will have such as happy sad or surprised.
Step 9
Draw the mouth a little above the chin that matches the expression you chose.
Step 10
Draw the eyebrows above the eyes to help show the expression.
Step 11
Draw the ears on each side of the head roughly lined up with the eye line.
Step 12
Draw hair and a short neck to finish the head shape and style your character.
Step 13
Shade under the chin and along the sides of the nose using gentle short pencil strokes to create shadow.
Step 14
Gently blend the shaded areas with a tissue or cotton swab to make the shadows smooth.
Step 15
Share your finished creation on DIY.org
Help!?
What can I use instead of a tissue or cotton swab for blending if I don't have one?
If you don't have a tissue or cotton swab for the instruction to gently blend shaded areas, use a clean fingertip, a soft piece of cloth, or a folded coffee filter to smooth the pencil strokes under the chin and along the sides of the nose.
My eyes look uneven—what should I do to fix them?
Erase lightly and reposition the eyes using the light vertical and horizontal guideline lines and the two small eye-placement points on the eye line before redrawing and adding the dark pupils.
How can I adapt this activity for younger or older children?
For younger kids, simplify by skipping shading and blending and having them draw the big circle, eye points, simple eyes and a smile, while older kids can follow the full steps—light construction lines, detailed pupils, hair, and the gentle short pencil strokes for shading.
How can we personalize or extend the character after finishing the head?
Personalize your character by changing the mouth and eyebrow placements from the expression step, experimenting with different hair styles from the hair step, adding clothing or a background, and finishing by sharing your finished creation on DIY.org.
Watch videos on how to draw and shade a character's face with pencil
Learn how to draw portraits - How to draw a face step-by-step - Easy tutorial for kids
4 Videos
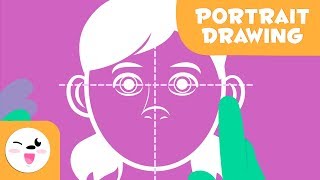
Learn how to draw portraits - How to draw a face step-by-step - Easy tutorial for kids
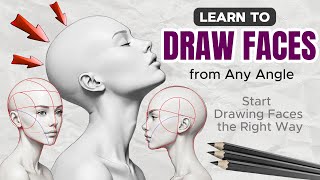
How to Draw Faces for Beginners - Complete Tutorial in 8 Minutes
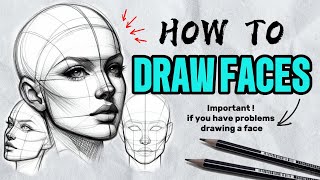
DRAW FACES Like a PRO in 5 Minutes! (FUll Tutorial)
✏️ A Gentle Guide to Drawing Faces (EASY Step-by-Step Tutorial)
Facts about pencil drawing and sketching for kids
✏️ The "lead" in pencils is actually graphite — artists have been sketching with graphite since the 1500s.
👀 A handy rule artists use: the eyes usually sit about halfway down the head.
🎭 Psychologist Paul Ekman identified six basic emotions that show up in many facial expressions: happiness, sadness, anger, fear, surprise, and disgust.
🎨 Chiaroscuro is an Italian word meaning "light-dark" and describes how artists use strong shading to make faces look 3D.
📐 A common proportion guide: the face is roughly five eye-widths across (one eye-width between the eyes).
How do I guide my child to draw and shade a character's face?
What materials do I need to pencil a character's face?
What ages is this pencil face-drawing activity suitable for?
What are the benefits of drawing and shading a character's face?
