Pamphlet stitch a booklet
Make a small pamphlet-stitched booklet using folded paper, a cardstock cover, thread and a blunt needle; learn simple sewing steps and create your own mini-book.


Step-by-step guide to make a pamphlet-stitched booklet
📖✨ Easy Handmade Bookmaking Tutorial - 3-Hole Pamphlet Stitch! ✨📖
Step 1
Clear a flat workspace and lay out all the materials so you can reach them easily.
Step 2
Fold each sheet of paper in half by matching the short edges so the fold is neat and crisp.
Step 3
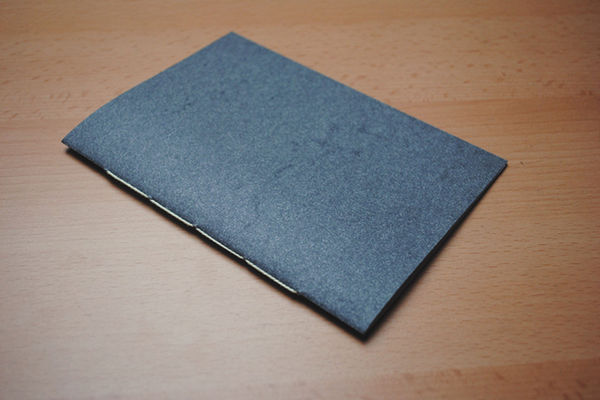
Fold the cardstock in half the same way to make the cover and slide the folded pages inside so all folds line up.
Step 4
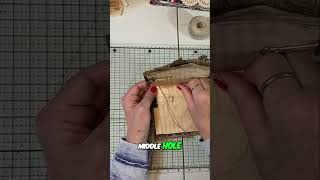
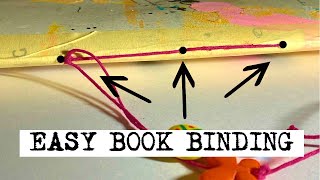
Use the ruler and pencil to mark three evenly spaced points along the folded spine one near the top one in the middle and one near the bottom.
Step 5
Place the booklet on a safe surface and use the awl or pushpin to make small holes through all layers at each pencil mark.
Step 6
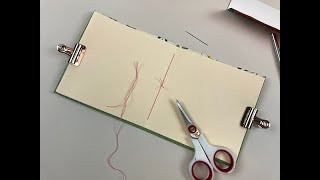
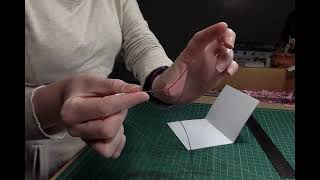
Cut a length of thread about three times the height of your booklet and thread the blunt needle leaving a short tail.
Step 7
From the inside of the booklet push the needle out through the middle hole and leave the short tail inside.
Step 8
Take the needle and push it from the outside into the top hole so the thread goes back inside the booklet.
Step 9
Push the needle from the inside out through the middle hole again so the thread runs along the spine.
Step 10
Push the needle from the outside into the bottom hole so the thread goes back inside the booklet.
Step 11
Pull both thread ends snug so the stitches lie flat against the spine and tie a secure double knot with the working end and the tail inside the booklet.
Step 12
Trim any extra thread close to the knot and tuck the knot inside the spine so it is neat.
Step 13
Decorate the cover with drawings stickers or coloring materials to make your mini-book special.
Step 14
Take a photo of your finished pamphlet-stitched booklet and share it on DIY.org.
Help!?
What can we use instead of an awl, pushpin, or blunt needle if we don't have them?
If you don't have an awl use a thick sewing needle, thumbtack, or pushpin to make the spine holes in the step that says 'use the awl or pushpin,' and swap the blunt needle for a safety pin, bobby pin, or large plastic tapestry needle to pull the thread through.
My holes aren't lining up and the pages are shifting—how do I fix that?
Refold the cardstock and all paper so 'all folds line up,' re-measure and mark the three evenly spaced points with the ruler, and hold or clamp the folded booklet tightly while you use the awl or pushpin to make matching holes through all layers.
How can I adapt this pamphlet-stitch booklet for different ages?
For younger children have an adult pre-fold and pre-punch the three holes and use thick yarn and a blunt plastic needle for the threading steps, while older kids can add extra folded signatures, more than three holes, or use colored waxed thread to try more complex stitch patterns.
What are some ways to extend or personalize the booklet after stitching?
Decorate the cover with drawings, stickers, or fabric as instructed, add a title page or simple pockets before folding, or experiment with patterned thread, extra holes along the spine, and different cover materials to make a unique mini-book.
Watch videos on how to make a pamphlet-stitched booklet
DIY Pamphlet Stitch: Simple Guide! 🧵✨
4 Videos
DIY Pamphlet Stitch: Simple Guide! 🧵✨
Paper Tip: How to Make a 3 Hole Pamphlet Stitch
Make a Simple Book // Pamphlet Stitch Tutorial by Stoneburner Books
EASY BOOK BINDING: 3-HOLE PAMPHLET STITCH
Facts about bookbinding for kids
📚 Bookbinding goes back thousands of years — the codex replaced scrolls and made folded gatherings (like pamphlets) possible.
✂️ One sheet folded in half becomes 4 pages (two leaves with front and back) — fold more sheets to make thicker booklets!
🪡 A classic pamphlet stitch usually uses a single thread and three evenly spaced holes down the spine for a quick, strong binding.
♻️ Cardstock covers can easily be made from recycled cereal boxes or scrap cardboard — upcycling makes each mini-book unique.
✍️ Mini pamphlet booklets are perfect for tiny comics, pocket journals, seed catalogs, or nature notes — pocket-sized creativity!
How do you make a pamphlet-stitched booklet?
What materials do I need for a pamphlet-stitched booklet?
What ages is pamphlet stitching suitable for?
What are the benefits, safety tips, and variations for pamphlet stitching?
