Paint with watercolors
Paint a colorful watercolor landscape using brushes, water, and paper. Learn color mixing, brush strokes, and layering to create a simple painting.


Step-by-step guide to paint a colorful watercolor landscape
3 Fun and Easy Watercolor Techniques to Try with Kids
Step 1
Gather all your materials and find a flat table to work on.
Step 2
Tape the edges of the watercolor paper to the table to make a clean white border.
Step 3
Lightly sketch a horizon line and simple shapes for a sun hills and a tree.
Step 4
Dip a clean brush into water and wash the sky area with an even layer of water.
Step 5
Load your brush with blue paint and touch it to the wet sky so the color spreads into a soft wash.
Step 6
Rinse your brush in the cup of water and blot it on the paper towel.
Step 7
Pick up a warm color like pink or purple and gently touch it near the horizon so it blends into the blue.
Step 8
Let the sky dry until it is only slightly damp before you paint the land.
Step 9
Mix a diluted color and paint distant hills using long horizontal brush strokes.
Step 10
Use a smaller brush to paint darker shapes for trees or bushes with short vertical strokes for texture.
Step 11
Dab a clean paper towel on any wet paint to lift a few lighter cloud shapes or highlights.
Step 12
Allow the whole painting to dry completely.
Step 13
Carefully remove the masking tape from the edges of your paper.
Step 14
Write your name or a title in a corner with a pencil or a small brush.
Step 15
Share your finished watercolor landscape on DIY.org
Help!?
I can't find watercolor paper or masking tape — what can I use instead?
Use heavyweight mixed‑media or cold‑press Bristol paper (use less water when you wash the sky), low‑tack painter's tape or washi tape for the border, and if needed dilute tempera or acrylics to behave like watercolors.
My blue doesn't spread into a soft wash and colors look muddy — how do I fix that?
If the blue won't spread when you touch it to the wet sky, re-wet the sky with a clean brush while it's still shiny, work quickly, rinse and blot your brush between colors to avoid muddy distant hills, and let areas dry to the slightly damp stage before painting land.
How can I adapt the steps for different ages or skill levels?
For toddlers tape heavier paper loosely and give a large foam brush and pre-drawn horizon, for elementary kids follow all steps with a medium round brush for the hills and tree texture, and for older kids add finer detail with a small brush and lifting highlights with a paper towel before signing the corner.
How can we extend or personalize the watercolor landscape after finishing the basic steps?
Add texture by sprinkling salt on the damp sky, lift clouds with a paper towel for highlights, collage torn paper for foreground interest, or use white gouache spatter for stars and write a title in the taped border for a crisp edge.
Watch videos on how to paint a colorful watercolor landscape
How To Paint With Watercolor (for kids)
4 Videos
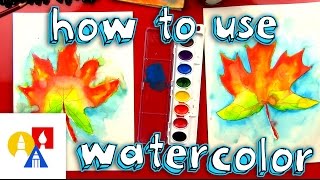
How To Paint With Watercolor (for kids)

Easy Watercolor painting for kids, step by step tutorial, easy painting
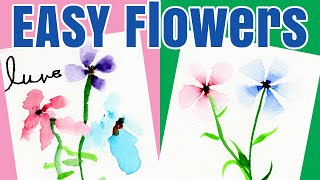
Easy Watercolor Flowers for Beginners and Kids Art Tutorial
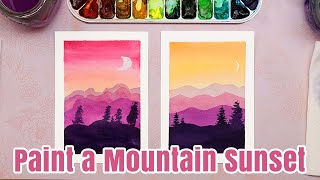
How to Paint a Mountain Sunset in Watercolors Kids Art Tutorial
Facts about watercolor painting for kids
🎨 Watercolor painting has been used for centuries—artists like J.M.W. Turner made famous luminous landscapes with transparent washes.
💧 Adding more water to pigment makes colors lighter and more transparent, which is how watercolor creates glowing layers.
🖌️ Different brushes change your marks: round brushes for details and lines, flat brushes for wide washes and sharp edges.
🌈 Mix colors to learn surprises: primary mixes (red+blue+yellow) make many hues, while complementary mixes (like red+green) give muted browns.
🧾 Watercolor paper is specially sized and textured to hold water—140 lb (300 gsm) is a common beginner weight that balances absorbency and stiffness.
How do I paint a colorful watercolor landscape with my child?
What materials do I need to paint a watercolor landscape?
What ages is watercolor landscape painting suitable for?
What are the benefits of painting watercolor landscapes with kids?
