Paint with stencils
Make colorful stencil art by safely cutting shapes, positioning templates, and painting patterns with brushes or sponges to learn design and layering techniques.


Step-by-step guide to paint with stencils
Stenciling for Kids, Teachers and Parents
Step 1
Cover your workspace with the protective table cover or newspaper to keep paint off the table.
Step 2
Put your paper or canvas flat on the covered workspace so it is ready for painting.
Step 3
Draw fun shapes on the cardstock using your pencil to make stencils.
Step 4
Cut out the shapes from the cardstock using safety scissors.
Step 5
Trim any rough edges on the stencil holes so the shapes are smooth.
Step 6
Tape the first stencil flat onto your paper with small pieces of painter's tape.
Step 7
Squeeze a little washable paint onto your plate or palette.
Step 8
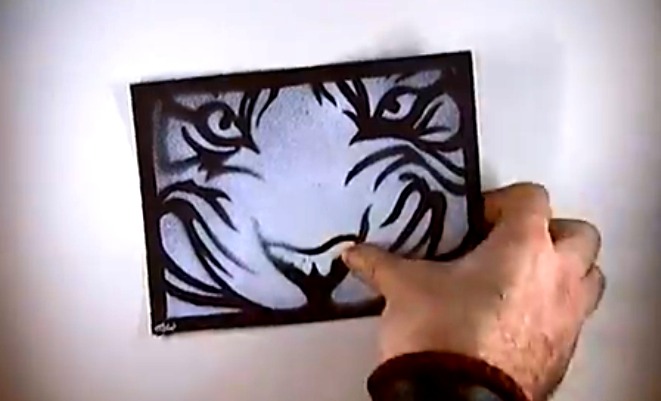
Dab paint over the open stencil shape using a sponge or the tip of a paintbrush.
Step 9
Carefully lift the stencil straight up to see the painted shape you made.
Step 10
Wait for that painted area to dry until it is not sticky to the touch.
Step 11
Tape a different stencil in a new spot on the dry part of your artwork.
Step 12
Dab paint over the new stencil with a brush or sponge to add another shape.
Step 13
Lift the new stencil straight up to reveal the next painted layer.
Step 14
Let your whole artwork dry completely before the last step.
Step 15
Share your finished creation on DIY.org
Help!?
What can we use if we don't have cardstock or painter's tape?
Use thin cereal-box cardboard or a blank file folder to cut stencils and substitute masking tape for painter's tape, pressing it down firmly so it won't lift your paper.
My paint is bleeding under the stencil—what should I do?
Press the stencil flat with small pieces of painter's tape, wipe excess paint off the sponge or brush, and dab gently over the open shape instead of brushing to stop paint from seeping under the edges.
How can I adapt this stencil activity for different ages?
For younger kids, pre-cut large simple shapes from the cardstock and give them big sponges to dab, while older children can draw and cut more detailed stencils, layer multiple stencils on canvas, and experiment with color mixing on the plate or palette.
How can we enhance the finished piece before sharing on DIY.org?
Once the artwork is completely dry, trim any rough stencil edges, add fine-line detail with a small brush or metallic paint for texture, sign the piece, photograph it on the protected workspace, and then share it on DIY.org.
Watch videos on how to paint with stencils
How to use a stencil for Beginners- 10 Easy Techniques for Using Stencils | Stencil Tips
4 Videos
How to use a stencil for Beginners- 10 Easy Techniques for Using Stencils | Stencil Tips
Stenciling 101: How To Paint With A Stencil

20 Stencil Tips and Techniques You'll Want To Try ASAP

4 Tips for Painting a Perfect Stencil Project EVERY TIME!
Facts about stencil art and painting techniques for kids
🎨 Stencils let artists repeat the same shape exactly, making them perfect for patterns and layered color effects.
🏯 Katazome is a Japanese stencil resist-dyeing technique that has been used for centuries to decorate fabrics.
🖼️ Banksy helped popularize stencil graffiti in modern street art because stencils let artists work quickly and reproducibly.
✂️ Scherenschnitte is a German papercutting tradition creating delicate templates—an old-school cousin of stencil art.
🧽 Sponge painting became a popular home-decor technique because sponges create soft textures and are easy and fun for kids to use.
How do you do stencil painting with kids?
What materials do I need to paint with stencils?
What ages is stencil painting suitable for?
What are the benefits and safety tips for stencil painting?
