Paint a still life
Arrange simple objects, observe shapes and shadows, then paint a still life using watercolors or acrylics to practice observation, color mixing, and composition.

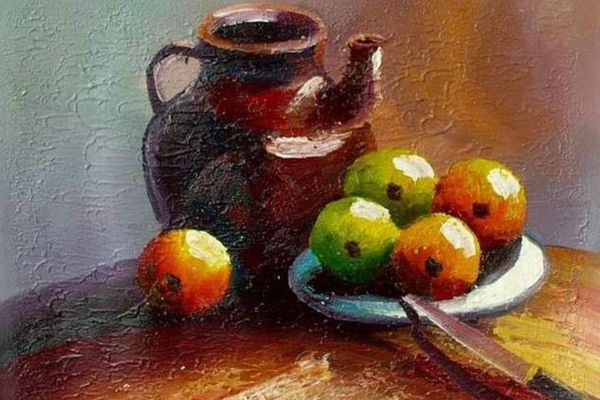

Step-by-step guide to paint a still life
Painting Tips For Kids
Step 1
Arrange 3 to 5 simple objects on a table so they touch or overlap and make different heights for an interesting picture.
Step 2
Place a lamp or move the setup near a window so one side is brighter and casts clear shadows.
Step 3
Look carefully at the arrangement for one minute to notice each object's basic shape and where the shadows fall.
Step 4
Tape your paper to the table so it stays still while you draw and paint.
Step 5
Lightly sketch the large shapes of the objects on your paper with a pencil without adding small details.
Step 6
Mix a light color on your palette for the background using water if you are using watercolors or a little water for acrylics.
Step 7
Use a large brush to paint a smooth wash for the background around the objects and let it flow evenly.
Step 8
Mix the main color for each object on your palette so you have the basic hues ready.
Step 9
Paint the big color shapes of each object with a medium brush, staying inside your pencil sketch lines.
Step 10
Look for the darkest shadow areas and add a darker mix there to show form and depth.
Step 11
Add small highlights with a lighter color or by lifting paint to show where the light hits the objects.
Step 12
Let your painting dry completely before touching it or adding more layers.
Step 13
Rinse your brushes in the water cup until the water runs clear.
Step 14
Sign your painting in a corner so everyone knows you made it.
Step 15
Take a photo of your still life painting and share your finished creation on DIY.org.
Help!?
What can I use instead of a lamp, palette, or watercolor/acrylic paints?
If you don't have a lamp, palette, or water-based paints, use a bright window or phone flashlight for lighting, a paper plate as a palette, washable tempera or markers to mix background washes and object colors, and secure the paper with masking tape or a heavy book instead of tape.
My background wash looks blotchy—how can I fix it?
If the large background wash (steps 6–7) becomes blotchy or puddled, thin the paint with more water, work quickly with a large brush in even strokes across the taped paper, and tilt or blot excess with a paper towel before it dries to get a smooth wash.
How should I change the activity for younger or older children?
For preschoolers simplify to 2–3 big objects, washable tempera and a large brush and help taping the paper, while older kids can use 4–5 overlapping objects, mix subtler shadow hues (step 9), and add extra layers after drying for more realism (steps 10–11).
How can my child extend or personalize their still life after finishing it?
To personalize and extend the project try changing the light direction during the session (step 2) to paint multiple versions, add patterned fabric under the objects (step 1) for interest, experiment with lifting paint for highlights (step 11), and write a caption before photographing and sharing on DIY.org (step 13).
Watch videos on how to paint a still life
How To Paint Portraits From Life
4 Videos

How To Paint Portraits From Life
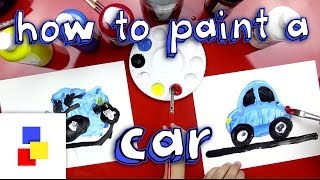
How To Paint A Car For Super Young Artists

Learn Still Life Painting with Water Color Step by Step | Painting Tutorial Art
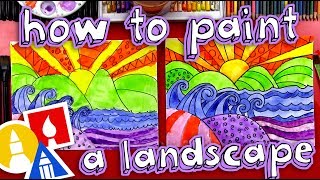
How To Paint A Beautiful Landscape (for kids)
Facts about still life painting
🎨 Watercolor paint uses a water-soluble binder (like gum arabic) and can be re-wet and reworked after it dries — perfect for playful layers!
🖌️ Acrylic paint dries quickly and became popular with artists in the 1950s, so it's great when you want fast color fixes and bold strokes.
🌗 "Chiaroscuro" is an Italian word meaning "light-dark" — artists use it to turn flat shapes into dramatic, 3D-looking objects with shadows.
🎯 Placing your main object off-center using the "rule of thirds" often makes a still life feel more balanced and exciting to look at.
🧪 Mix two complementary colors (like red + green) and you usually get a brown or gray — a handy trick to make natural-looking shadows.
How do you paint a still life with children?
What materials do I need to paint a child-friendly still life?
What ages is painting a still life suitable for?
What are the benefits of painting still lifes with kids?


