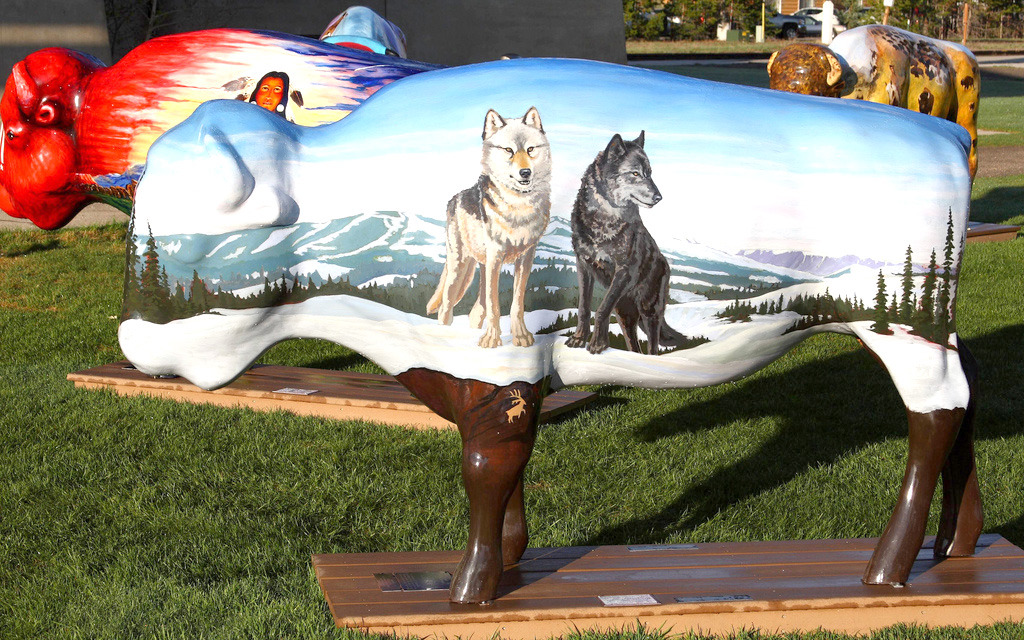
Paint a sculpture
Paint a small clay or recycled materials sculpture using safe acrylic paints, exploring color mixing, brush techniques, and adding texture to decorate your artwork.


Step-by-step guide to paint a sculpture
Basic Techniques Of Sculpture Painting| How To Start Sculpture Painting|Basics Of Sculpture Painting
Step 1
Put on your apron or old shirt to keep clothes clean.
Step 2
Place your sculpture on a flat workspace where you can reach all sides.
Step 3
Wipe the sculpture with a paper towel to remove dust and crumbs.
Step 4
Squeeze small blobs of your chosen acrylic paints onto the palette or paper plate.
Step 5
Fill a cup with water and set paper towels nearby for rinsing brushes.
Step 6
Paint a single base coat over the whole sculpture using a large brush.
Step 7
Mix two paint colors on the palette to create a new custom color.
Step 8
Use long brush strokes to paint the larger shapes and main colors on your sculpture.
Step 9
Dab a sponge or cotton swab into wet paint and press it onto the sculpture to add texture.
Step 10
Use a small brush or toothpick to paint fine details and outlines.
Step 11
Let the paint dry completely before touching it.
Step 12
Brush on a thin coat of clear acrylic sealer if you want extra protection.
Step 13
Let the sealer dry fully according to the label instructions.
Step 14
Share your finished creation on DIY.org
Help!?
What can we use if we don't have acrylic paint or a clear acrylic sealer?
If you don't have acrylic paint or clear acrylic sealer, use water-based tempera or craft paints for step 4 and 7 and finish with a water-based varnish or Mod Podge brushed on thinly in step 12.
My base coat looks streaky or the paint won't stick—what should I try?
Make sure to wipe the sculpture with a paper towel to remove dust (step 3), apply a smooth single base coat with a large brush (step 6), let it dry completely before adding more (step 10), and sand lightly or use a primer if the paint still won't adhere.
How can I adapt the painting steps for different ages?
For younger kids, simplify by using a large brush and sponge or cotton-swab textures for big shapes (steps 7 and 9) and supervise rinsing (step 5), while older kids can focus on subtle color mixing (step 8), fine details with a small brush or toothpick (step 11), and sealing (step 12) before sharing their work (step 13).
How can we enhance or personalize the sculpture beyond the basic steps?
Personalize it by mixing custom colors on your palette (step 8), layering texture with sponge dabs (step 9), adding small collage pieces or glitter before brushing on the clear sealer (step 12), or carving tiny grooves to paint fine details with a toothpick (step 11).
Watch videos on how to paint a sculpture
Sculpture Painting Tutorial for Beginners|Sculpture painting Flowers Tutorial|Sculpture Painting
4 Videos

Sculpture Painting Tutorial for Beginners|Sculpture painting Flowers Tutorial|Sculpture Painting
Evan-Moor's Teaching Kids Art: Learning About Texture with Paint
Iron Scrubber Painting Technique for Beginners | Acrylic Painting
The 7 Elements of Art Explained: A Fun and Easy Guide for Kids! 🎨
Facts about painting and sculpture for kids
🎨 Acrylic paint is water-based and can dry in as little as 10–30 minutes, perfect for layering colors quickly.
🧱 Some of the oldest known clay sculptures, like the Venus figurines, are over 25,000 years old.
♻️ Upcycling turns everyday trash into art—artists have made sculptures from tires, bottle caps, and plastic toys.
🌈 Mix two primary paints to make a secondary color (red + blue → purple, blue + yellow → green, red + yellow → orange).
🖌️ Brush techniques like dry-brushing, stippling, and washes create different textures and finishes on a sculpture.
How do I teach my child to paint a small clay or recycled-material sculpture step by step?
What materials do I need to paint a clay or recycled sculpture with safe acrylic paints?
What ages is painting small sculptures suitable for?
What safety tips and easy variations should I know for this sculpture painting activity?
