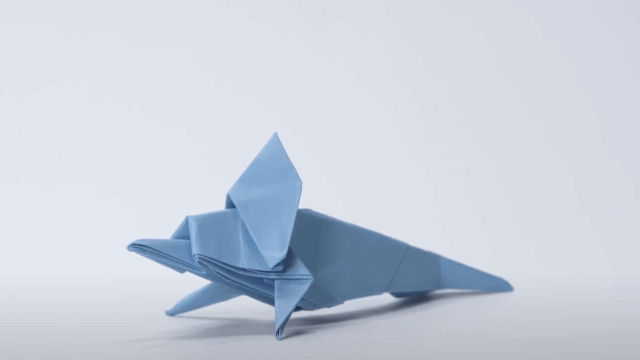
Origami Dolphins!
Fold paper to create several origami dolphins, learning precise folds, symmetry, and paper craft techniques while decorating and practicing patience and fine motor skills.


Step-by-step guide to make origami dolphins
Step 1
Place one square sheet of paper color side down on a flat tidy surface.
Step 2
Fold the paper diagonally from one corner to the opposite corner to make a triangle and press the crease firmly.
Step 3
With the long side of the triangle at the bottom fold the two bottom corners up so their points meet the top point creating a diamond shape and crease well.
Step 4
Fold the small top triangular flap down over the diamond to form the dolphin snout and press the crease.
Step 5
Fold the whole model in half lengthwise so the left and right edges line up making a thinner body and crease firmly.
Step 6
Make a small inside reverse fold at the narrow end to form the tail so the tail tip points upward.
Step 7
Make a tiny inside reverse fold at the other pointed end to shape the dolphin nose so it looks rounded.
Step 8
Flip your dolphin over and flatten all the creases so the body looks smooth and neat.
Step 9
Repeat Steps 1 to 8 to make several dolphins in different colors and sizes.
Step 10
Use your coloring materials to draw an eye and add fun patterns or sparkles on each dolphin.
Step 11
Share your finished origami dolphins on DIY.org
Final steps
You're almost there! Complete all the steps, bring your creation to life, post it, and conquer the challenge!

Help!?
What can we use if we don't have square origami paper?
If you don't have origami paper, cut a regular printer, construction, or wrapping paper into a square and place it color side down as Step 1 directs.
My inside reverse folds (tail and nose) won't tuck neatly—how can I fix them?
If the inside reverse folds for the tail (Step 6) or nose (Step 7) tear or refuse to tuck, lightly pre-crease the fold lines, open a small pocket with your finger, then push the paper in firmly with a fingernail or tweezers so the tail tip points upward and the nose looks rounded.
How can I adapt this origami dolphin for younger or older kids?
For toddlers or preschoolers, stop after Step 4 and let them decorate the diamond and draw the snout and eye, while older kids can use smaller squares per Step 9 to fold many dolphins, add intricate patterns in Step 10, or attempt more precise reverse folds in Steps 6–7.
What are some creative ways to enhance or display our finished dolphins?
After drawing eyes and patterns in Step 10, glue small googly eyes or sparkles, laminate a few larger dolphins, or string multiple finished dolphins from Step 9 on fishing line to make a hanging mobile to share on DIY.org.
Watch videos on how to make origami dolphins
Easy Origami Dolphin: Beginners Guide, Step-by-Step Tutorial 🐬✨
4 Videos
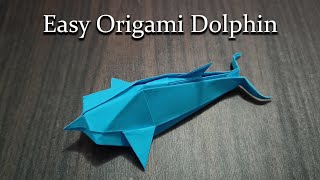
Easy Origami Dolphin: Beginners Guide, Step-by-Step Tutorial 🐬✨
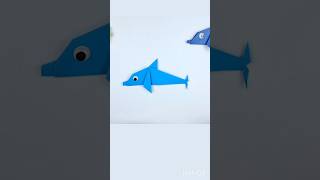
🐬 How to Make a Cute Origami Dolphin | Easy Paper Dolphin Tutorial for Beginners
🐬Super Easy Origami Dolphin for Kids ! 🐬 Fun Paper Folding Tutorial/DIY Craft

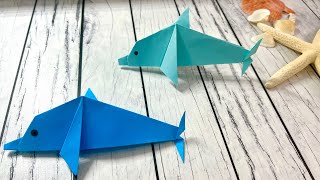
Easy Origami Dolphin for Kids 🐬 | Under the Sea Craft with Just One Sheet of Paper!
Facts about origami and paper crafts
✋ Practicing origami helps develop fine motor skills, hand-eye coordination, and patience—great for growing hands!
🐬 Dolphins are highly social, intelligent marine mammals known for playful leaps—perfect inspiration for playful origami dolphins!
🔁 Origami often uses symmetric folds so one crease can create matching fins and tails on a paper dolphin.
🎨 Origami paper usually comes in 15×15 cm squares and is colored on one side to make decorated dolphins really pop.
📄 The word "origami" comes from Japanese ori (folding) and kami (paper)—literally "folding paper."
How do I fold origami dolphins step by step?
What materials do I need for origami dolphins?
What ages is this origami dolphins activity suitable for?
What are the benefits of making origami dolphins?


One subscription, many ways to play and learn.
Only $6.99 after trial. No credit card required