Origami Box Challenge
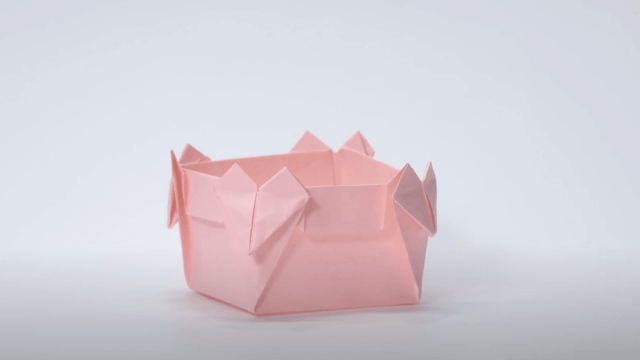
Fold and decorate a sturdy origami box using square paper, following step-by-step instructions to learn precise folding, measuring, and creative design.


Step-by-step guide to Origami Box Challenge
Step 1
Choose two squares of paper with one square about 1 cm larger on each side so it can become the lid.
Step 2
Place the smaller square face down on a flat clean surface.
Step 3
Fold the paper in half left to right and press firmly to make a clear center crease.
Step 4
Unfold the paper back to flat so the crease stays visible.
Step 5
Fold the paper in half top to bottom and press firmly to make a second perpendicular crease.
Step 6
Unfold the paper back to flat so both creases meet at the center.
Step 7
Fold each of the four corners into the center point where the creases cross and press each corner flat.
Step 8
Fold the top edge down to the center line and press the crease firmly.
Step 9
Fold the bottom edge up to the center line and press the crease firmly.
Step 10
Unfold only the top and bottom edge folds so the corner triangles remain folded toward the center.
Step 11
Lift the left and right sides up and tuck the small triangular flaps into the corner pockets to form the box walls and close the corners.
Step 12
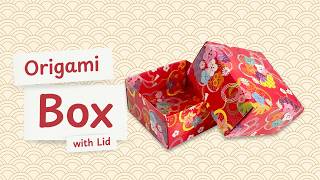
Repeat Steps 2 through 11 using the larger square to make a lid and test that it fits loosely over the base.
Step 13
Apply a little glue or a small piece of clear tape inside each corner to reinforce the box and make it sturdy.
Step 14
Decorate the outside and inside of your box using coloring materials stickers or patterns to make it special.
Step 15
Take a photo of your finished origami box and lid and share your creation on DIY.org
Final steps
You're almost there! Complete all the steps, bring your creation to life, post it, and conquer the challenge!

Help!?
What can I use if I don't have square origami paper or glue?
Use regular printer paper or pages from magazines cut into two squares (making the lid 1 cm larger as required in Step 1) and substitute household clear tape for glue to reinforce the corners as described in Step 12.
The triangular flaps won't tuck and the box collapses—how do I fix it?
If the corners won't hold in Step 11, re-crease the center folds from Steps 3–4 and the corner folds from Step 5, keep the top/bottom folds partially folded as instructed in Step 9 to form pockets, press the corners firmly, and add the small pieces of clear tape or a dab of glue inside each corner per Step 12.
How can I adapt this activity for different ages?
For preschoolers, use much larger squares of construction paper and pre-crease or help with the folds in Steps 3–5 and tucking in Step 11, while older kids can use thin origami paper for smaller, sharper boxes, make the lid exactly 1 cm larger in Step 1, and add detailed decorations from Step 13.
How can we personalize or extend the finished origami box?
Decorate both outside and inside as suggested in Step 13, reinforce corners with glue or clear tape from Step 12, make a set of nested boxes by repeating Steps 2–11 with progressively larger squares, and add stickers, ribbon, or a fabric lining before photographing your creation for DIY.org.
Watch videos on how to fold and decorate an Origami Box
[DETAILED TUTORIAL] Origami Rectangular Box | Step-by-Step Folding Guide
4 Videos
![[DETAILED TUTORIAL] Origami Rectangular Box | Step-by-Step Folding Guide](https://img.youtube.com/vi/nlzD4orwy8s/mqdefault.jpg)
[DETAILED TUTORIAL] Origami Rectangular Box | Step-by-Step Folding Guide
How to Make an Easy Paper Box - No Scissors, No Glue | Origami Step by Step
Origami Box with Lid How to make Origami box , Easy step by step tutorial paper box project
Easy Origami Box Tutorial 🎁 Step-by-Step Instructions
Facts about origami and paper crafts
🦢 In Japan, folding 1,000 paper cranes (senbazuru) is a tradition said to grant a wish or bring good luck.
🚀 Origami principles inspire real-world engineering — NASA and designers use folding patterns for deployable space structures and stents.
📏 Small differences in fold accuracy greatly affect a box's strength and how neatly its edges line up.
📦 The classic origami "masu" box comes from Japan and was originally used as a rice-measuring container.
🧾 Washi, traditional Japanese paper, is stronger and more tear-resistant than regular paper, making it great for sturdy folds.
How do I fold and decorate a sturdy origami box in the Origami Box Challenge?
What materials do I need for the Origami Box Challenge?
What ages is the Origami Box Challenge suitable for?
What are the benefits of the Origami Box Challenge for kids?


One subscription, many ways to play and learn.
Only $6.99 after trial. No credit card required