Measure rainfall
Make a simple rain gauge from a plastic bottle, measure daily rainfall, record amounts, and compare results to learn about weather.

Step-by-step guide to measure rainfall
Step 1
Gather all your materials and bring them to a flat workspace so you are ready to build your rain gauge.
Step 2
Peel the label off the bottle so you can see through the plastic clearly.
Step 3
Ask an adult to help you cut the top third off the bottle so you have a funnel piece and a base piece.
Step 4
Put a few small stones or pebbles into the bottom of the bottle base to keep the gauge from tipping over.
Step 5
Turn the top piece upside down and fit it into the base so it makes a funnel that catches rain.
Step 6
Wrap waterproof tape around the seam where the two pieces meet to hold them securely together.
Step 7
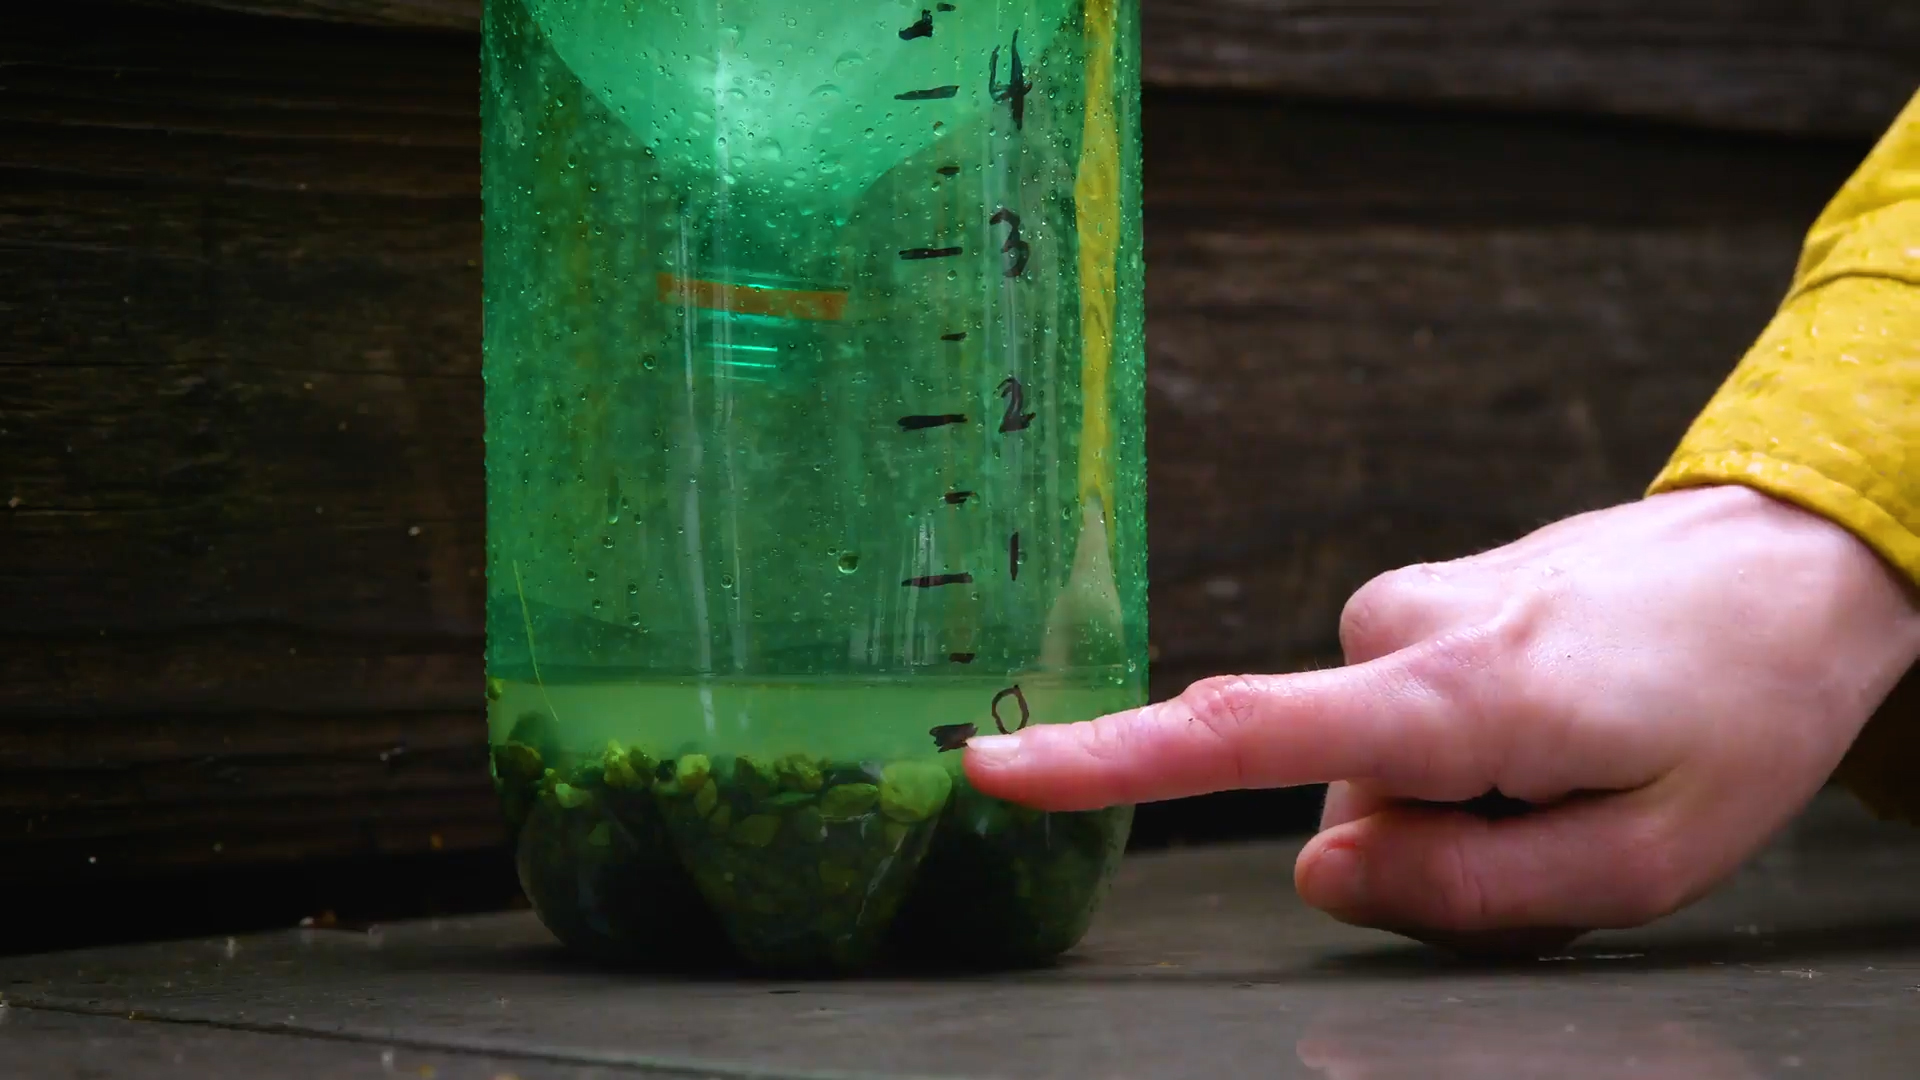
Use the ruler to draw small tick marks up the side of the bottle at every centimeter starting from the bottom.
Step 8
Write the numbers next to the tick marks with the permanent marker so you can read how many centimeters of rain fell.
Step 9
Take your rain gauge outside and set it on a flat open spot away from trees and roof eaves so it catches real rainfall.
Step 10
At the same time each day look at the water level in the gauge and read the closest centimeter mark.
Step 11
Write the date and the rainfall amount in your notebook so you can compare days.
Step 12
After you record the amount pour the water out so the gauge is ready for the next day of rain.
Step 13
Take a photo of your rain gauge and your recording sheet and share your finished creation and findings on DIY.org
Help!?
What can we use if we don't have waterproof tape or small stones?
If you don't have waterproof tape, use duct tape or clear packing tape to seal the seam, and if you don't have small stones put marbles or a handful of sand in the bottle base to weigh it down.
My funnel piece keeps falling out or leaking—what can I do?
After you cut the top third off and fit it upside down into the base, push the rim deeper to create a snug fit, rewrap the seam with extra waterproof tape, and make sure there are pebbles in the bottom so the gauge doesn't tip and spill.
How can I adapt this activity for younger children or older kids?
For young children have an adult do the cutting and pre-draw centimeter tick marks for them to read and record in the notebook, while older kids can add millimeter marks with the ruler and permanent marker and track trends over time.
How can we extend or personalize the rain gauge project?
Decorate the bottle after peeling the label, tape a paper ruler with centimeter marks inside for easier reading, compare two gauges placed in different spots, and remember to photograph your rain gauge and recording sheet to share on DIY.org.
Watch videos on how to measure rainfall
How To Make a Rain Gauge Summer STEM Project
3 Videos
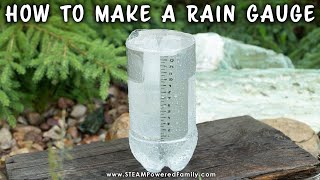
How To Make a Rain Gauge Summer STEM Project
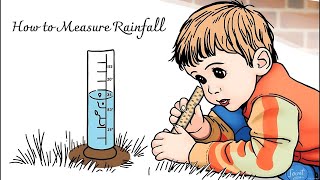
How to Measure Rainfall? | Fun Science for Kids! 🌧️
Teaching How to Measure Rainfall
Facts about weather science for kids
🌧️ The rain gauge is one of the oldest weather tools — people have been measuring rainfall for thousands of years to understand local climate.
📏 A simple plastic-bottle rain gauge can measure rainfall down to about 1 millimetre if you mark the bottle carefully.
🌦️ Different places get wildly different rain: some deserts get under 250 mm per year while the wettest spots on Earth get over 10,000 mm.
🕰️ Recording rainfall every day quickly reveals patterns (like rainy seasons or weekend storms) — that’s how weather records and forecasts improve.
🧪 When lots of people use the same simple method, homemade gauges can contribute to real citizen science and local weather maps.
How do I make a simple rain gauge and measure rainfall with my child?
What materials do I need to make a DIY rain gauge?
What ages is measuring rainfall with a homemade rain gauge suitable for?
What are the benefits of measuring rainfall and variations to try?
