Make Your Own Ventriloquist Cardboard Cutout Puppet
Create a movable ventriloquist cardboard cutout puppet by cutting, decorating, attaching movable parts, and practicing voice techniques to perform simple puppet shows.


Step-by-step guide to Make Your Own Ventriloquist Cardboard Cutout Puppet
Step 1
Draw a full puppet shape on the cardboard with a pencil including the head shoulders and body.
Step 2
Cut out your puppet shape carefully using scissors.
Step 3
Draw the puppet’s face and a clear mouth outline on the head area.
Step 4
Cut out the mouth opening by following the mouth outline.
Step 5
Cut a mouth flap from scrap cardboard a little larger than the mouth opening.
Step 6
Attach the mouth flap behind the opening by pushing a paper fastener through both pieces at the top so the flap can pivot.
Step 7
Tape the wooden craft stick to the back of the mouth flap so you can move the mouth with the stick.
Step 8
Cut two arm shapes from scrap cardboard.
Step 9
Attach each arm to the puppet’s sides with paper fasteners so the arms can swing.
Step 10
Decorate the puppet’s face clothes and details using coloring materials and glue for any added decorations.
Step 11
Practice ventriloquist voice techniques by moving the mouth with the stick while keeping your lips still and tossing the voice to different spots.
Step 12
Share your finished puppet and a short performance on DIY.org
Help!?
What can we use instead of a wooden craft stick or paper fasteners if we don't have them?
If you don't have a wooden craft stick or paper fasteners, use a sturdy popsicle stick or a thick straw taped to the mouth flap and substitute small brads or folded, tape-reinforced paper through the mouth and arm holes to let pieces pivot.
My mouth flap won't pivot smoothly or is too wobbly—how can I fix it?
If the mouth flap won't pivot or is too loose, add small reinforcement circles of scrap cardboard behind the mouth opening, retighten the paper fastener so the flap can swing freely, and make sure the tape on the wooden craft stick (step to tape the stick) isn't blocking movement.
How can I adapt this activity for different ages?
For younger children have an adult pre-draw and pre-cut the puppet and punch the fastener holes so they can attach arms and decorate (simplifying steps 1–6), while older kids can add extra jointed limbs, layered clothing cutouts, or a painted cardboard stage for more advanced ventriloquism practice.
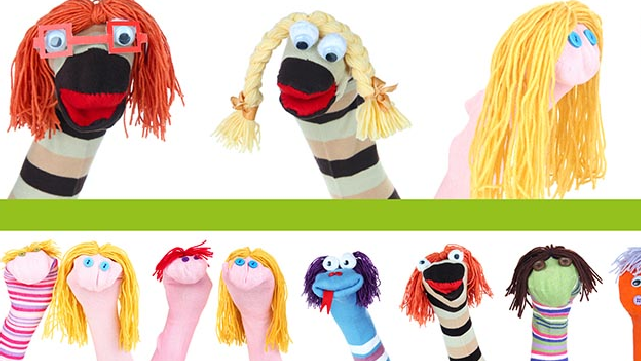
How can we enhance or personalize the puppet beyond basic coloring?
Personalize the puppet by gluing yarn for hair, attaching googly eyes and fabric clothing (step 9), adding a painted cardboard stage, or making multiple puppets to rehearse tossing your ventriloquist voice during your performance (steps 10–11).
Watch videos on how to Make Your Own Ventriloquist Cardboard Cutout Puppet
Cardboard Ventriloquist dummy puppet (inside)
4 Videos
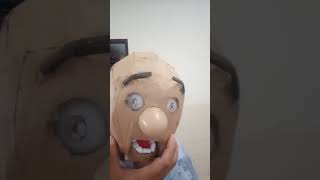
Cardboard Ventriloquist dummy puppet (inside)
How to make a cardboard Scarface ventriloquist dummy
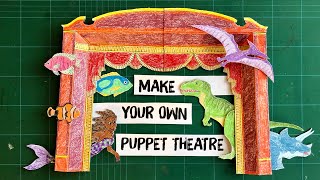
Make Your Own Cardboard Puppet Theatre I Activities for Children
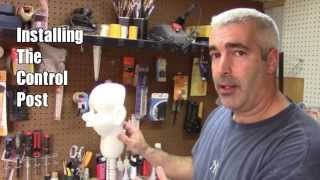
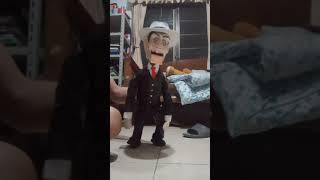
How To Build A Ventriloquist Figure With Mike Palma
Facts about puppetry for kids
🗣️ The word 'ventriloquism' comes from Latin venter (belly) + loqui (to speak) — it literally means "speaking from the belly."
🎙️ Edgar Bergen's dummy Charlie McCarthy became a radio superstar in the 1930s, showing how a puppet's personality can steal the show even off-stage.
📦 Corrugated cardboard dates to the 19th century and is lightweight, strong, and recyclable — perfect for durable DIY puppets.
✂️ Jointed paper dolls and cutouts have been popular since the 1800s; they’re the flat-puppet ancestors of today’s cardboard cutout puppets.
🎭 Building and performing with puppets boosts storytelling, voice control, and confidence — teachers and therapists often use them for learning.
How do you make a ventriloquist cardboard cutout puppet?
What materials do I need to make a cardboard ventriloquist puppet?
What ages is this ventriloquist puppet activity suitable for?
What are the benefits of making a ventriloquist cardboard cutout puppet?
