Make your own hair embroidery
Create a decorative embroidered hairband or clip by stitching colorful floss onto felt with a blunt needle, then attaching it securely as a hair accessory.


Step-by-step guide to make your own hair embroidery
Step 1
Gather all the materials listed and bring them to your workspace.
Step 2
Use the ruler to measure the length of the hairband or clip and mark that length on the felt.
Step 3
Cut the felt to the marked length so it will fit the hairband or clip.
Step 4
Draw a simple decorative design directly onto the felt with the pencil or fabric marker.
Step 5
Cut a length of embroidery floss about 18 inches long.
Step 6
Thread the floss through the blunt needle.
Step 7
Tie a small knot at the end of the floss to keep it from pulling through the felt.
Step 8
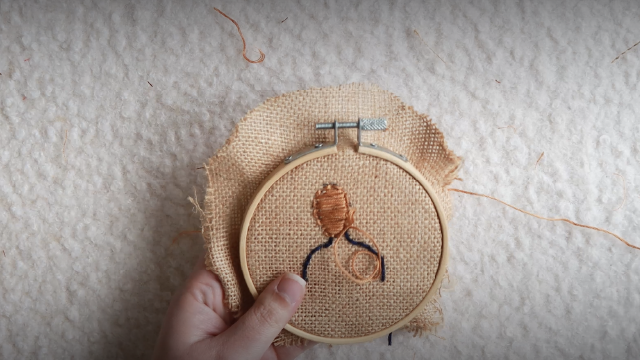
Stitch the drawn design on the felt using simple stitches like running stitch or lazy daisy.
Step 9
Tie a knot on the back of the felt to secure the floss when your stitching is finished.
Step 10
Trim the extra thread close to the knot with the scissors.
Step 11
Cut a matching piece of scrap felt to use as a backing for the embroidered piece.
Step 12
Glue the backing felt to the back of the embroidered piece and press it flat to hide the stitches.
Step 13
Glue the embroidered piece onto the hairband or clip and press to hold it in place.
Step 14
Let the glue dry completely before using the hair accessory.
Step 15
Share your finished embroidered hairband or clip on DIY.org.
Help!?
What can I use instead of felt, embroidery floss, or a blunt needle if those are hard to find?
If you can't find felt, use a doubled cotton scrap or craft foam, swap embroidery floss for thin yarn or stranded cotton thread, and use a plastic tapestry needle or a large-eye sewing needle to thread the 18-inch floss.
My stitches keep pulling through or the knot slips—how do I fix that?
Stabilize thin felt by gluing a scrap backing felt or interfacing to the back before stitching, use a shorter 12–14 inch length of floss to reduce tangles, and secure the end with a tight knot plus a tiny dab of craft glue before trimming the extra thread.
How can I adapt the project for different ages?
For toddlers, pre-cut the felt to the measured length and let them add glued-on decorations with a plastic blunt needle and thick yarn; for elementary kids, have them draw simple designs and stitch a running stitch with the 18-inch floss; for teens, encourage detailed designs, lazy daisy stitches, and adding beads before gluing the piece onto the hairband or clip.
What are some ways to enhance or personalize the embroidered hairband or clip?
Personalize by layering cut felt shapes, sewing in seed beads or sequins into the stitches, embroidering initials or small motifs on the felt, then glue the embroidered piece onto the hairband or clip and share the finished accessory on DIY.org.
Watch videos on how to make your own hair embroidery
Vintage Bun Hairstyle Embroidery Beginners /Super Creative Embroidery Girl Hair Embroidery Tutorial
4 Videos
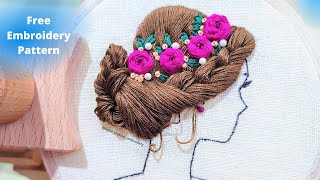
Vintage Bun Hairstyle Embroidery Beginners /Super Creative Embroidery Girl Hair Embroidery Tutorial
10 Beginner-Friendly Embroidery Designs
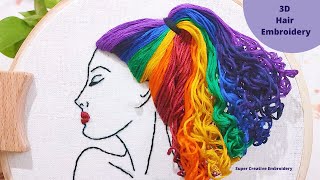
Girl Embroidery Rainbow Hair /Beautiful Girly 3D Curly Hair Embroidery Design Tutorial for Beginners

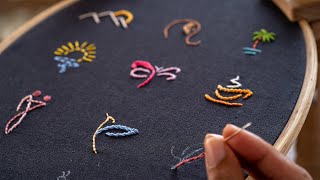
50 Must-Know Embroidery Stitches: The Ultimate Beginner's Guide
Facts about embroidery and sewing for kids
🧵 Embroidery is one of the world's oldest textile arts — stitched decorations have been found on garments thousands of years old.
🪡 Blunt (tapestry) needles are great for kids because their rounded tips ease through felt without sharp pricks.
🎀 Felt is made by matting fibers together, so it doesn't fray and gives clean edges for hairbands and clips.
🌈 Embroidery floss usually has six strands you can separate to make thin or bold stitches and mix bright colors.
⏱️ A simple embroidered hairband or clip can be finished in about 30–60 minutes — perfect for a quick craft session or gift.
How do you make embroidered hairbands or clips?
What materials do I need for hair embroidery?
What ages is this activity suitable for?
What are the benefits and safety tips for hair embroidery?
