Make Your Own Board Game
Design and build your own board game using cardboard, markers, dice, and tokens; create rules, test play, and improve based on feedback.
About this tutorial
Design and build your own board game using cardboard, markers, dice, and tokens; create rules, test play, and improve based on feedback.
What you need
Step by step
- 1
Step 1
Gather all the Materials Needed and clear a table to work on.
- 2
Step 2
Pick a fun theme for your game and decide the main goal players must reach to win.
- 3
Step 3
On a scrap piece of paper sketch a simple board layout like a path grid or racing track with a start and finish.
- 4
Step 4
Use a ruler and a marker to draw the same board layout onto your cardboard.
- 5
Step 5
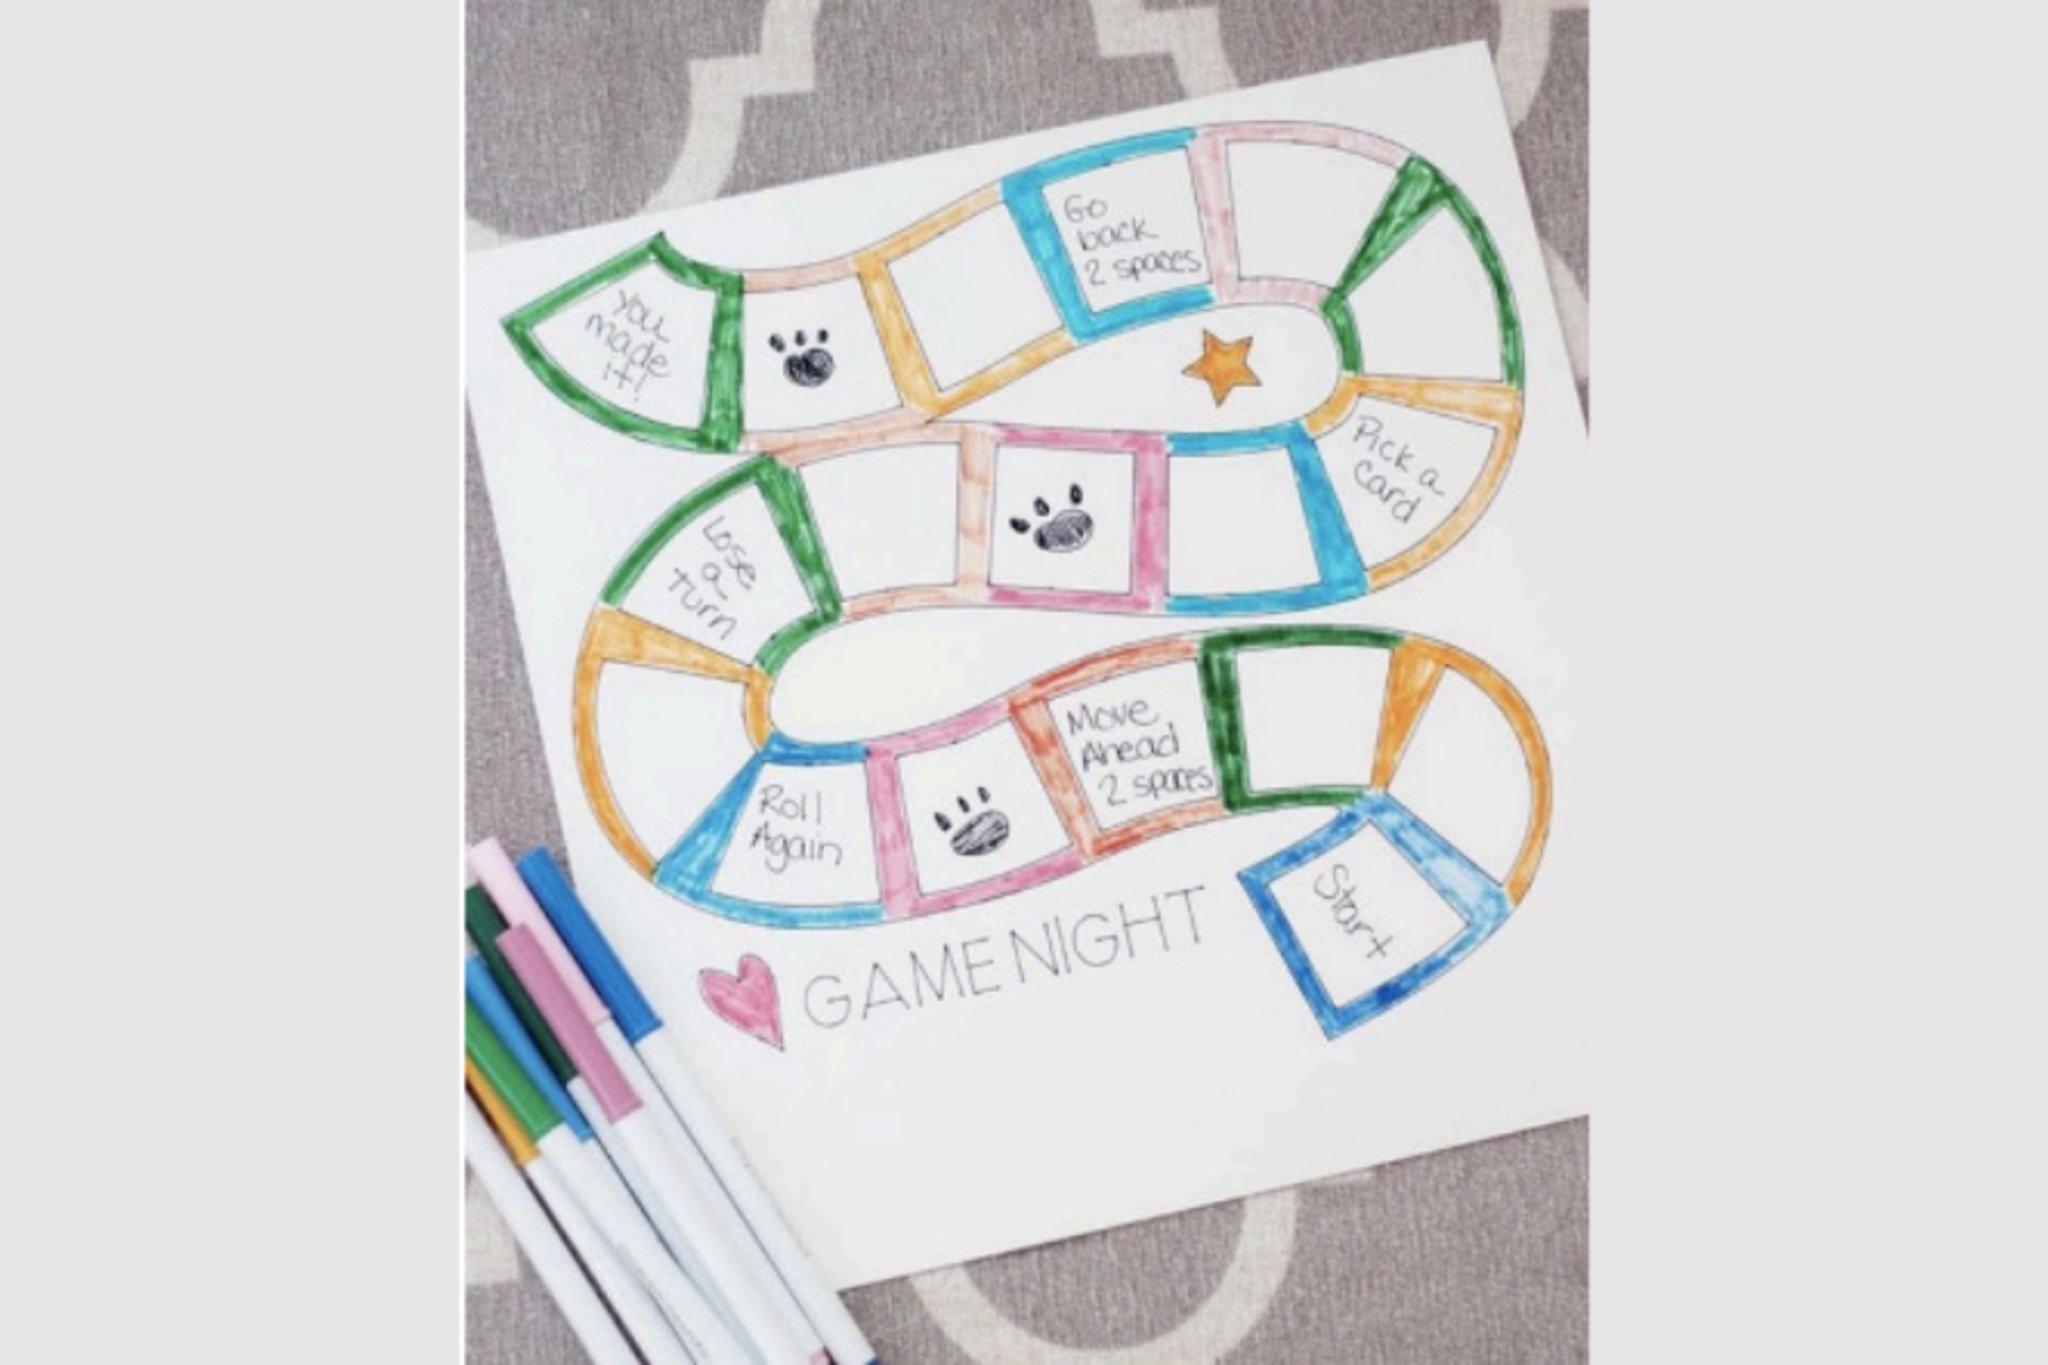
Color and decorate each space on the cardboard so the theme is clear and the board looks fun.
- 6
Step 6
Write a short rule sheet on a separate paper that explains number of players turn order and how to win.
- 7
Step 7
Make player tokens by choosing small objects or decorating buttons coins or small toys to use as pieces.
- 8
Step 8
Decide how players will move by choosing dice rolls and write that movement rule on your rule sheet.
- 9
Step 9
Play a quick test game with family or friends and note what worked and what felt boring or unfair.
- 10
Step 10
Make at least one improvement to the board or rules based on your test notes.
- 11
Step 11
Share your finished board game on DIY.org
Fun facts
How do I help my child design and build their own board game?
To make your own board game, start by brainstorming a theme and win condition. Draw a board layout on cardboard, marking spaces and special squares. Create simple rules, decide movement (dice, spinner, cards) and how tokens interact. Make prototype pieces from cardboard or buttons, then playtest with family. Note confusing parts, tweak rules and balance (modify penalties, rewards, or turn order) and repeat until it’s fun and clear.
What materials do I need to make a homemade board game?
Basic materials include sturdy cardboard for the board, markers or paints for drawing, scissors and glue for cutting and attaching, dice or a spinner for movement, and small tokens like buttons, coins, or game pieces. Optional supplies: index cards for event or action cards, stickers for decoration, a ruler for straight lines, and clear tape or laminating sheets to protect the board. Recycle household items to save cost and encourage creativity.
What ages is making a board game suitable for?
This activity suits ages 6–12 with adult guidance; younger children (4–6) enjoy simple track games and decorating while parents handle cutting and rules. Ages 7–9 can design basic rules, make tokens, and test gameplay with help. Ages 10–14 can create more complex mechanics, write clear rulebooks, and balance play. Adjust complexity, supervise scissors and small pieces, and encourage teamwork so every child can participate at their skill level.
What are the benefits of kids making their own board game?
Designing a board game builds creativity, problem-solving, and planning skills while teaching rules, turn-taking, and fair play. It strengthens math reasoning (counting spaces, probability), literacy (writing rules and cards), fine motor skills (cutting and crafting), and teamwork during playtests. Iterating on balance fosters critical thinking and resilience. Plus it’s an affordable family activity that promotes communication, confidence, and pride in making something playable from simple mater
Watch & Learn
Need help?
What can we use instead of thick cardboard, a ruler, or store-bought dice if we can't find them?
Use a flattened cereal box or shoebox lid instead of cardboard, a hardcover book or straightedge for the ruler, colored pencils or markers if you don't have special pens, a phone dice app or a jar lid with number stickers as a homemade die, and bottle caps or paper circles as player tokens.
The drawn board lines look crooked and game pieces slide off; how do we fix these problems before playtesting?
When transferring your sketch to the cardboard (steps 3–4), trace with a light pencil and a straightedge, let marker or paint dry completely before coloring, glue a small felt dot under tokens or draw recessed spaces to keep pieces from sliding, and run the quick test game (step 8) to check movement and balance.
How can we adapt this Make Your Own Board Game activity for younger children, older kids, and teens?
For younger children make a simple picture-based path with fewer spaces and big toy tokens and write very short rules on the rule sheet (step 5), for older kids increase spaces and add challenge cards or dice modifiers in the movement rules (step 6), and for teens add strategic elements like branching paths, resource tokens, and a more detailed decorated board (step 4).
What are easy ways to enhance or personalize our finished game before sharing on DIY.org?
Add custom event or power-up cards and record them on your rule sheet (step 5), make a cardboard spinner or glow-in-the-dark accents during decorating (step 4), laminate or protect the board after improvements (step 9), and include photos of your test play and the fix you made when you upload to DIY.org (step 11).