Make the Coolest Roblox Edit w/ H3110k1tty
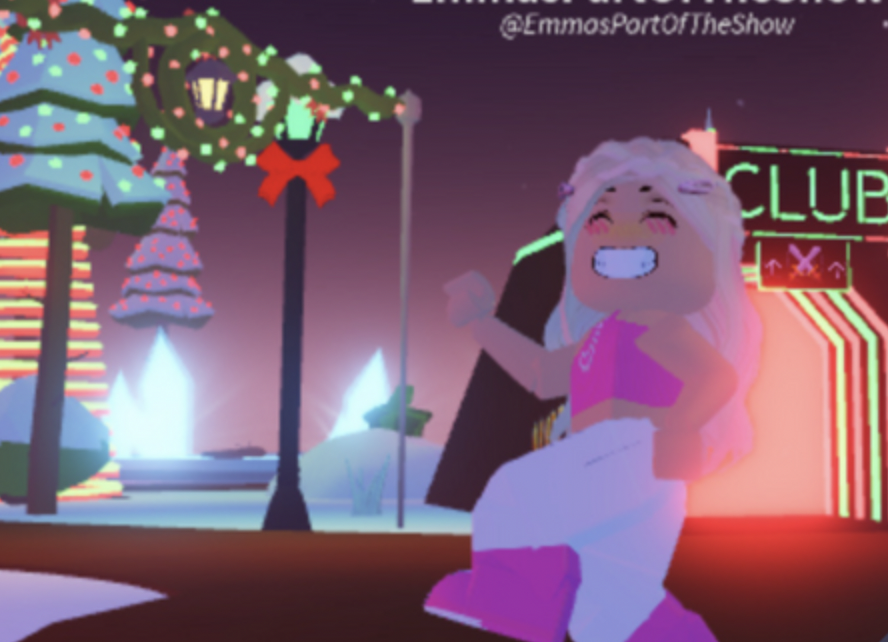
Create a colorful Roblox character edit with H3110k1tty using safe screenshots, simple image tools, stickers, and layering techniques while learning composition and style.

Step-by-step guide to Make the Coolest Roblox Edit w/ H3110k1tty
Step 1
Open Roblox and go to your H3110k1tty avatar screen.
Step 2
Change the outfit or pose until you like how the avatar looks.
Step 3
Take a safe screenshot of your avatar and save the image to your pictures.
Step 4
Open your image editor and import the saved screenshot.
Step 5
Use the editor's remove background or erase tool to make the avatar a clean cutout.
Step 6
Create a new layer behind the avatar layer.
Step 7
Fill the new layer with a bright color or a fun gradient background.
Step 8
Add stickers shapes or doodles on layers above the background.
Step 9
Resize and move the stickers to frame your avatar nicely.
Step 10
Add big colorful text with H3110k1tty or a fun caption using a bold font.
Step 11
Save your final edit as a PNG or JPG file to your pictures.
Step 12
Share your finished creation on DIY.org.
Help!?
What can we use if we don't have an image editor with a 'remove background' tool?
Use a free web tool like remove.bg or a free app such as Paint 3D, Canva, or PicsArt to cut out your avatar and then import that PNG into your image editor as described in the 'import the saved screenshot' step.
My avatar's background didn't erase cleanly—how do I fix stray pixels or jagged edges?
Zoom in and use the editor's eraser or refine-edge/smooth tool to clean the cutout, create a new layer behind the avatar to spot stray pixels, and use undo if you remove part of the avatar by mistake.
How can I adapt this activity for different ages or skill levels?
For younger kids, stick to choosing an outfit, placing pre-made stickers, and filling the new layer with a solid color, while older kids can make gradients, hand-draw doodles on new layers, tweak layer opacity, and use bold custom fonts for the 'big colorful text' step.
What are simple ways to enhance or personalize the final edit before sharing on DIY.org?
Try duplicating the avatar layer and blurring the lower copy for a glow, match sticker and text colors to your background gradient, add a caption with a bold font, then save a 1080x1080 PNG or JPG as instructed before uploading to DIY.org.
Watch videos on how to Make the Coolest Roblox Edit w/ H3110k1tty
How to make Character Customization in Roblox! [Part 1] (Roblox Studio Scripting Tutorial 2024)
4 Videos
![How to make Character Customization in Roblox! [Part 1] (Roblox Studio Scripting Tutorial 2024)](https://img.youtube.com/vi/pBYAdIc2xQg/mqdefault.jpg)
How to make Character Customization in Roblox! [Part 1] (Roblox Studio Scripting Tutorial 2024)
Create a Custom Character Creator | Roblox how to make an RPG game #1

How to Make a Custom Character in Roblox Studio Tutorial - No Scripting
Custom Playable Character Tutorial | Roblox Studio
Facts about digital art and image editing for kids
🎮 Roblox has tens of millions of daily players — your character edits can be seen by lots of people!
🧑🎨 Using layers lets you add stickers or effects on top without changing the original avatar image.
🖼️ PNG files keep transparency so stickers and glows sit cleanly around your avatar.
📸 Before taking screenshots, hide usernames or chat to keep personal info private and safe.
🎨 The rule of thirds and complementary colors help your edit look balanced and pop off the screen.
How do I make a Roblox character edit with H3110k1tty?
What materials and tools do I need to create a safe Roblox edit?
What ages is this Roblox editing activity suitable for?
What are the benefits of making Roblox edits and how can I keep them safe?
